
Receta de Barras de Avena al Horno para el Desayuno
Estas barras de avena al horno son una forma deliciosa y nutritiva de comenzar el día. Llenas de avena, nueces y frutas secas, son perfectas para un desayuno rápido y fácil. Además, son fáciles de preparar y puedes personalizarlas con tus ingredientes favoritos. ¡Disfruta de un desayuno abundante y satisfactorio con estas ricas barras de avena!
Receta de Barras de Avena al Horno
Si buscas un desayuno delicioso y fcil de llevar, estas barras de avena al horno son la opcin perfecta. Son mucho ms sabrosas que las comerciales y puedes adaptarlas a tus gustos. Una vez que las pruebes, querrs hacer un nuevo lote cada semana!
Instrucciones para Preparar Barras de Avena al Horno
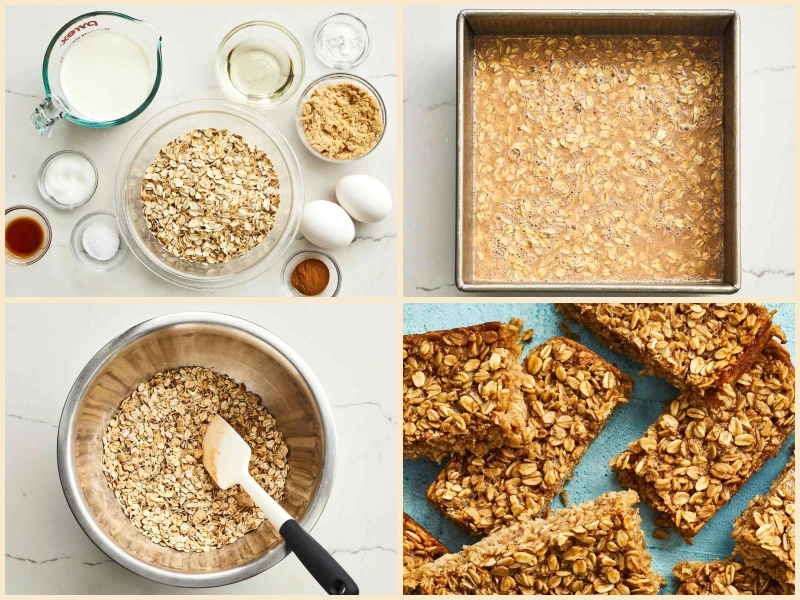
Hacer estas barras caseras es muy sencillo, solo necesitas 10 minutos de preparacin. Mucho ms rpido que ir al supermercado a comprar barras de granola! A continuacin, te explico los pasos para hornearlas:
- Precalienta el horno a 175C (350F) y engrasa un molde cuadrado de 20 cm.
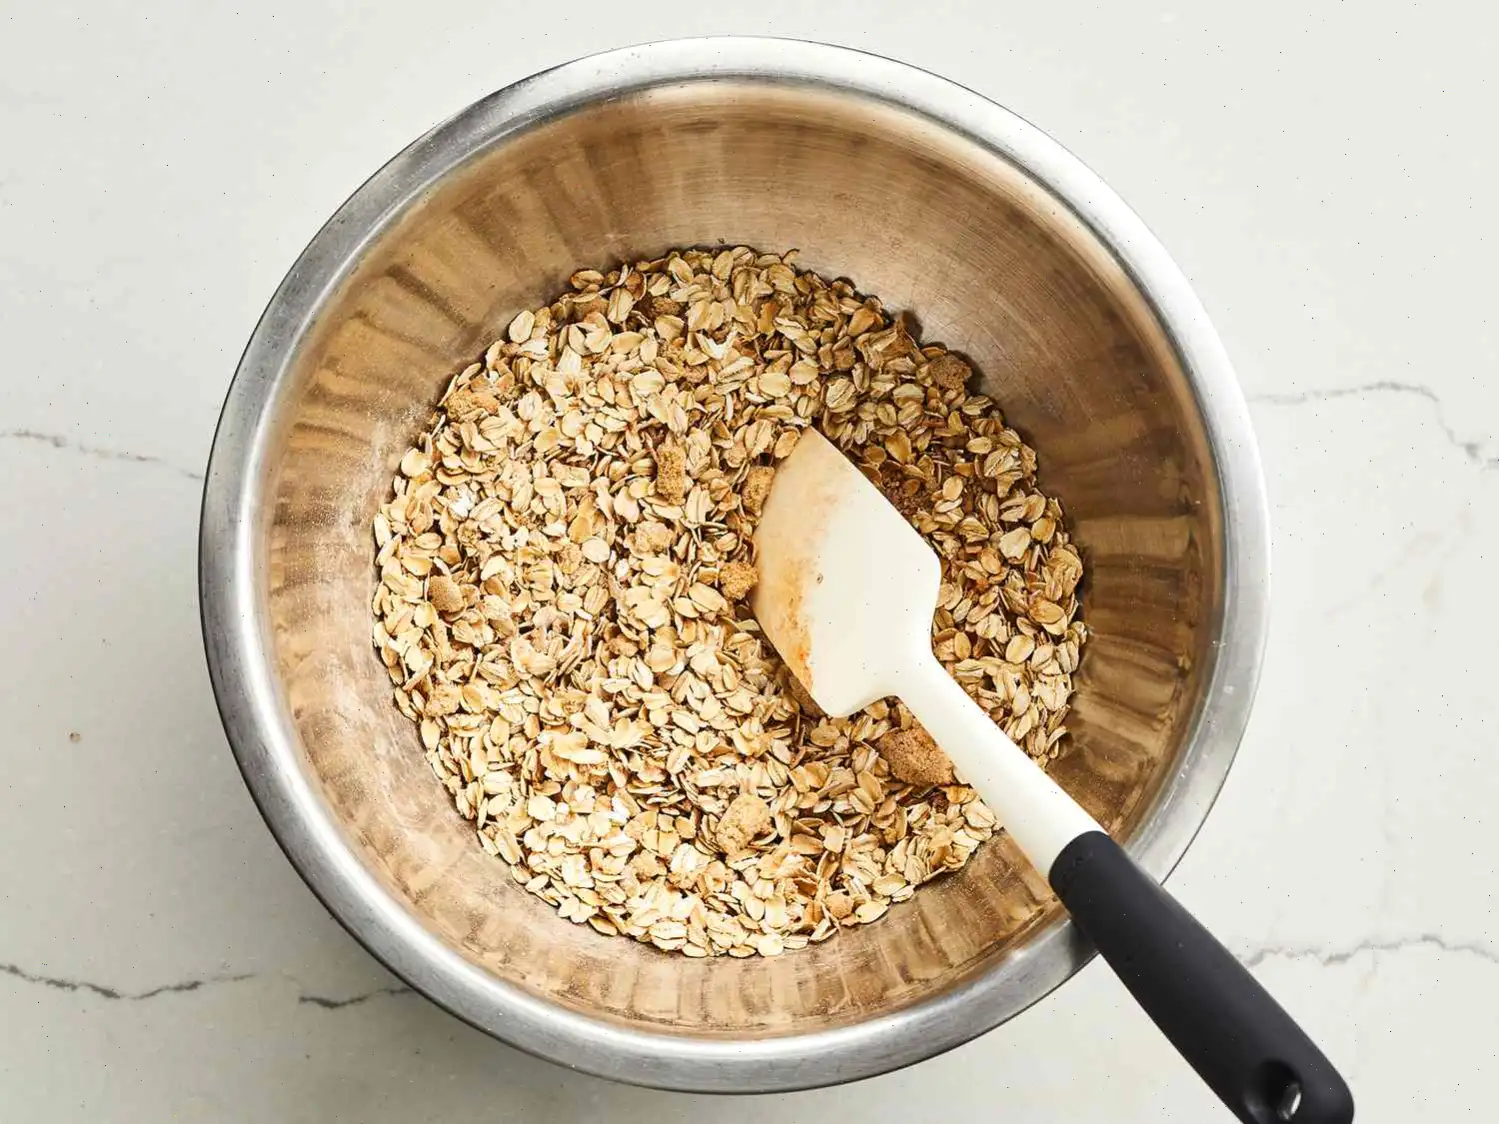
- En un bol grande, mezcla la avena, el azcar moreno, el azcar blanco, el polvo de hornear, la sal y la canela.
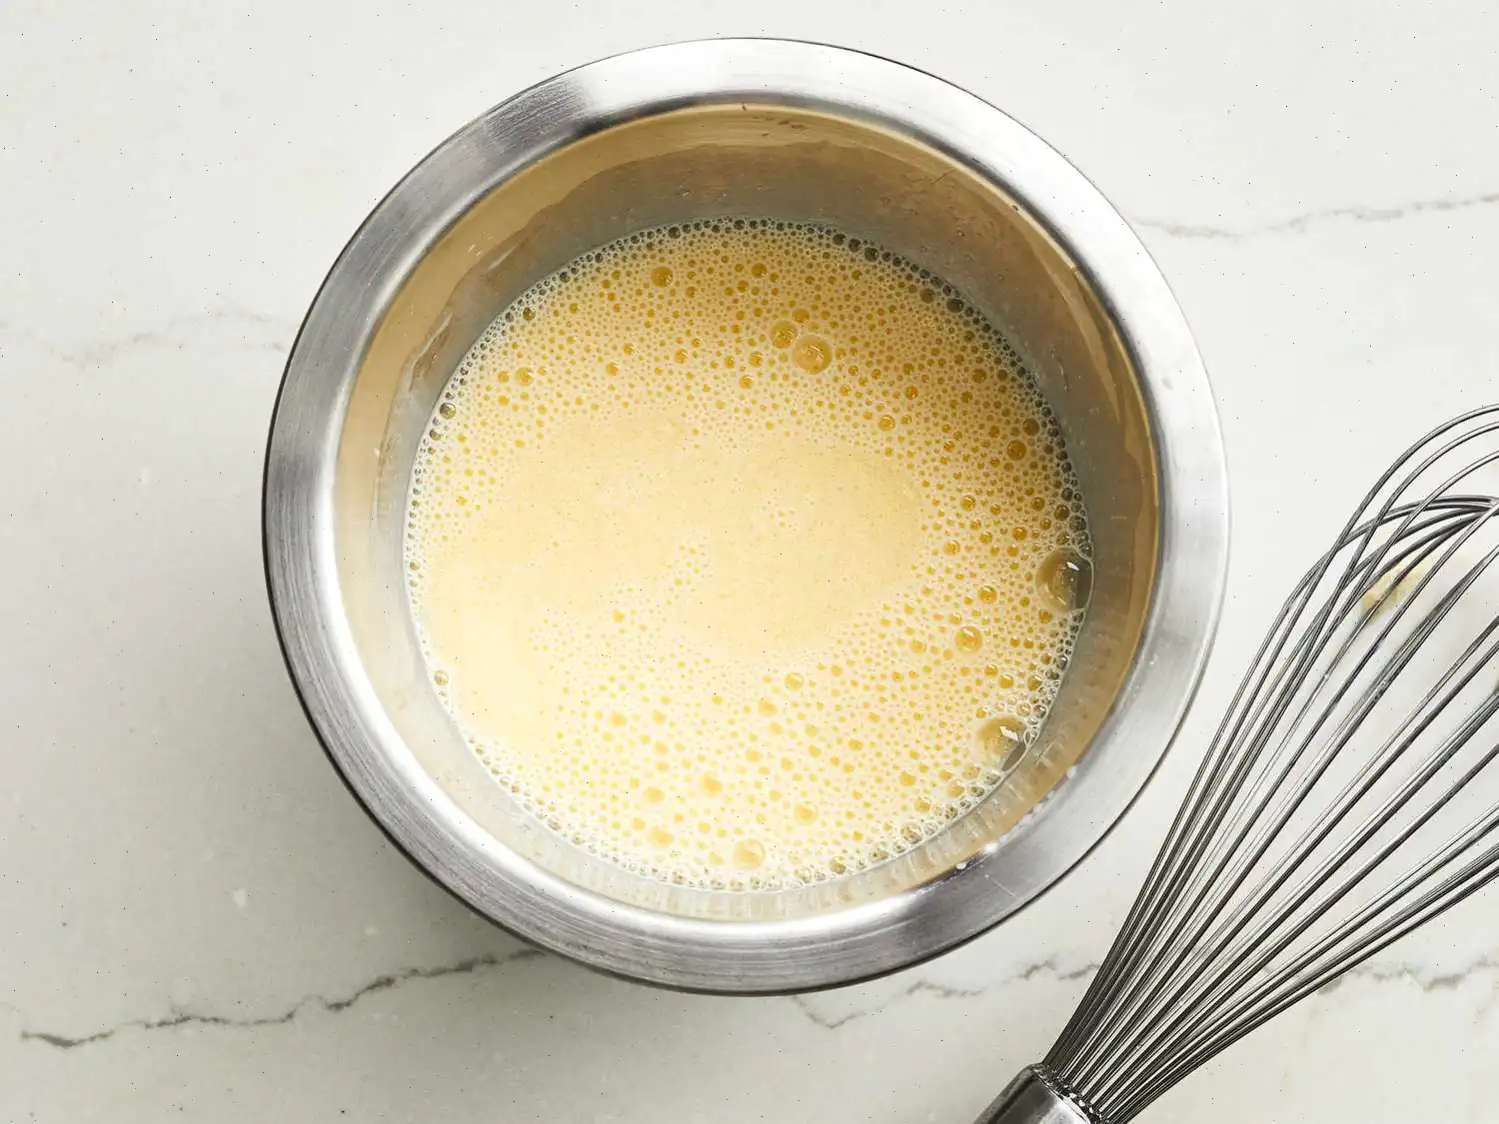
- En otro recipiente, bate la leche, los huevos, el aceite de canola y el extracto de vainilla.
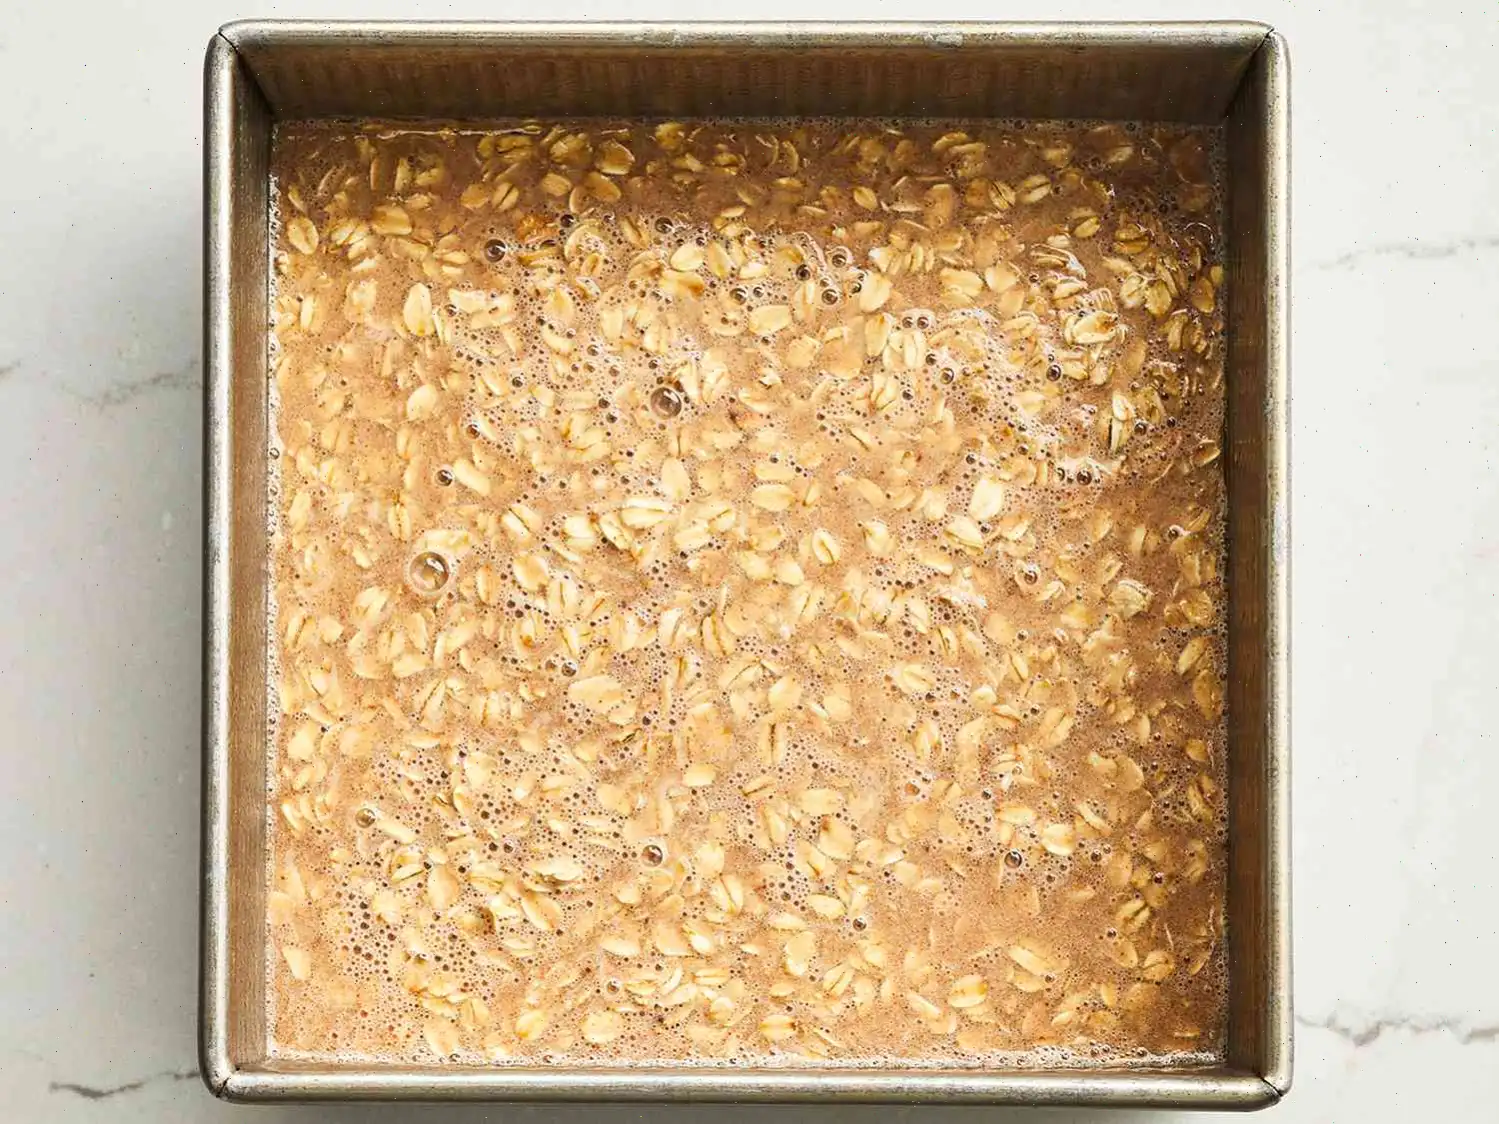
- Incorpora los ingredientes hmedos a los secos, removiendo hasta que todo se mezcle bien.
- Deja reposar la mezcla durante unos 20 minutos para que la avena absorba el lquido y los sabores se fusionen.
- Vierte la mezcla en el molde previamente preparado, distribuyndola uniformemente.
- Hornea durante 30 minutos, o hasta que los bordes estn dorados y la parte superior se vea firme.
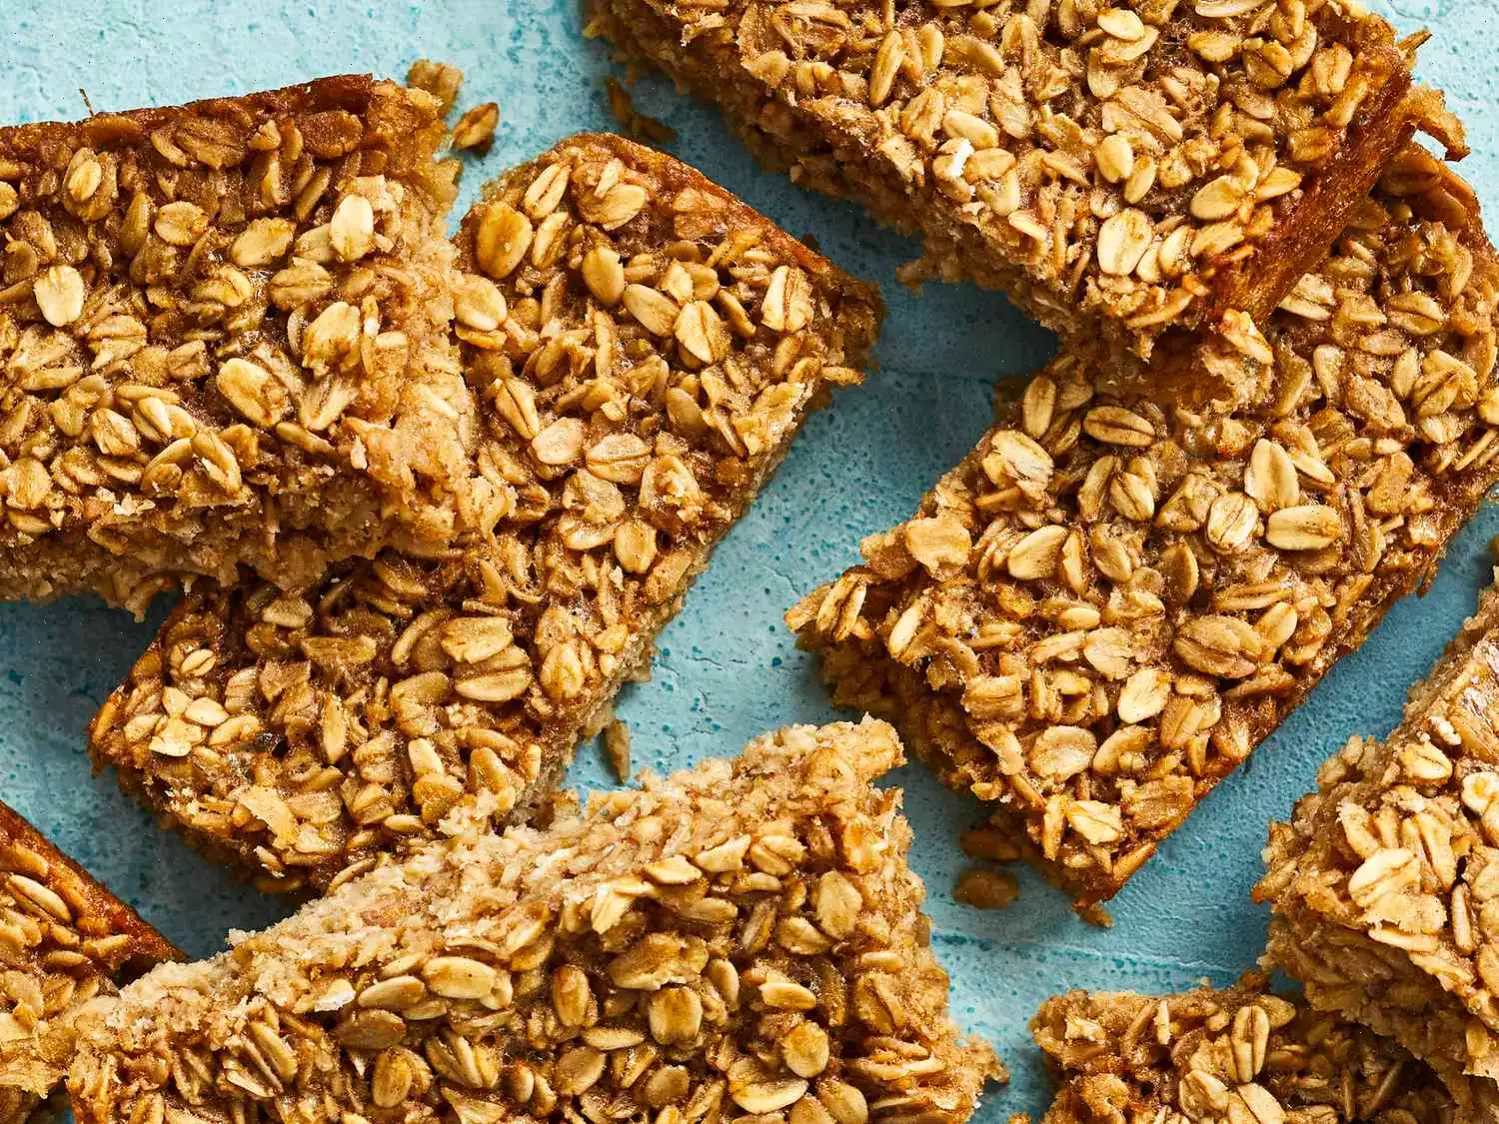
- Saca el molde del horno y deja enfriar completamente antes de cortar las barras en 16 porciones.
Opcionales para Personalizar las Barras:
Puedes agregar lo que ms te guste para hacer estas barras an ms deliciosas. Algunas opciones populares son nueces, arndanos secos, pasas, frutas o incluso chispas de chocolate.
Cmo Almacenar las Barras de Avena al Horno:
Guarda las barras en un recipiente hermtico en el refrigerador. Se mantendrn frescas durante unos 5 das. Puedes comerlas fras, a temperatura ambiente o calentarlas un poco en el microondas cuando quieras disfrutar de ellas.
Cmo Congelar las Barras de Avena al Horno:
Si prefieres hacer ms barras o guardarlas para despus, puedes congelarlas fcilmente. Deja enfriar completamente las barras y crtalas en 16 porciones. Envulvelas individualmente en plstico o colcalas en bolsas para congelar. Etiqutalas con la fecha y conglalas por hasta 3 meses. De esta forma, siempre tendrs una barra lista sin tener que descongelar todo el lote.
Consejos de la Comunidad:
"Estas barras congelan muy bien y son perfectas para comer mientras vas de camino. Asegrate de dejar reposar la mezcla antes de hornear, ya que ayuda a que la avena absorba mejor el lquido y quede ms suave," comenta una usuaria que aadi polvo de mantequilla de man, coco y almendras fileteadas.
"Esta receta es una excelente base. Puedes agregar lo que quieras! Yo puse almendras y arndanos secos. La prxima vez probar con cerezas secas y nueces," aade otro fantico.
"Las hice tal como indica la receta, con pasas y nueces picadas. Quedaron geniales! Incluso estn ms ricas despus de refrigerarlas durante la noche. Son el desayuno ideal para llevar!" comenta otro usuario.
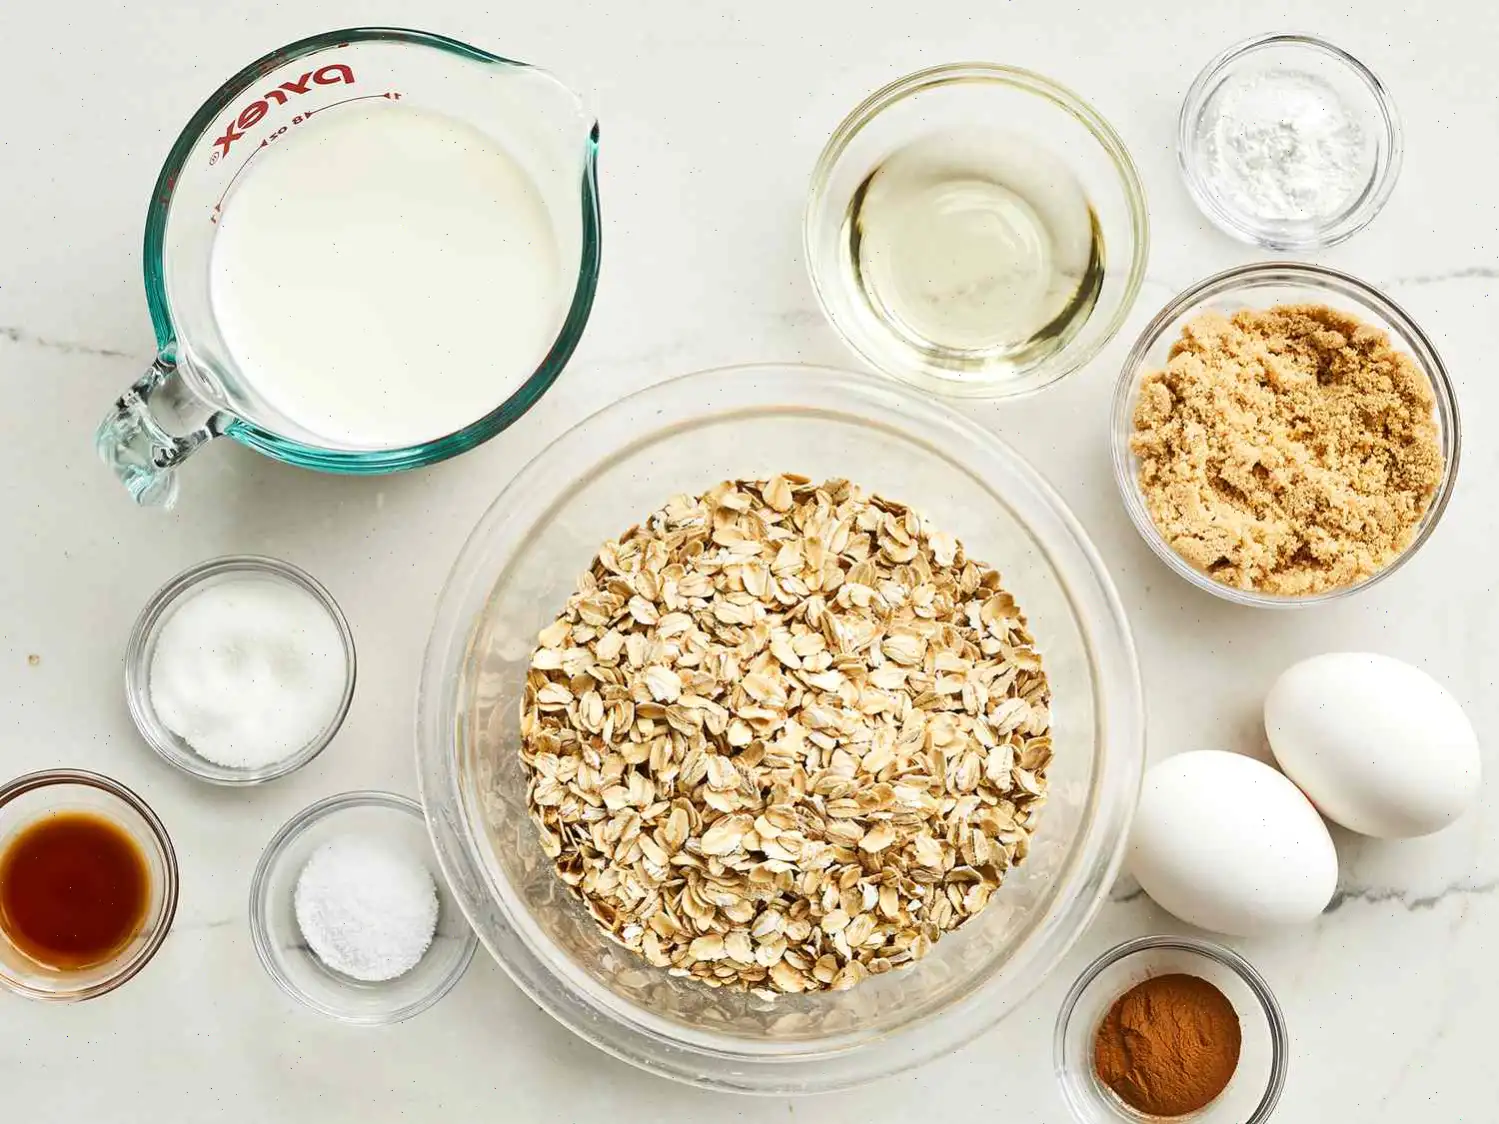
Ingredientes:
- 2 tazas de avena integral
- 1/2 taza de azcar moreno compactado
- 1 cucharada de azcar blanca
- 1 1/2 cucharadita de polvo de hornear
- 1/2 cucharadita de sal
- 1/2 cucharadita de canela molida
- 1 taza de leche
- 2 huevos grandes
- 2 cucharadas de aceite de canola
- 1 cucharadita de extracto de vainilla
Valores Nutricionales (por porcin):
- Caloras: 184
- Grasas: 7g
- Carbohidratos: 26g
- Protenas: 5g
- Fibra: 2g
- Sodio: 271mg
- Calcio: 113mg
- Hierro: 1mg
Las Barras de Avena al Horno para el Desayuno son una opcin saludable y conveniente, perfecta para las maanas ajetreadas o como un refrigerio nutritivo. Estas barras de avena masticables pueden personalizarse a tu gusto con una variedad de ingredientes adicionales, como frutas secas, nueces o incluso chispas de chocolate. A continuacin, exploramos la historia, las variaciones regionales y algunos datos interesantes sobre esta receta tan querida.
Historia y Origen
El concepto de los platillos basados en avena tiene races profundas en diversas culturas alrededor del mundo. La avena ha sido cultivada durante siglos, desde las antiguas civilizaciones de Europa y Asia. La interpretacin moderna de las barras de avena al horno probablemente se origin en los Estados Unidos, donde los productos horneados y las barras de desayuno se hicieron cada vez ms populares a finales del siglo XX. Esta receta combina los beneficios nutricionales de la avena con la conveniencia de un desayuno porttil, una tendencia que ha crecido en las ltimas dcadas con el auge de la preparacin de comidas y los alimentos para llevar.
Variaciones Regionales
Aunque la receta bsica de las barras de avena al horno es bastante consistente en los Estados Unidos, existen variaciones regionales que dependen de las preferencias locales. En el noreste, por ejemplo, puedes encontrar barras con sabor a jarabe de arce, reflejando la rica produccin de este jarabe en la regin. En los estados del sur, a menudo se aade un toque de canela y nuez moscada, junto con pacanas o nueces. En las regiones costeras, las frutas secas como arndanos o arndanos rojos son adiciones populares. Estas preferencias regionales destacan la versatilidad de la receta, que se adapta a los gustos locales y a los ingredientes de temporada.
Cmo se Diferencian las Barras de Avena al Horno de Otros Platos Similares?
Las barras de avena al horno para el desayuno a menudo se comparan con las barras de granola o la avena tradicional. Sin embargo, se diferencian significativamente tanto en textura como en preparacin. Las barras de granola suelen contener un aglutinante pegajoso, como miel o jarabe, para mantener los ingredientes juntos, mientras que las barras de avena tienen una textura ms parecida a la de un pastel debido a la inclusin de huevos, leche y aceite. La avena tradicional generalmente se sirve caliente y se come con cuchara, mientras que las barras de avena son porttiles, proporcionando un refrigerio o comida rpida y fcil. La principal distincin radica en la flexibilidad de las barras de avena al horno: se pueden hacer en una variedad de sabores, texturas y perfiles nutricionales, lo que las hace altamente adaptables para diferentes necesidades dietticas.
Dnde se Sirven Comnmente las Barras de Avena al Horno?
Las barras de avena para el desayuno se sirven comnmente en una variedad de lugares. Son una opcin popular para el desayuno, especialmente para quienes estn en movimiento, ya que son fciles de empacar para el trabajo, la escuela o los viajes. Adems, estas barras son un refrigerio perfecto para excursiones de senderismo, viajes por carretera o cualquier actividad al aire libre donde la portabilidad sea clave. Tambin se suelen servir en almuerzos, reuniones sociales y otras celebraciones, proporcionando una opcin saludable y satisfactoria que atrae a una amplia audiencia. Algunas personas incluso disfrutan de estas barras como un refrigerio antes o despus del entrenamiento, gracias a su combinacin equilibrada de carbohidratos, protenas y grasas saludables.
Datos Interesantes
- La avena es un grano naturalmente libre de gluten, lo que convierte a las barras de avena al horno en una excelente opcin para quienes tienen sensibilidad al gluten (solo asegrate de que la avena sea certificada sin gluten).
- La avena es rica en beta-glucano, un tipo de fibra soluble conocida por sus propiedades para reducir el colesterol.
- La textura de estas barras puede ajustarse fcilmente segn la preferencia personal: para una barra ms masticable, utiliza ms avena o deja reposar la masa durante ms tiempo antes de hornear; para una barra ms firme, reduce ligeramente el lquido o hornea durante un perodo ms largo.
- Adems de ser un desayuno conveniente, estas barras pueden prepararse en grandes cantidades y congelarse para su uso posterior. Simplemente corta las barras y gurdalas en envases hermticos o bolsas con cierre para que se mantengan por hasta tres meses.
Ya sea que busques un desayuno rpido o un refrigerio satisfactorio, las barras de avena al horno para el desayuno son una opcin deliciosa y verstil que puede adaptarse a cualquier gusto.
Puedes escuchar esta receta en formato de audio de IA. Simplemente haz clic en el botón de reproducción a continuación para escuchar el contenido en el formato que mejor te convenga. ¡Es una excelente manera de absorber información sobre la marcha!
Preguntas frecuentes sobre Receta de Barras de Avena al Horno para el Desayuno
Compartir
Comentarios
Daniel Miller
10/21/2022 07:22:24 PM
Buscaba una manera conveniente de disfrutar mi avena por las mañanas mientras estoy en movimiento. Opté por una opción alta en fibra usando 3 tazas de avena en mi receta. Omití el azúcar morena y usé 1/4 de taza de azúcar blanca, como hicieron otros, y sustituí el aceite por puré de manzana. Para darle más sabor, añadí arándanos secos. Me gustó el dulzor equilibrado del resultado final, no demasiado dulce, sino justo. La textura quedó agradablemente húmeda. Definitivamente lo haré otra vez.
Timothy Gomez
09/19/2024 08:46:04 PM
¡Me encantan estas barras de desayuno! Personalicé la receta reduciendo el azúcar morena a 1/4 de taza y eliminando el azúcar blanca. También reduje la sal a una pizca y aumenté la canela a 2 cucharaditas. Sustituí el aceite por puré de manzana y añadí un puñado de arándanos frescos y nueces picadas. Dos barras son perfectas para un desayuno rápido.
Barbara Gomez
09/02/2022 11:43:22 PM
El sabor de estas barras es fantástico. Me confundió la humedad excesiva en la mía hasta que vi el video. La receta escrita indica 2 cucharadas de aceite de canola, mientras que el video recomienda 2 cucharaditas.


CookGuide es tu guía culinaria para descubrir nuevos sabores y cocinar con confianza. Encuentra recetas de confianza, consejos prácticos e inspiración tanto para cocinas domésticas como profesionales.
Cualquier copia, distribución o uso de los materiales de este servicio sin autorización está estrictamente prohibido. Las infracciones serán procesadas según la legislación aplicable y pueden dar lugar a responsabilidades civiles y penales.
© Guía de cocina Studio 2026 | Cookies | Política de PrivacidadEncuentra la receta perfecta con IA. Solo introduce los ingredientes y deja que Cook te guíe hacia la magia.