
Receta de pan chapati indio
El pan chapati indio es un pan plano tradicional que es un básico en la cocina india. Hecho con unos pocos ingredientes simples, como harina de trigo integral, agua y sal, este pan es fácil de preparar y combina bien con una variedad de platos. Disfrútalo caliente con tu curry favorito o úsalo para acompañar chutneys y salsas deliciosas. Sigue esta receta para hacer tu propio pan chapati casero y traer un sabor de la India a tu mesa.

Receta de Chapati
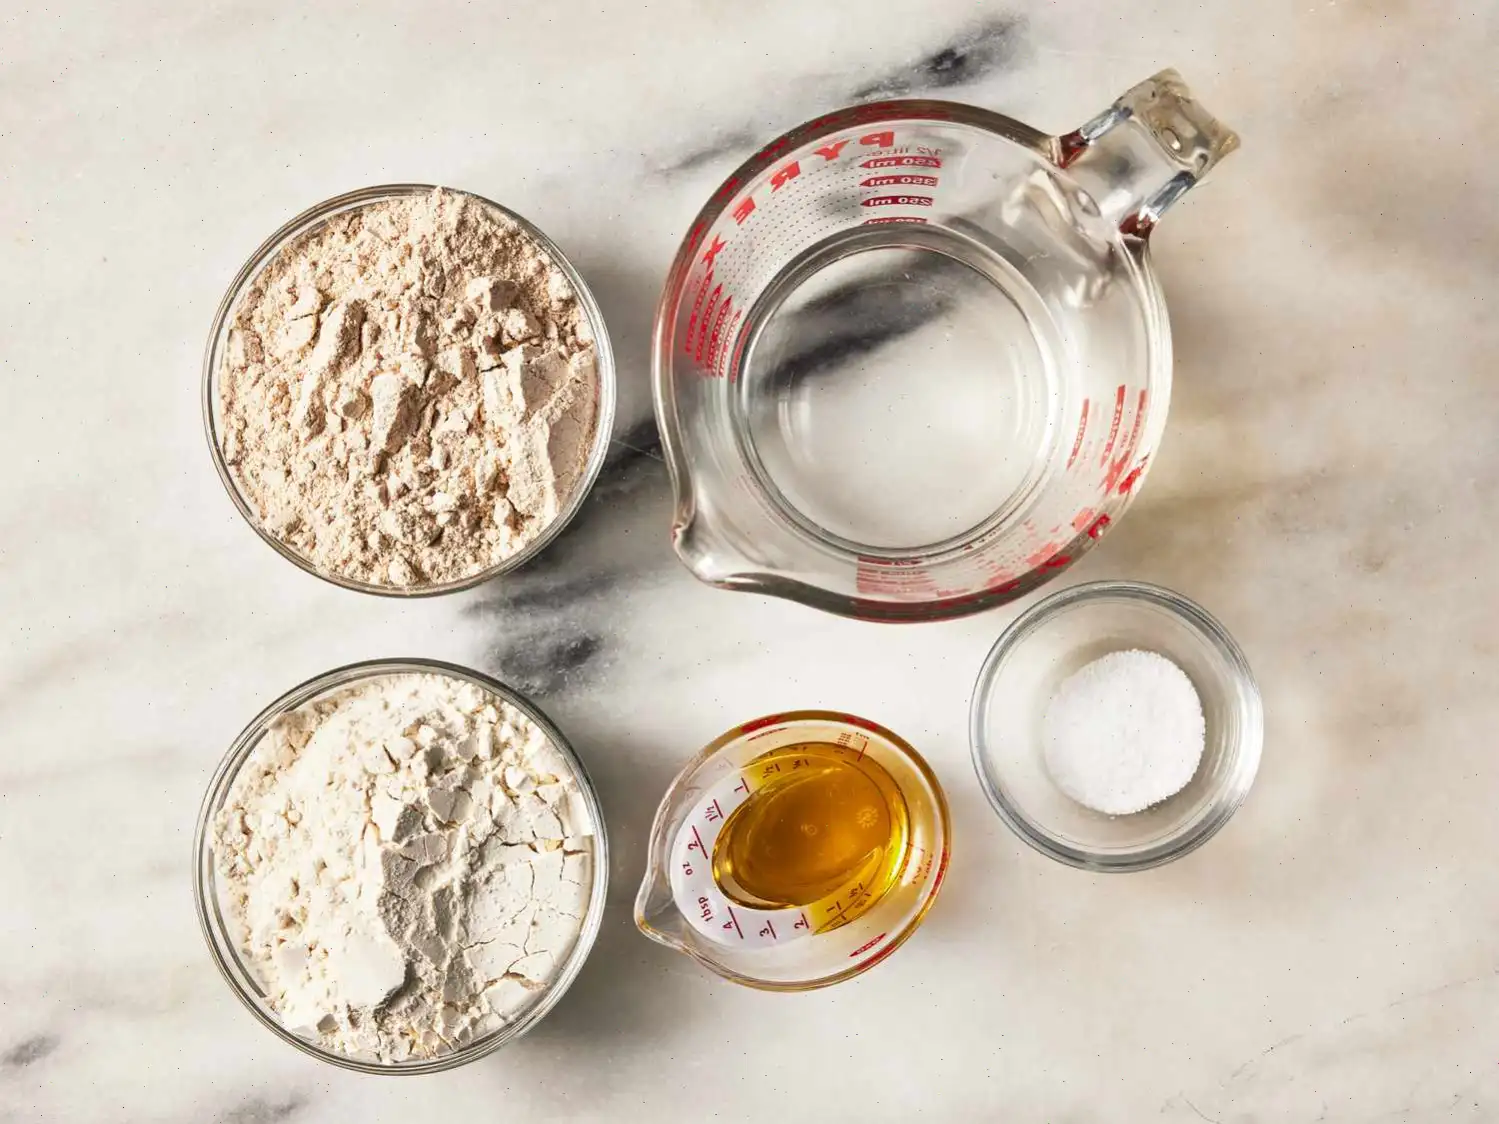
Ingredientes
- 1 taza de harina de trigo integral
- 1 taza de harina de trigo comn
- 1 cucharadita de sal
- taza de agua caliente (o segn sea necesario)
- 2 cucharadas de aceite de oliva o aceite vegetal
Instrucciones
Preparacin de los ingredientes: Rene todos los ingredientes que vas a necesitar para la receta. Asegrate de tener todo listo antes de comenzar.
Mezclar los ingredientes secos: En un tazn grande, combina la harina de trigo integral, la harina de trigo comn y la sal. Revuelve bien para que los ingredientes se distribuyan de manera uniforme.
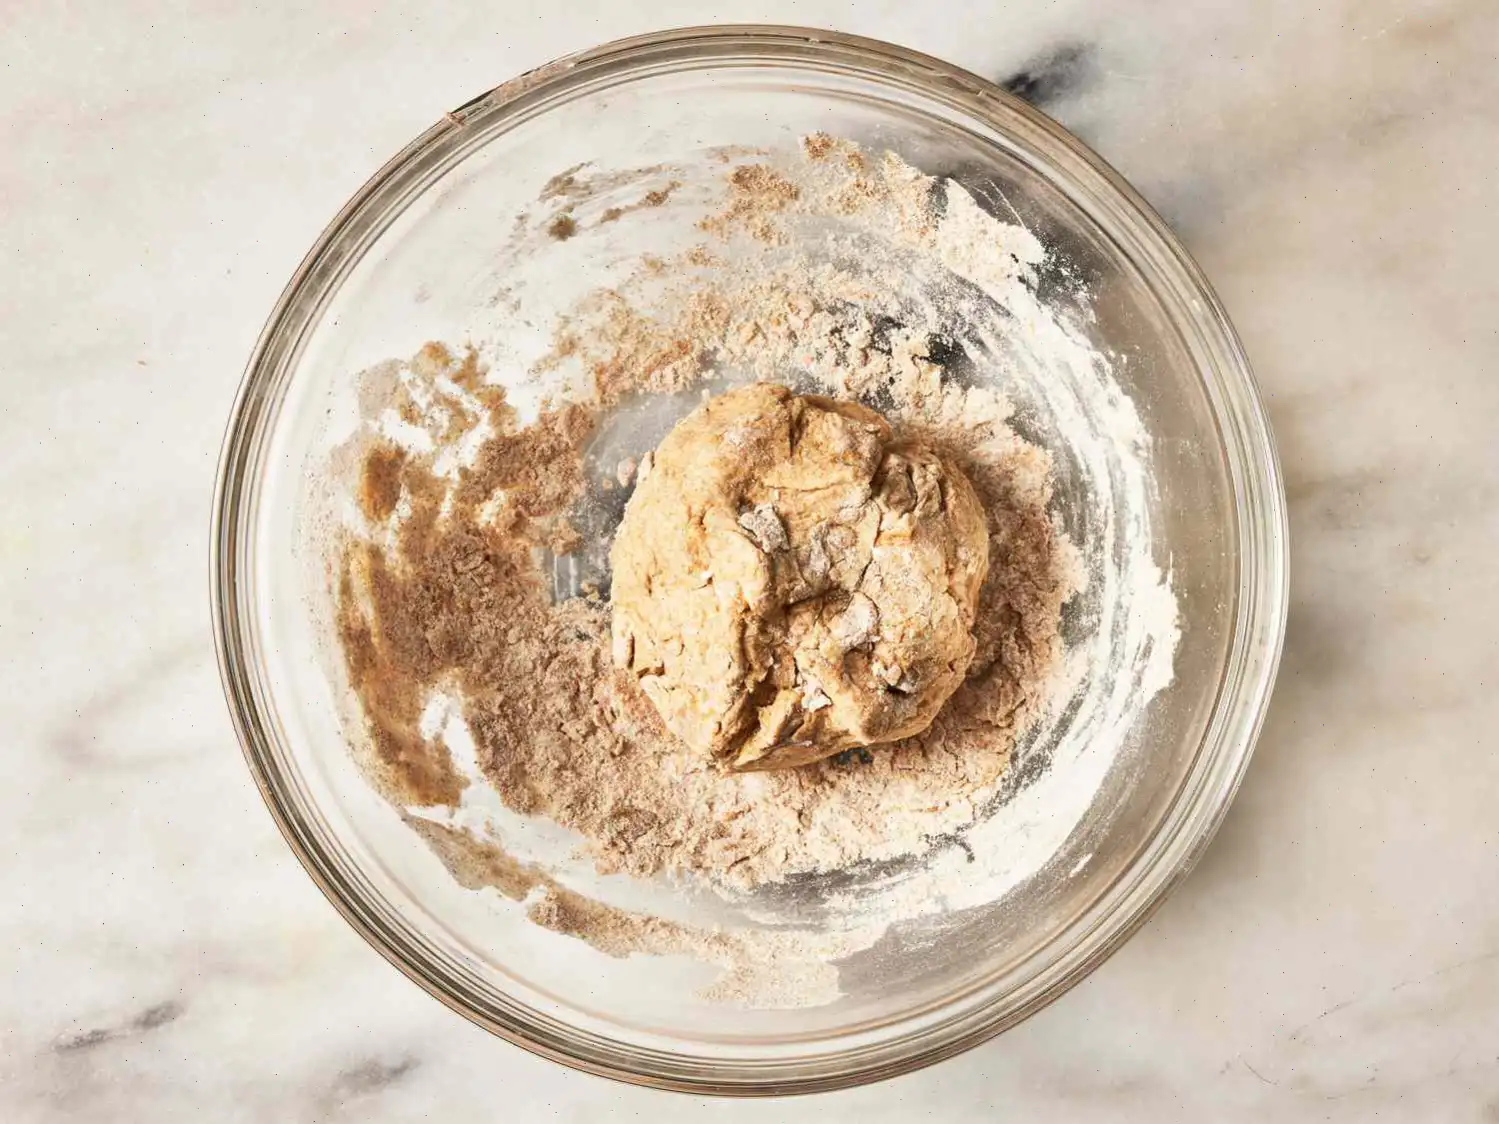
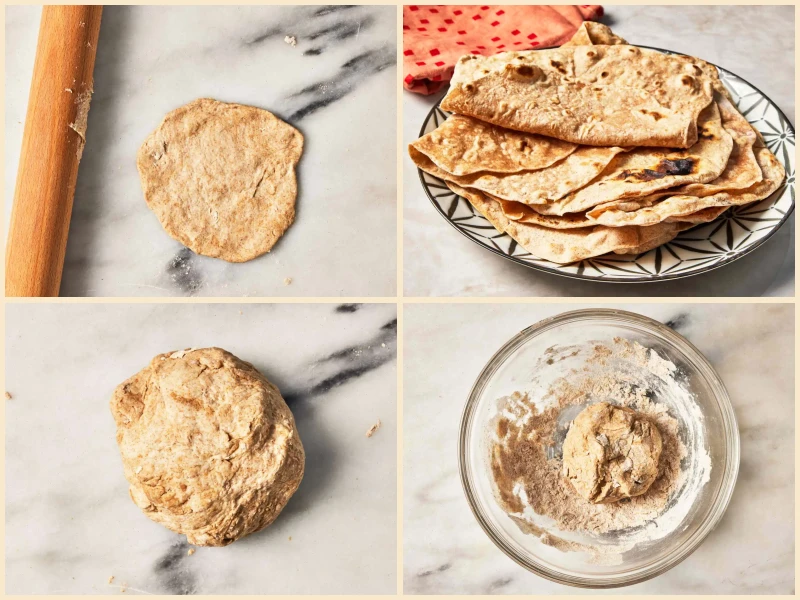
Incorporar los ingredientes lquidos: Agrega el agua caliente y el aceite. Remueve con una cuchara de madera hasta que la mezcla forme una masa suave y elstica. Si la masa est muy seca, aade ms agua poco a poco hasta obtener la textura correcta.
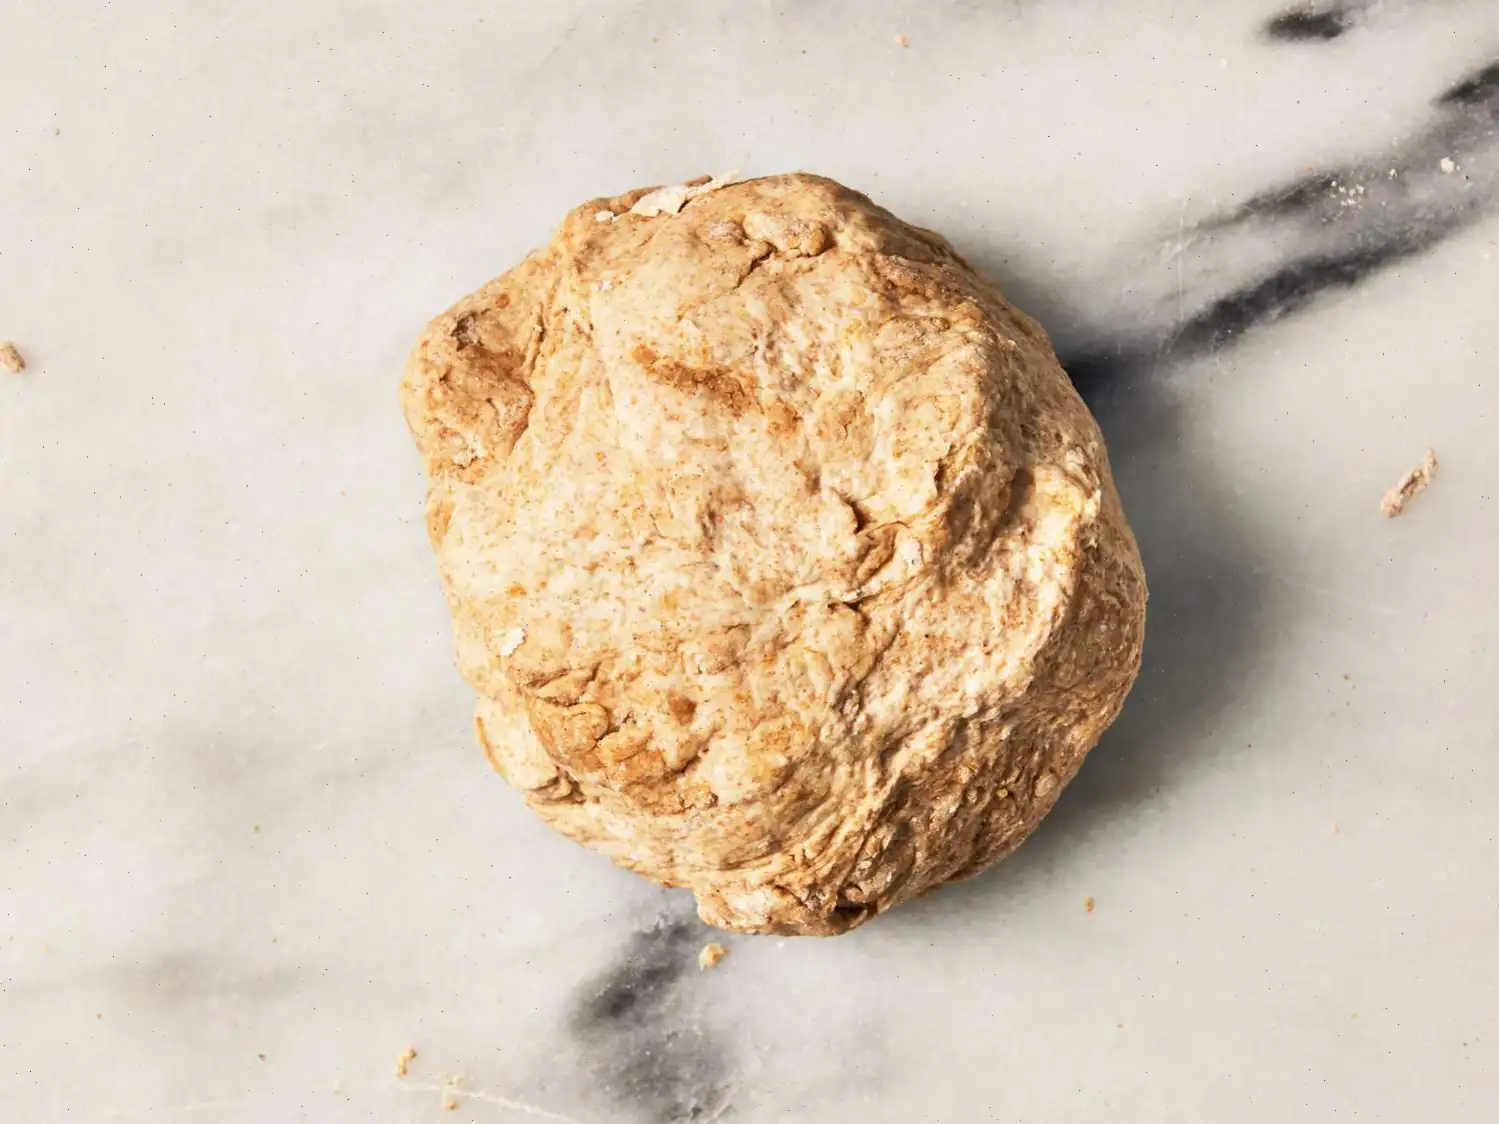
Amasar la masa: Coloca la masa sobre una superficie ligeramente enharinada y amsala durante unos minutos hasta que se vuelva suave y flexible. Es importante que la masa tenga una consistencia suave pero firme.
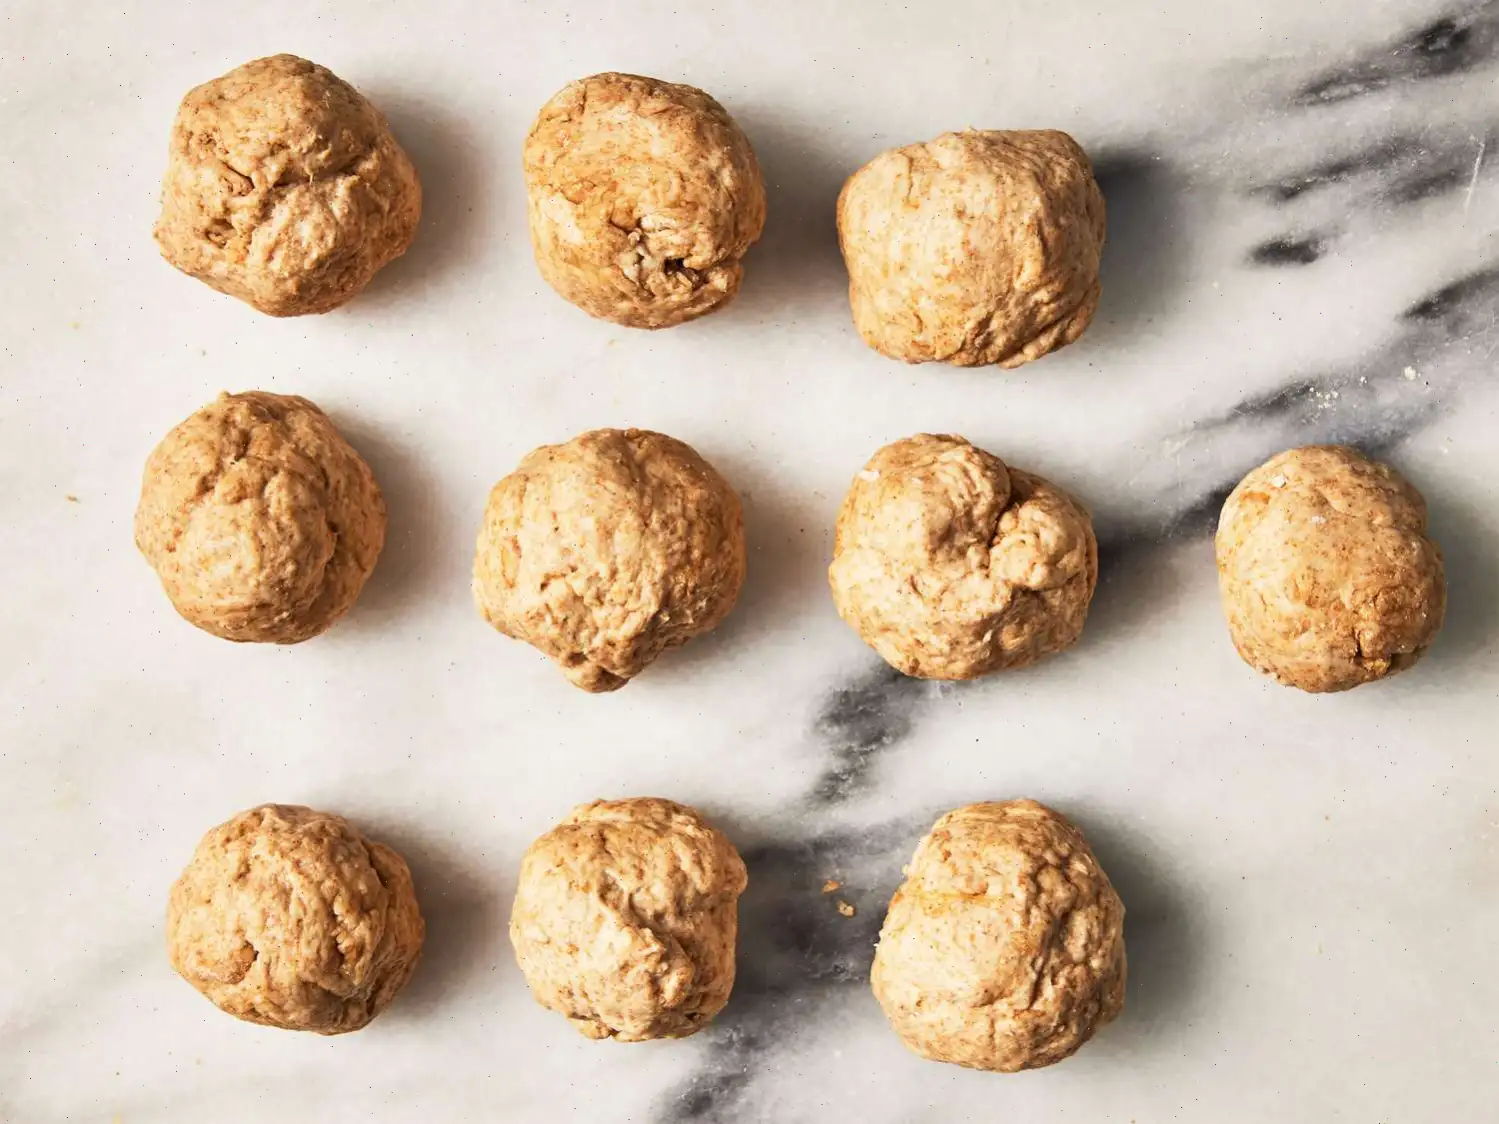
Dividir la masa: Divide la masa en 10 porciones iguales. Si prefieres chapatis ms grandes, puedes hacer menos porciones. Forma pequeas bolitas con cada porcin y djalas reposar unos minutos.
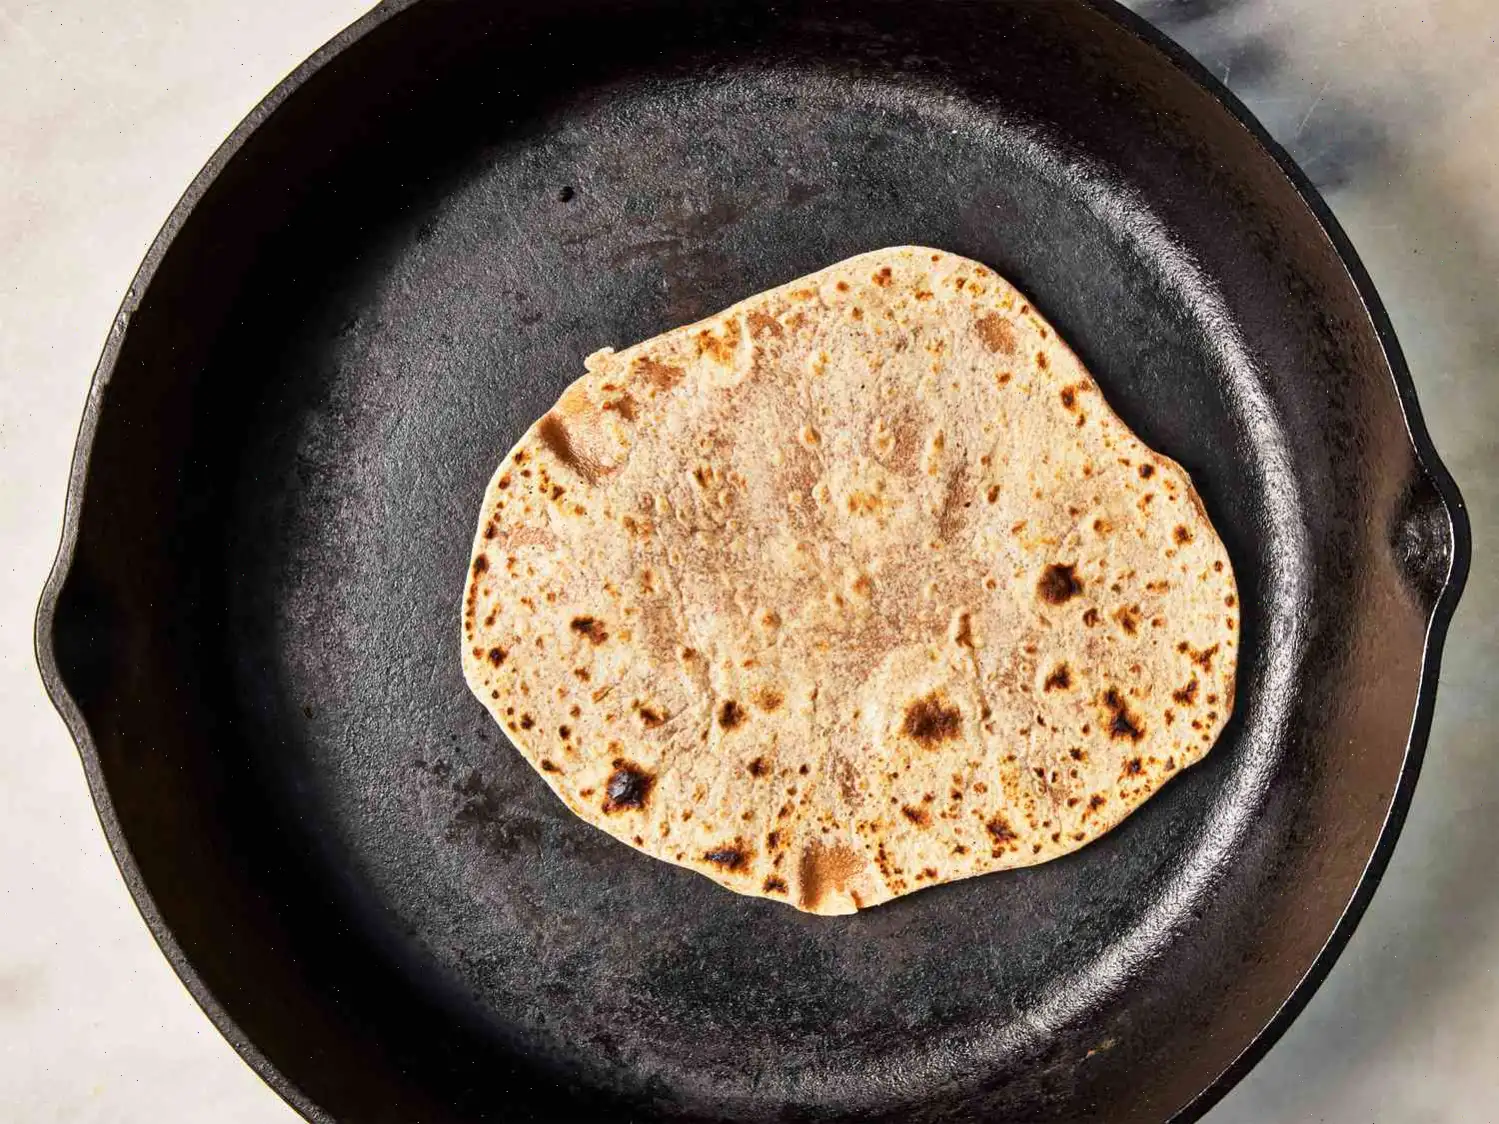
Calentar la sartn: Pon una sartn antiadherente a fuego medio y unta ligeramente con aceite. La sartn debe estar bien caliente antes de comenzar a cocinar.
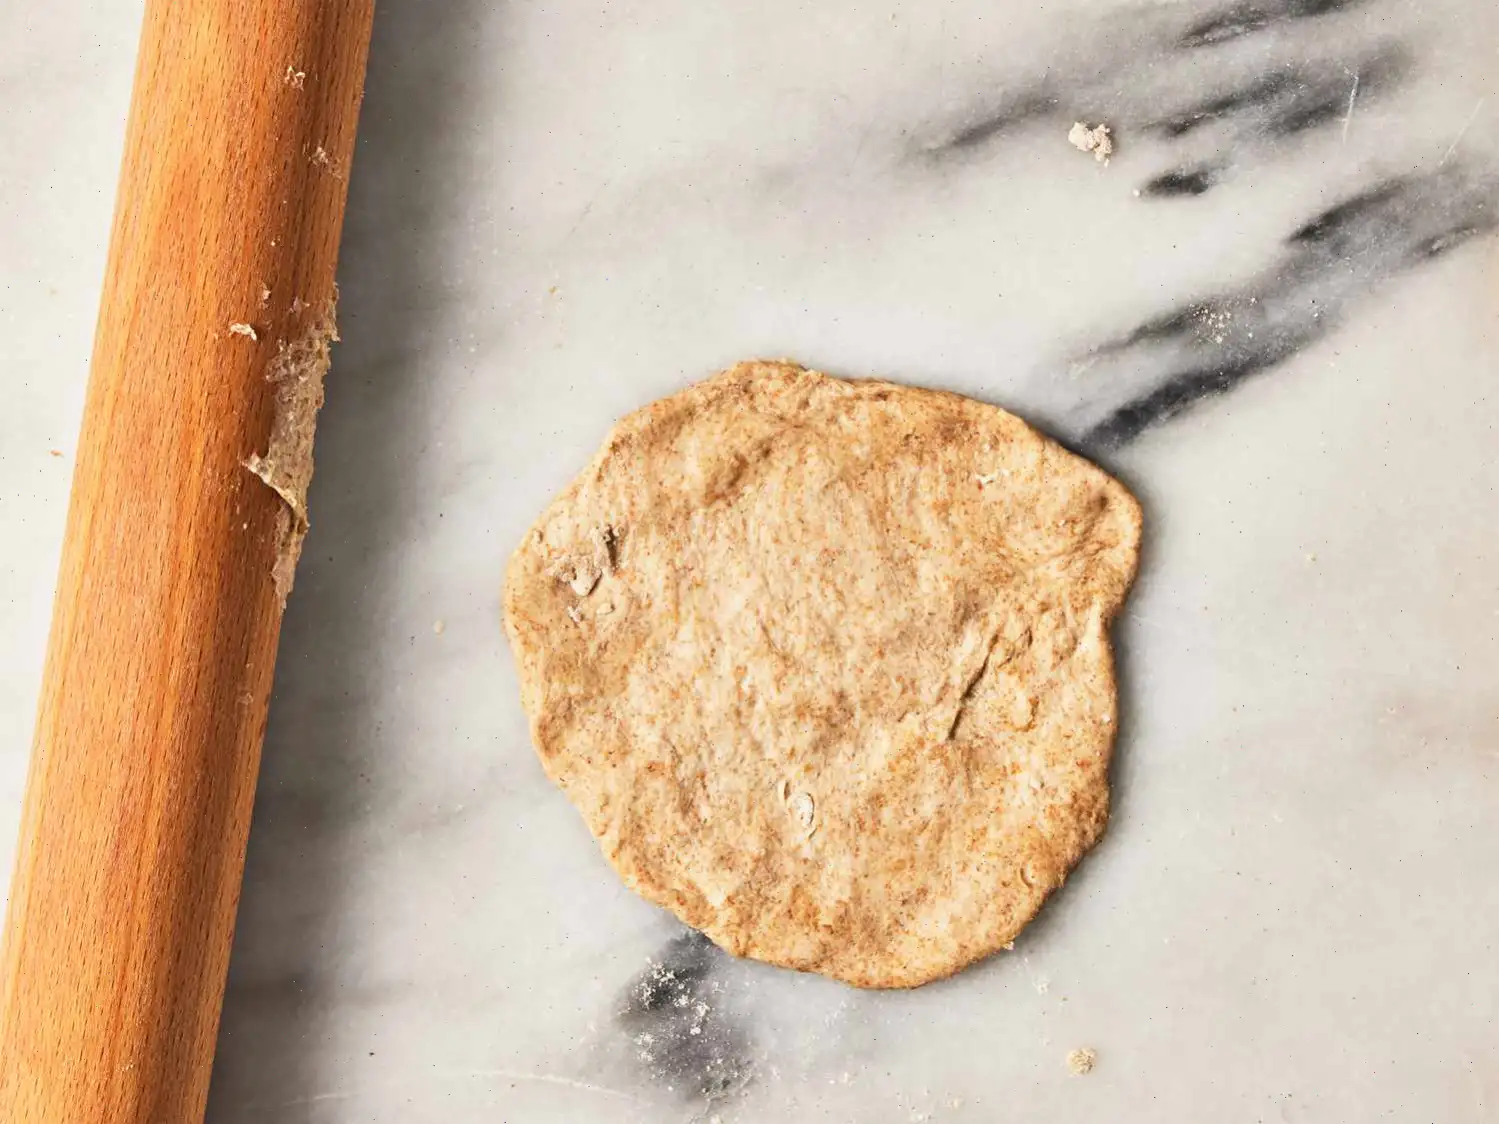
Estirar la masa: Toma una bolita de masa y, con un rodillo, estrala sobre una superficie enharinada hasta obtener un crculo delgado. La idea es que quede lo ms delgada posible sin que se rompa.
Cocinar el chapati: Coloca la masa estirada en la sartn caliente. Cocina por unos 30 segundos o hasta que veas que aparecen manchas marrones en la parte inferior. Luego, voltea el chapati y cocina por otros 30 segundos. Debe quedar ligeramente inflado y dorado por ambos lados.
Repetir el proceso: Contina cocinando el resto de los chapatis de la misma manera, asegurndote de que cada uno quede perfectamente dorado y cocido.
Datos Nutricionales
Por porcin (1 chapati):
- Caloras: 110
- Grasas totales: 3g (4% del valor diario)
- Grasas saturadas: 0g (2% del valor diario)
- Sodio: 234mg (10% del valor diario)
- Carbohidratos totales: 18g (7% del valor diario)
- Fibra diettica: 2g (6% del valor diario)
- Azcares totales: 0g
- Protena: 3g (6% del valor diario)
- Calcio: 7mg (1% del valor diario)
- Hierro: 1mg (6% del valor diario)
- Potasio: 62mg (1% del valor diario)
Nota: Los valores porcentuales diarios se basan en una dieta de 2,000 caloras. Estos valores pueden ser ms altos o bajos segn tus necesidades calricas.
El chapati, un pan plano tradicional de la India, se ha convertido en un alimento bsico no solo en muchos hogares de la India, sino tambin en todo el mundo. Este pan sencillo pero delicioso se elabora con unos pocos ingredientes comunes en la despensa: harina de trigo, agua, sal y aceite. Generalmente se cocina en una plancha plana, conocida como tawa, y es una parte esencial de la cocina india.
Historia del Chapati
El origen del chapati se remonta al subcontinente indio, donde ha sido un alimento fundamental durante miles de aos. La palabra "chapati" proviene del trmino hindi "chapat", que significa "plano". En tiempos antiguos, el chapati se elaboraba con harina de trigo integral, un ingrediente fcilmente disponible y asequible para muchas familias. Se convirti en un alimento bsico en la dieta india debido a que se poda preparar rpidamente y acompaar casi cualquier plato, lo que lo converta en un acompaante verstil. A lo largo de los siglos, diferentes regiones de la India adaptaron la receta segn los ingredientes locales y los mtodos de cocina, lo que dio lugar a variaciones en su preparacin.
Variaciones Regionales
Aunque el chapati es popular en toda la India, su preparacin y caractersticas pueden variar segn la regin. En el norte de la India, los chapatis suelen prepararse con una mezcla de harina de trigo integral y harina blanca (maida), lo que da como resultado una textura ms suave. En cambio, en el sur de la India, los chapatis se elaboran principalmente con harina de trigo integral, lo que da como resultado una textura ms firme. En algunas reas, especialmente en Gujarat y Rajasthan, es comn encontrar chapatis rellenos de ingredientes como papa o paneer, lo que les da un sabor ms sustancioso. El uso de ghee (mantequilla clarificada) para cocinar los chapatis tambin es habitual en algunas regiones, lo que aporta un sabor rico y una textura suave.
Diferencias con Platos Similares
El chapati a menudo se compara con otros panes planos como el naan y el roti. La principal diferencia radica en los ingredientes y los mtodos de preparacin. A diferencia del naan, que utiliza levadura o yogur para su levado, el chapati es un pan sin levadura, es decir, no sube antes de cocinarse. El naan se cocina tradicionalmente en un tandoor (horno de barro), mientras que los chapatis se hacen en una plancha o sartn sobre la estufa. Aunque ambos son deliciosos, el chapati tiende a ser ms delgado y crujiente en comparacin con el naan, que es ms esponjoso. Por otro lado, el trmino roti se usa a menudo de manera intercambiable con chapati, aunque en algunas partes de la India, el roti se refiere a una versin ms gruesa y ligeramente ms suave del chapati.
Dnde se Sirve Comnmente el Chapati
El chapati se sirve tradicionalmente con una amplia variedad de platos indios. Se suele acompaar de lentejas (dal), curris, verduras y carnes. En muchos hogares, el chapati se considera una parte esencial de la comida y se consume junto con otros platos para recoger las salsas o envolver los rellenos. Fuera de la India, el chapati se ha popularizado en regiones con grandes comunidades de la dispora india, como el Reino Unido, Canad y los Estados Unidos. En estos lugares, el chapati se sirve con frecuencia en restaurantes indios como acompaante de curris, o se utiliza como envoltura en la comida callejera.
Datos Interesantes sobre el Chapati
- En muchas partes de la India, el chapati se conoce como "roti", aunque algunas regiones distinguen ambos trminos segn su textura o grosor.
- Elaborar chapati puede ser todo un arte; muchas familias han transmitido la habilidad de amasar la masa a la perfeccin, asegurndose de que los chapatis sean finos y uniformes.
- En los hogares tradicionales indios, a menudo se cocina el chapati con la ayuda de un miembro de la familia que es experto en voltearlos con las manos, lo que requiere prctica y precisin.
- El chapati es un plato increblemente verstil. Puede usarse como envoltura para diversos rellenos, como papas especiadas, pollo a la parrilla o verduras, y es un elemento clave en la popular comida callejera india llamada "wraps" o "rollos".
- Aunque el chapati generalmente se disfruta fresco, tambin se puede almacenar y recalentar, lo que lo convierte en una opcin ideal para la preparacin de comidas o para compartir con invitados.
Preguntas frecuentes sobre Receta de pan chapati indio
Compartir
Comentarios
rhondarella
10/06/2025 01:52:54 PM
Pasé dos años en Kenia, y mi amiga Julie nos preparó estos chapatis. Ella era de Uganda. Hacía rollos con las bolas de masa, los engrasaba con aceite y los enrollaba en espiral antes de extenderlos. Quedaban crujientes y ligeros. Si los dejas reposar, se inflarán al ponerlos en la sartén. ¡Gracias por los recuerdos!
Liralen Li
02/26/2024 01:49:00 AM
Usé harina india integral multigrano Atta, pero puse la mitad de sal y dejé reposar la masa mucho tiempo antes de formar y dar forma... cociné un lado un poco, luego el otro, y cuando empezó a inflarse, los puse sobre la llama directa y se doraron perfectamente. Los metí en un paño, y se mantuvieron suaves durante toda la comida de Chana Dal. ¡Estaban deliciosos!
Penny
08/02/2016 12:42:48 AM
Receta base excelente. Para chapatis más suaves, usé leche de almendras caliente en lugar de agua (cualquier leche vegetal o láctea también sirve) y añadí una cucharadita de miel. Usé cantidades iguales de aceite de oliva y coco. Si tengo tiempo, dejo reposar la masa en la nevera toda la noche antes de extenderla. Luego hago pliegues, la enrosco, y la vuelvo a estirar antes de cocinarla en una sartén pesada con poco aceite. Cubrir con tapa ayuda a que se inflen y se cocinen parejo. Se pueden guardar y recalentar fácilmente.


 audio version


CookGuide es tu guía culinaria para descubrir nuevos sabores y cocinar con confianza. Encuentra recetas de confianza, consejos prácticos e inspiración tanto para cocinas domésticas como profesionales.
Cualquier copia, distribución o uso de los materiales de este servicio sin autorización está estrictamente prohibido. Las infracciones serán procesadas según la legislación aplicable y pueden dar lugar a responsabilidades civiles y penales.
© Guía de cocina Studio 2026 | Cookies | Política de PrivacidadEncuentra la receta perfecta con IA. Solo introduce los ingredientes y deja que Cook te guíe hacia la magia.