
Receta de Jalá para Shabat
El pan de Shabbat Challah es un pan tradicional judío que normalmente se trenza y se sirve los viernes por la noche para dar la bienvenida al Shabat. Esta receta da como resultado un pan suave y esponjoso con un sabor ligeramente dulce, perfecto para disfrutar con familia y amigos. Sigue estos sencillos pasos para hacer tu propio pan de Shabbat Challah casero y disfrutar de una comida realmente especial y deliciosa.
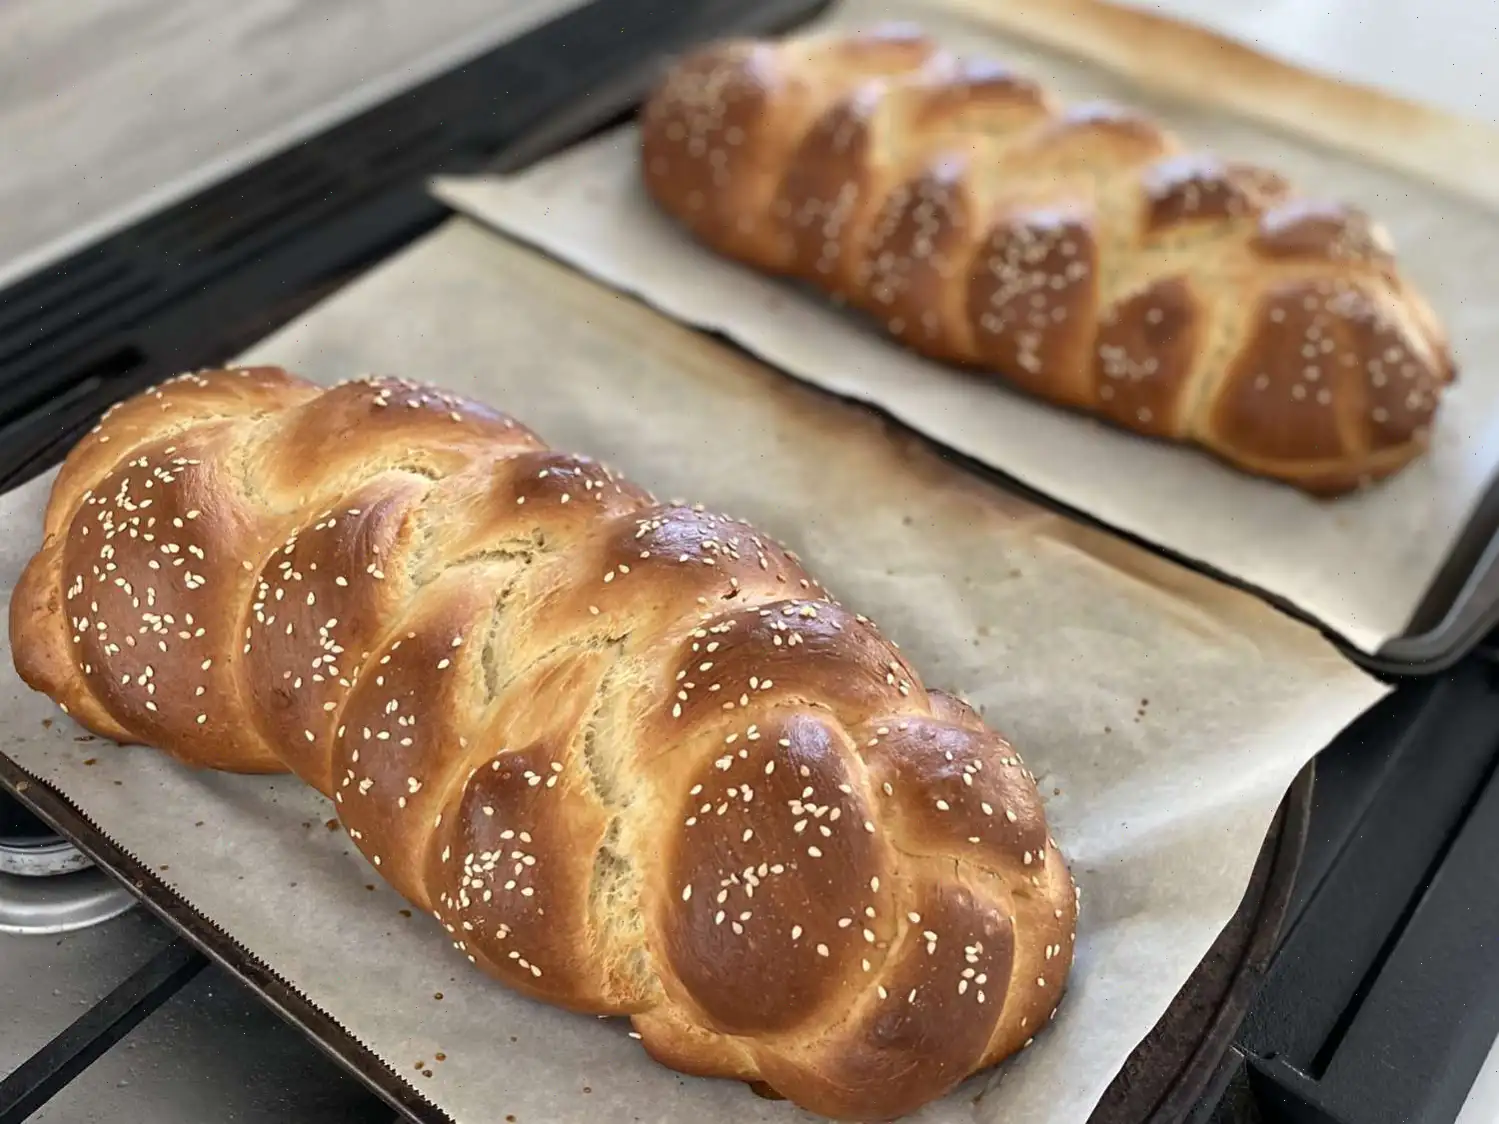
Este pan suave y ligeramente dulce es perfecto para celebraciones, desayunos especiales o simplemente para acompaar una taza de caf. Su miga es tierna y su superficie dorada, decorada con semillas de ssamo, lo hace tan bonito como delicioso.
Ingredientes
- 3 cucharadas de levadura seca activa
- 4 tazas de agua tibia
- 2 cucharadas de sal fina
- taza de azcar blanca
- 1 taza de aceite vegetal
- 4 huevos grandes
- 12 tazas de harina de trigo comn
- 1 huevo adicional (para pintar)
- 3 cucharadas de agua
- cucharadita de azcar vainillado o esencia de vainilla
- taza de semillas de ssamo
Preparacin
- Coloca el agua tibia en un bol amplio y espolvorea la levadura por encima. Djala reposar unos 5 minutos hasta que empiece a burbujear.
- Agrega la sal, el azcar, el aceite y los 4 huevos. Mezcla bien hasta integrar todo.
- Incorpora la harina poco a poco. Cuando la masa ya no se pueda trabajar con cuchara, psala a una superficie ligeramente enharinada.
- Amasa durante unos 810 minutos, hasta obtener una textura lisa, elstica y que no se pegue a las manos.
- Forma una bola, cbrela con un pao o colcala bajo un bol invertido y deja que repose hasta que duplique su volumen, aproximadamente entre 60 y 90 minutos.
- Desgasifica la masa suavemente y divdela en 6 u 8 porciones iguales, segn el diseo que prefieras.
- Reserva un pequeo trozo de masa aparte, siguiendo la tradicin, y gurdalo para ms tarde.
- Estira cada porcin formando tiras largas y trnzalas para crear uno o dos panes grandes, o dale forma de espiral si deseas algo diferente.
- Coloca las piezas en una bandeja con papel de horno, cbrelas ligeramente y deja que reposen de nuevo unos 3045 minutos, hasta que se vean ms esponjosas.
- Precalienta el horno a 200 C.
- En un recipiente pequeo, bate el huevo extra con el agua y la vainilla. Pinta la superficie de los panes y espolvorea por encima las semillas de ssamo.
- Hornea durante 3540 minutos, hasta que el pan est bien dorado y suene hueco al golpear la base.
- Mientras se hornea, envuelve el trocito de masa reservado en papel de aluminio y colcalo tambin en el horno para que se queme por completo.
Informacin nutricional aproximada (por porcin)
- Caloras: 141 kcal
- Grasas totales: 5 g
- Grasas saturadas: 1 g
- Colesterol: 16 mg
- Sodio: 240 mg
- Carbohidratos: 21 g
- Fibra: 1 g
- Azcares: 2 g
- Protenas: 3 g
- Calcio: 13 mg
- Hierro: 1 mg
- Potasio: 47 mg
Consejo: si quieres un aroma extra, puedes aadir ralladura de naranja o un toque de miel a la masa. Este pan se conserva muy bien congelado y se puede recalentar ligeramente antes de servir.
Puedes escuchar esta receta en formato de audio de IA. Simplemente haz clic en el botón de reproducción a continuación para escuchar el contenido en el formato que mejor te convenga. ¡Es una excelente manera de absorber información sobre la marcha!
Preguntas frecuentes sobre Receta de Jalá para Shabat
Compartir
Comentarios
Joshua Jackson
12/01/2024 05:50:10 AM
¡Esta receta es fantástica! La combinación de vainilla con el glaseado encima es deliciosa. Como alguien conocedor de la ley judía, me gustaría aclarar la ofrenda de la jalá. Esta costumbre es digna de elogio, pues se remonta a dar la porción de 'Jalá' a los Cohanim en el antiguo Templo de Jerusalén, tradición que dura 2,000 años. Hoy, cuando los Cohanim no tienen los mismos roles, hay reglas específicas. Se necesita una cantidad mínima de harina: unas 3 libras para quitar sin bendición y 5 libras para recitarla. El texto exacto de la bendición se encuentra en Chabad.com. Esto aplica a varios tipos de masa. La masa separada debe desecharse de manera que no se pueda usar ni sea kosher. Una opción es quemarla sobre la llama de la estufa o bajo el horno (con cuidado). Algunos rabinos permiten envolverla doblemente antes de desecharla. Es fascinante que esta mitzvá esté confiada especialmente a las mujeres, mostrando el poder de la oración.
Andrew Ramirez
01/31/2024 03:30:14 AM
Esta receta fue un excelente punto de partida para nuestro primer intento de hacer jalá, y quedamos muy contentos con el resultado. Hice algunos ajustes: usé harina integral, añadí un huevo extra, miel en lugar de azúcar y sustituí el aceite por manteca de palma. Con esta receta hicimos varios panes: dos trenzas de siete cabos (700g cada una), dos de cuatro cabos (600g cada una), tres redondos/trenzados (dos de 400g y uno de 200g) y una pequeña de cinco cabos. Documenté la experiencia en un blog con fotos.
Donald Mitchell
05/30/2024 03:20:12 PM
Decidí ajustar la receta para el gusto de mi familia. Ajusté las medidas y obtuve 7 mini panes y 2 bollos perfectos. Usé mezcla de harina blanca e integral, huevos, levadura de acción rápida y un toque de miel. Los horneé en mi horno tostador TFAL de convección. Seguí cuidadosamente el levado, evitando que la masa subiera demasiado, lo que había provocado panes secos antes. Moví los panes en el horno para evitar que se quemaran y obtuve un dorado perfecto con buena textura.
Kevin Harris
01/31/2024 11:19:29 AM
¡Me sorprendió lo ligero y esponjoso que quedó este pan! Reduje la receta a la mitad por su tamaño y fue perfecto. El toque de vainilla en el glaseado fue excelente. Solo cambiaría no poner semillas, ya que se caen fácilmente. Trencé con 4 cabos en lugar de 3 para manejar mejor el pan. Recomiendo buscar tutoriales en YouTube si eres nuevo trenzando pan.

 audio version


CookGuide es tu guía culinaria para descubrir nuevos sabores y cocinar con confianza. Encuentra recetas de confianza, consejos prácticos e inspiración tanto para cocinas domésticas como profesionales.
Cualquier copia, distribución o uso de los materiales de este servicio sin autorización está estrictamente prohibido. Las infracciones serán procesadas según la legislación aplicable y pueden dar lugar a responsabilidades civiles y penales.
© Guía de cocina Studio 2026 | Cookies | Política de PrivacidadEncuentra la receta perfecta con IA. Solo introduce los ingredientes y deja que Cook te guíe hacia la magia.