
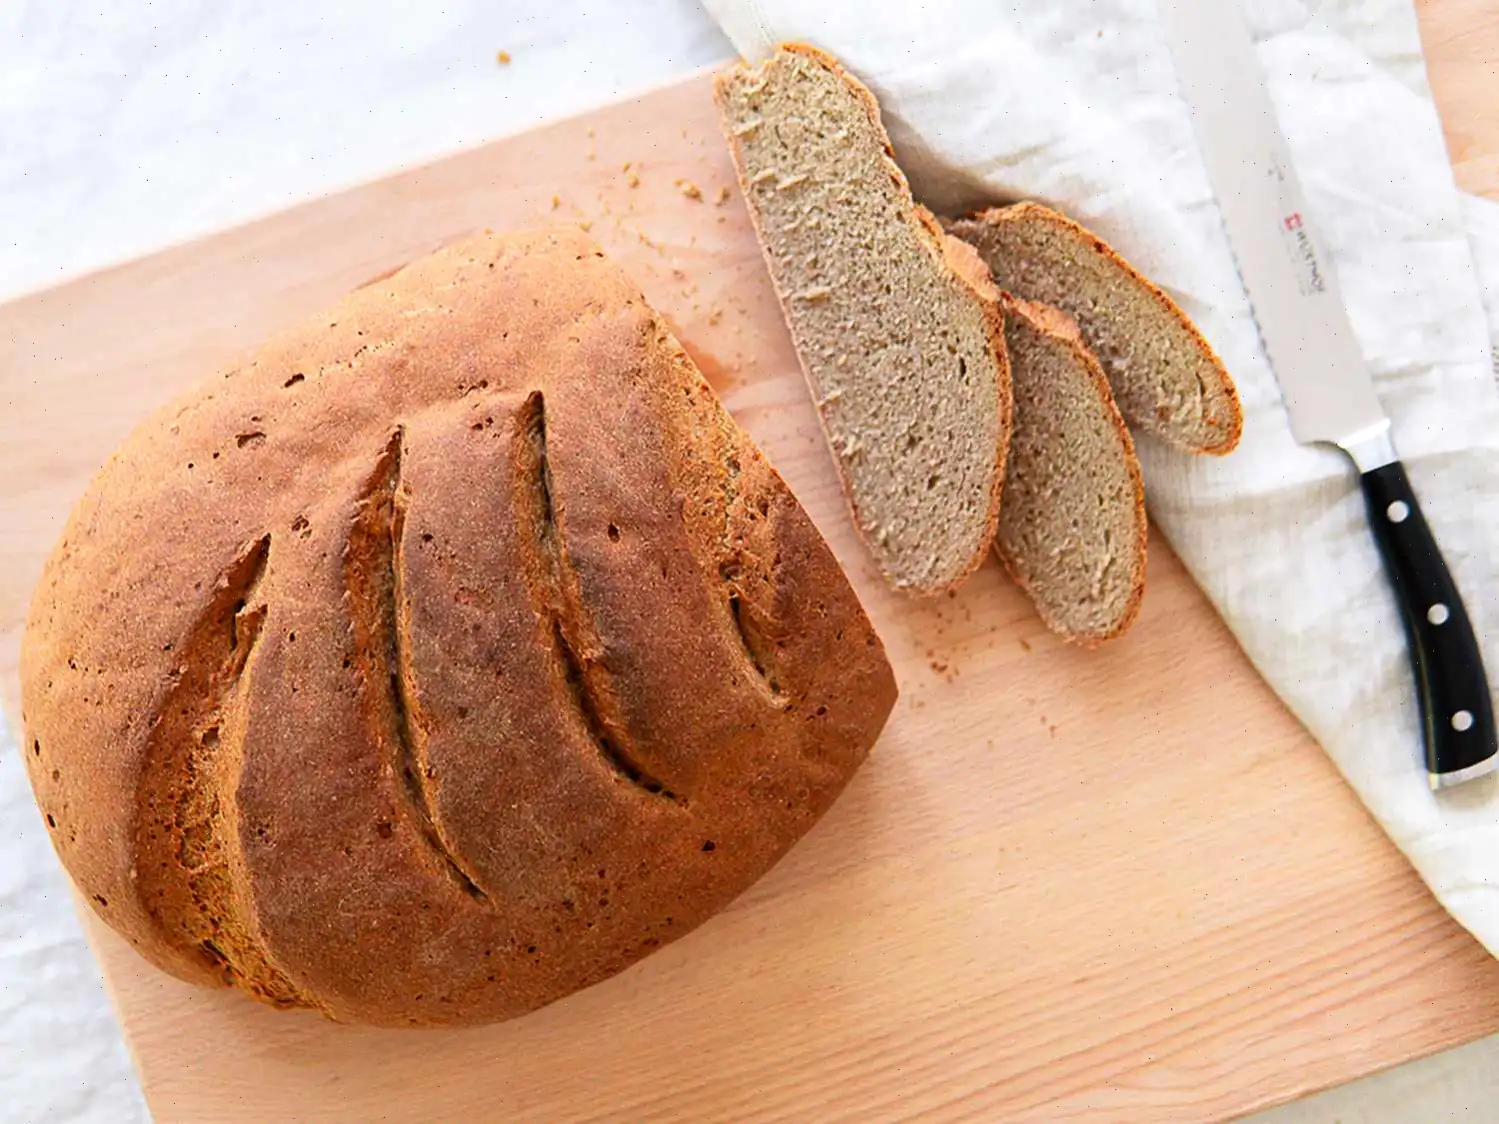
Receta auténtica de pan alemán (Bauernbrot)
Esta receta auténtica de pan alemán (Bauernbrot) es una receta tradicional que se ha transmitido de generación en generación. Hecha con ingredientes simples como harina de centeno, harina de trigo, agua, sal y levadura, este pan tiene una corteza crujiente y un interior suave y masticable. Perfecto para cortar y servir con mantequilla o queso, este pan es un básico en los hogares alemanes. Sigue esta receta para hacer tu propio Bauernbrot delicioso en casa.
Ingredientes
- 40 g de levadura fresca comprimida
- 1 litro de agua tibia
- 2 cucharadas de azcar blanco
- 960 g de harina comn (dividida)
- 960 g de harina de centeno blanca
- 2 cucharadas de sal
- 1 cucharadita de azcar blanco
- 480 ml de agua tibia
Instrucciones
Paso 1: Preparacin del iniciador de masa
Comienza desmenuzando la levadura en un recipiente grande. Agrega el agua tibia y las dos cucharadas de azcar. Mezcla bien hasta que la levadura se disuelva completamente. La temperatura del agua debe ser ligeramente superior a la corporal. Luego, incorpora gradualmente 480 g de harina, asegurndote de que no queden grumos. Cubre el bol con un pao limpio y deja reposar a temperatura ambiente durante 24 horas.
Paso 2: Fermentacin del iniciador
Pasado el primer da, mezcla bien la masa, vuelve a cubrirla y deja reposar otras 24 horas. Al cabo de este tiempo, la masa tendr una textura ligera y un color plido, lista para ser utilizada.
Paso 3: Preparacin de la masa del pan
En otro bol grande, mezcla las harinas (tanto de centeno como comn), el azcar y la sal. Aade el iniciador de masa y mezcla con una cuchara de madera hasta que se integren bien los ingredientes secos. A continuacin, agrega poco a poco los 480 ml de agua tibia y sigue mezclando hasta que la masa tome forma.
Paso 4: Amasado inicial
Coloca la masa en una batidora de pie con gancho amasador y deja que trabaje durante unos minutos. Cuando la masa se vuelva demasiado densa para la batidora, colcala sobre una superficie enharinada. Usa una mesa o encimera limpia para continuar amasando. Si la masa se siente muy rgida, aade unas cucharadas de agua de manera gradual. Amasa durante 15 a 20 minutos, hasta que la masa se vuelva suave y elstica.
Paso 5: Primer levado
Coloca la masa en un bol grande, cbrelo con un pao y deja reposar en un lugar clido durante 1 a 2 horas, o hasta que la masa haya duplicado su tamao.
Paso 6: Modelado de la masa
Cuando la masa haya fermentado, squela del bol y colcala nuevamente sobre la superficie enharinada. Amasa durante 5 minutos adicionales para activar el gluten. Dale forma a la masa en uno o dos panes largos, segn prefieras.
Paso 7: Segundo levado
Coloca los panes modelados sobre bandejas de horno y deja reposar durante una hora o hasta que la masa haya subido lo suficiente, lo cual se puede verificar al presionar suavemente la masa con un dedo y observar si deja una impresin.
Paso 8: Horneado
Precalienta el horno a 220C (425F). Introduce los panes en el horno y hornea durante 45 minutos si has hecho dos panes, o 1 hora y media si has hecho uno solo. No te preocupes si la corteza toma un color oscuro, ya que esto solo le dar ms sabor y el pan seguir estando delicioso.
Paso 9: Enfriamiento
Una vez horneados, deja que los panes se enfren completamente antes de cortarlos. Si lo prefieres, puedes congelar uno de los panes para disfrutarlo en otro momento.
Notas adicionales
- Si deseas tener iniciador de masa para la prxima vez, al segundo da aade 240 g de harina comn y 240 ml de agua al iniciador. Mezcla bien y deja reposar durante 24 horas antes de utilizarlo nuevamente. Guarda la mitad para tu prxima preparacin.
- El clima puede influir en el resultado del pan. Si hace mucho calor o humedad, es recomendable hacer el pan temprano por la maana, alrededor de las 5 a.m., para evitar problemas con la fermentacin.
Informacin nutricional (por porcin)
- Caloras: 334
- Grasas totales: 1 g (2% del valor diario)
- Grasas saturadas: 0 g (1% del valor diario)
- Sodio: 702 mg (31% del valor diario)
- Carbohidratos totales: 72 g (26% del valor diario)
- Fibra diettica: 8 g (27% del valor diario)
- Azcares totales: 2 g
- Protena: 9 g (18% del valor diario)
- Calcio: 20 mg (2% del valor diario)
- Hierro: 3 mg (18% del valor diario)
- Potasio: 206 mg (4% del valor diario)
Preguntas frecuentes sobre Receta auténtica de pan alemán (Bauernbrot)
Compartir
Comentarios
Elizabeth Cruz
07/23/2024 10:33:36 AM
Esta receta es un excelente punto de partida para hacer pan alemán tradicional de centeno. La he usado muchas veces con gran éxito. La clave es amasar bien la masa, lo cual hago con mi batidora KitchenAid. Dejo la máquina funcionando 10 minutos adicionales después de que la masa se junta, obteniendo una masa final suave pero ligeramente pegajosa, no seca. La receta produce una gran cantidad de masa (3.6 kg), así que ten en cuenta la capacidad de tu batidora si es pequeña o considera dividir la receta a la mitad si amasas a mano. Prefiero usar harina de centeno oscura y reemplazar 2 tazas de agua con suero de leche para dar más sabor. Al formar los panes, usualmente divido la masa en tres porciones: una simple, una con semillas de alcaravea y otra con cebolla caramelizada. Para la cebolla, salteo 3 cebollas medianas hasta dorar, las seco con papel de cocina y las incorporo a la masa con un poco de harina adicional si es necesario. ¡El resultado es un pan con sabor excepcional!
")


 audio version
CookGuide es tu guía culinaria para descubrir nuevos sabores y cocinar con confianza. Encuentra recetas de confianza, consejos prácticos e inspiración tanto para cocinas domésticas como profesionales.
Cualquier copia, distribución o uso de los materiales de este servicio sin autorización está estrictamente prohibido. Las infracciones serán procesadas según la legislación aplicable y pueden dar lugar a responsabilidades civiles y penales.
© Guía de cocina Studio 2026 | Cookies | Política de PrivacidadEncuentra la receta perfecta con IA. Solo introduce los ingredientes y deja que Cook te guíe hacia la magia.