
Receta de chili para el tailgate de los Boilermakers
Prepárate para el platillo definitivo para el día de juego con esta receta de Chili Boilermaker Tailgate. Lleno de carne molida, frijoles y una mezcla de especias, este chili seguro va a satisfacer a todos. Perfecto para disfrutar antes del partido o en una noche tranquila en casa, este chili siempre es un éxito.
Este chili es un platillo robusto y lleno de sabores intensos, ideal para compartir en reuniones. A continuacin, te muestro cmo prepararlo:
Ingredientes:
- 900 gramos de carne molida de res (tipo chuck)
- 450 gramos de salchicha italiana fresca
- 3 latas (425 g) de frijoles para chili, escurridos
- 1 lata (425 g) de frijoles para chili en salsa picante
- 2 latas (800 g) de tomates picados con su jugo
- 1 lata (170 g) de pasta de tomate
- 3 tallos de apio, picados
- 1 cebolla amarilla grande, picada
- 1 pimiento verde, sin semillas y picado
- 1 pimiento rojo, sin semillas y picado
- 2 chiles verdes, sin semillas y picados
- 1 cucharada de trozos de tocino
- 4 cubos de caldo de res
- 120 ml de cerveza
- 60 g de chile en polvo, o ms al gusto
- 1 cucharada de ajo picado
- 1 cucharada de salsa Worcestershire
- 1 cucharada de organo seco
- 2 cucharaditas de comino molido
- 2 cucharaditas de salsa picante (tipo Tabasco)
- 1 cucharadita de albahaca seca
- 1 cucharadita de pimienta de cayena
- 1 cucharadita de pimentn
- 1 cucharadita de azcar blanca
- 1 cucharadita de sal, o ms al gusto
- 1 cucharadita de pimienta negra molida, o ms al gusto
- 1 bolsa (300 g) de chips de maz (tipo Fritos)
- 1 paquete (225 g) de queso Cheddar rallado
Instrucciones:
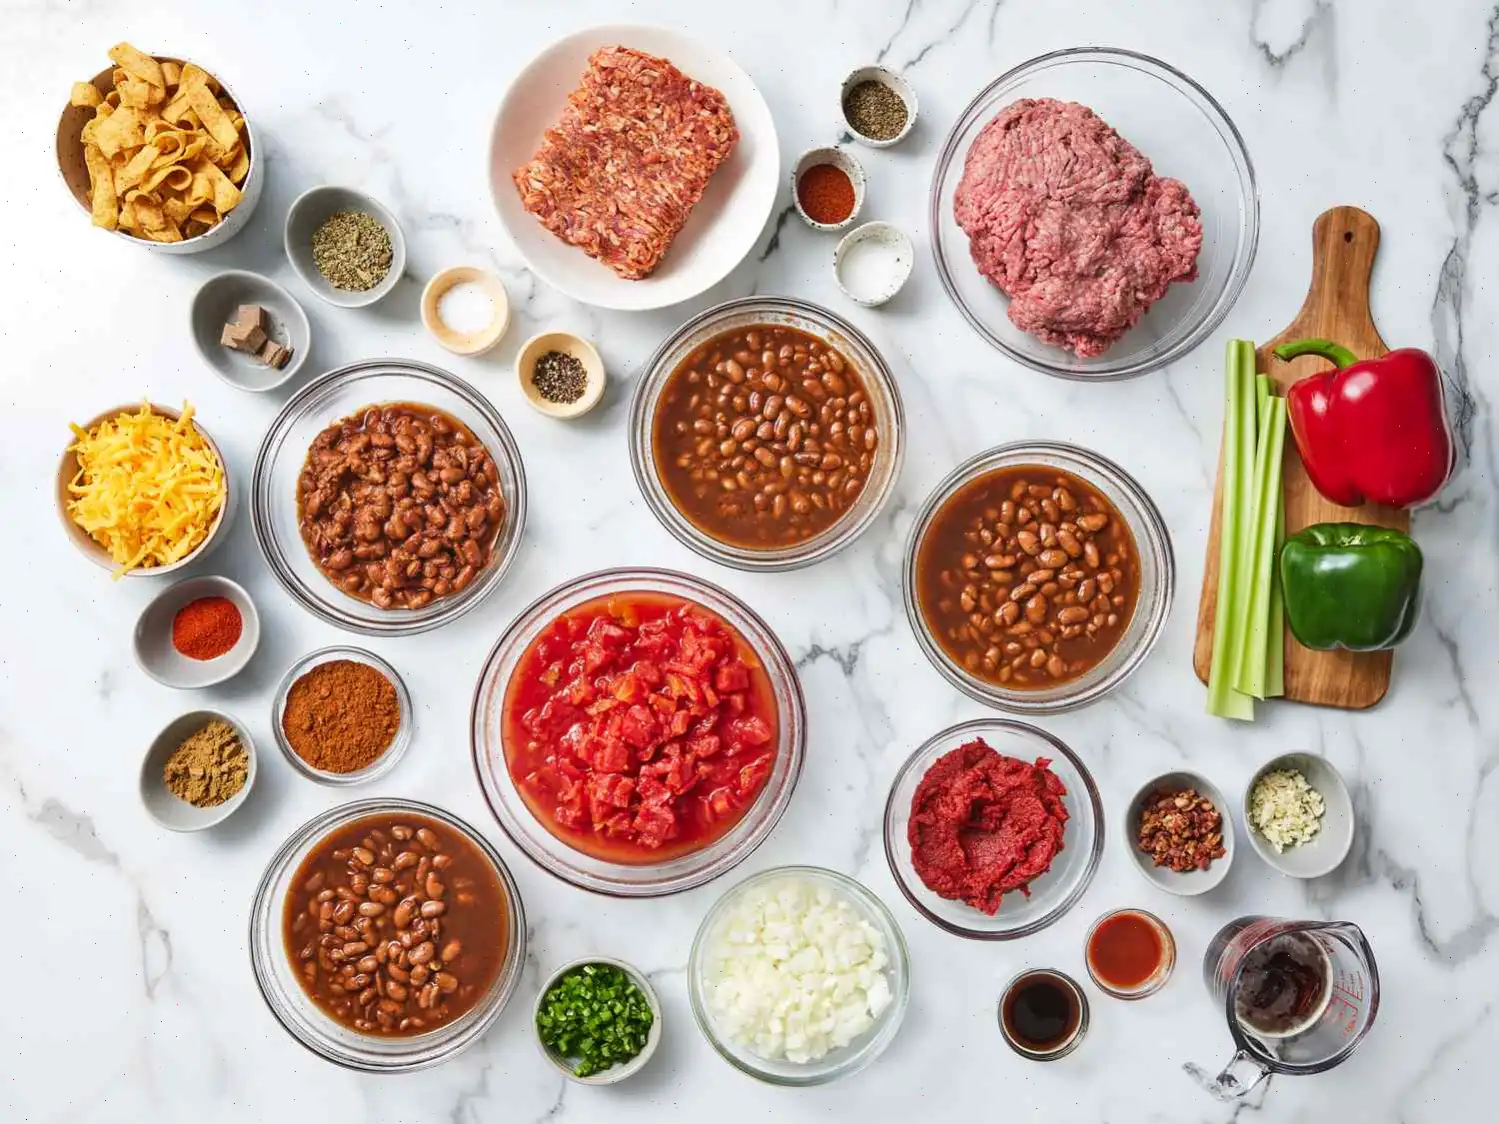
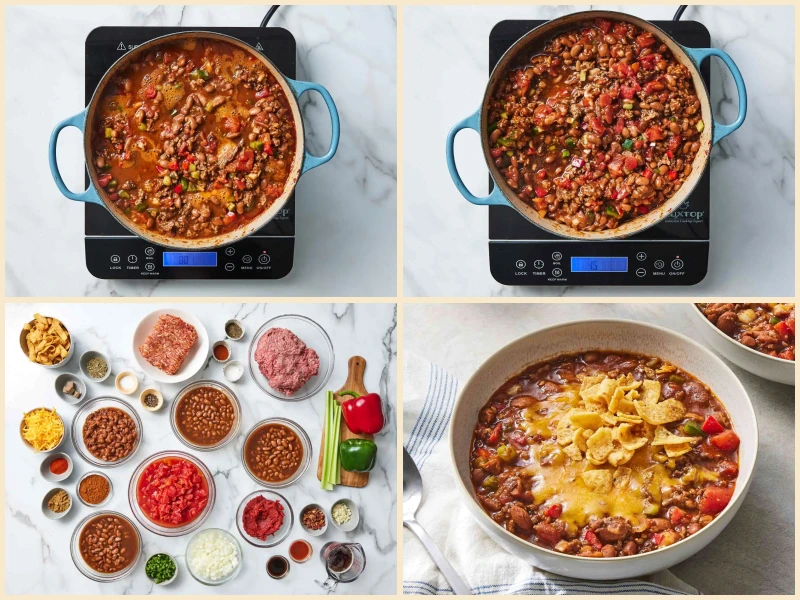
- Rene todos los ingredientes para preparar el chili.
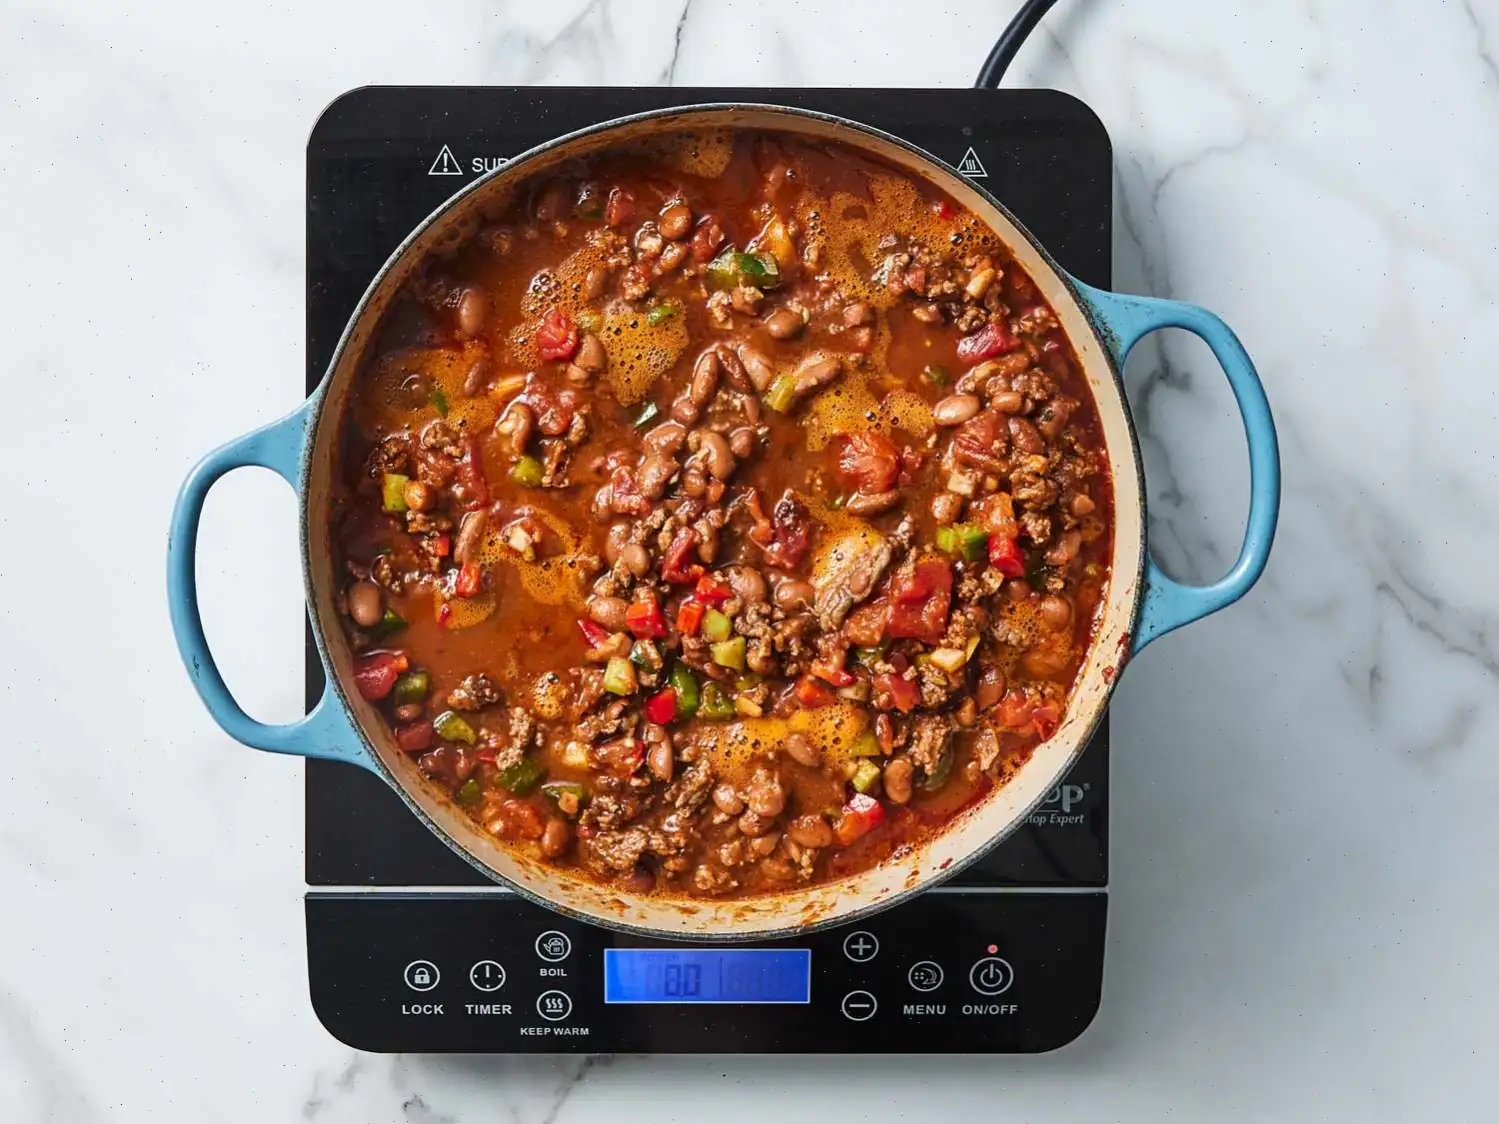
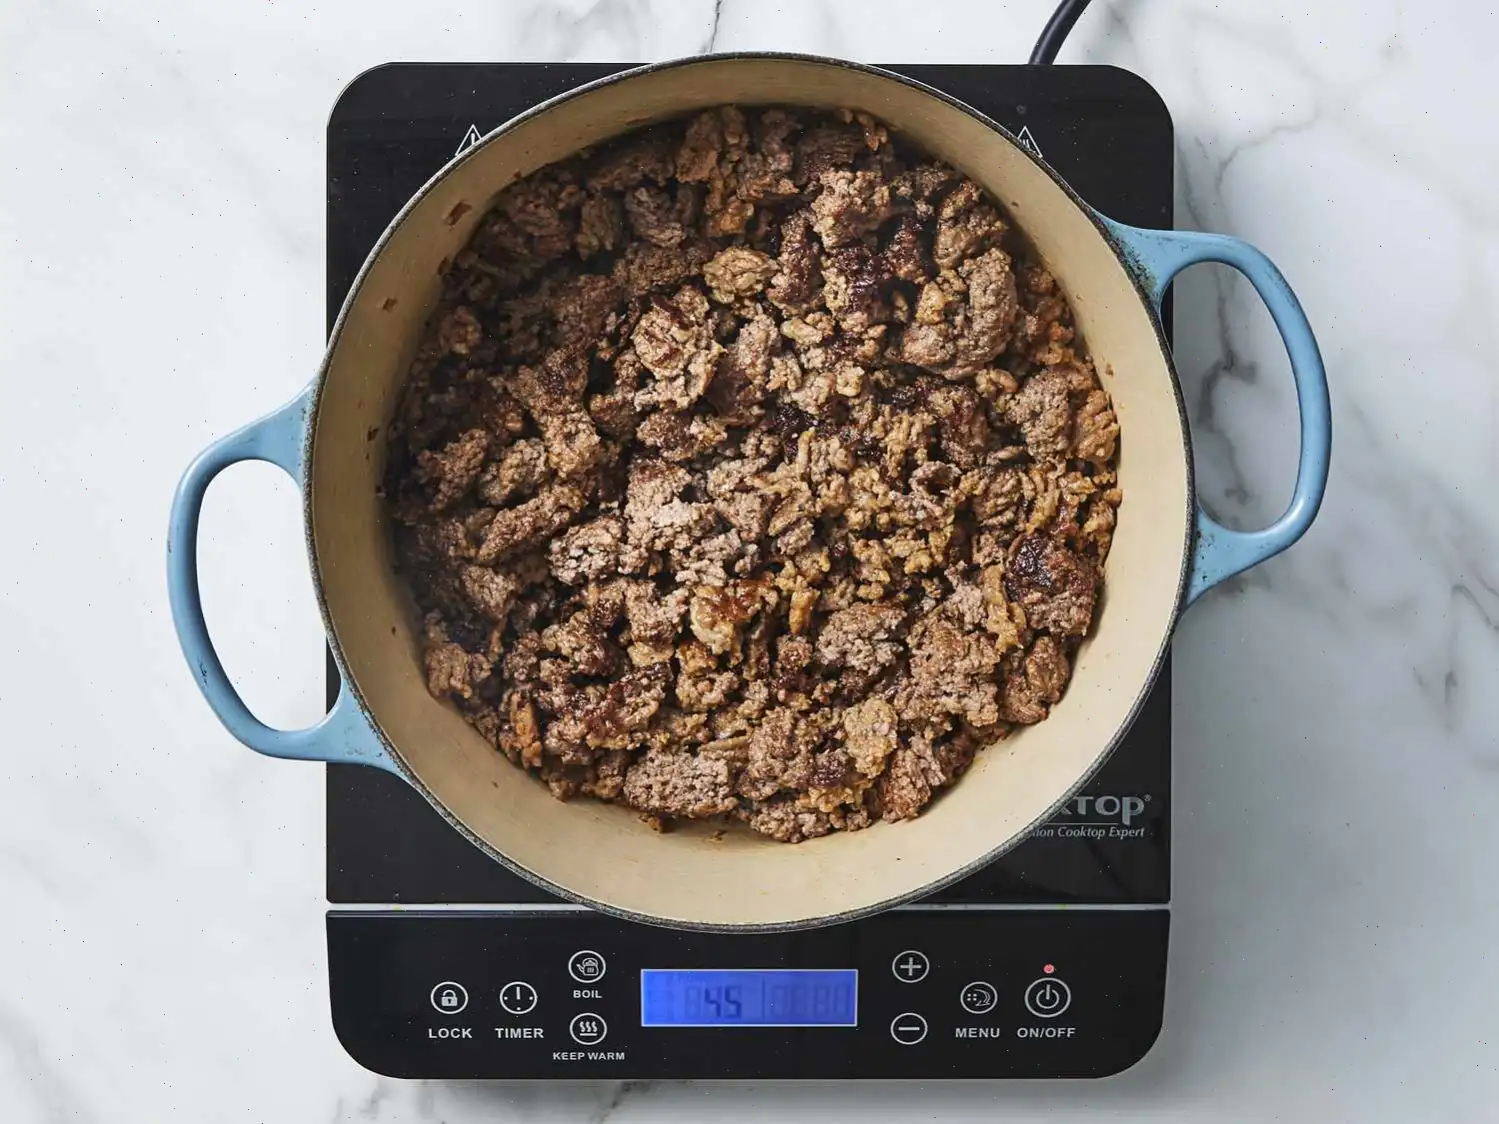
- En una olla grande, calienta a fuego medio-alto. Agrega la carne molida y la salchicha. Cocina mientras revuelves constantemente hasta que la carne se dore de manera uniforme. Elimina el exceso de grasa.
- Agrega los frijoles para chili, los frijoles en salsa picante, los tomates picados con su jugo, y la pasta de tomate. Incorpora tambin el apio, la cebolla, los pimientos, los chiles verdes, los trozos de tocino, los cubos de caldo de res, la cerveza, el chile en polvo, el ajo, la salsa Worcestershire, el organo, el comino, la salsa picante, la albahaca, la pimienta de cayena, el pimentn, el azcar, la sal y la pimienta negra.
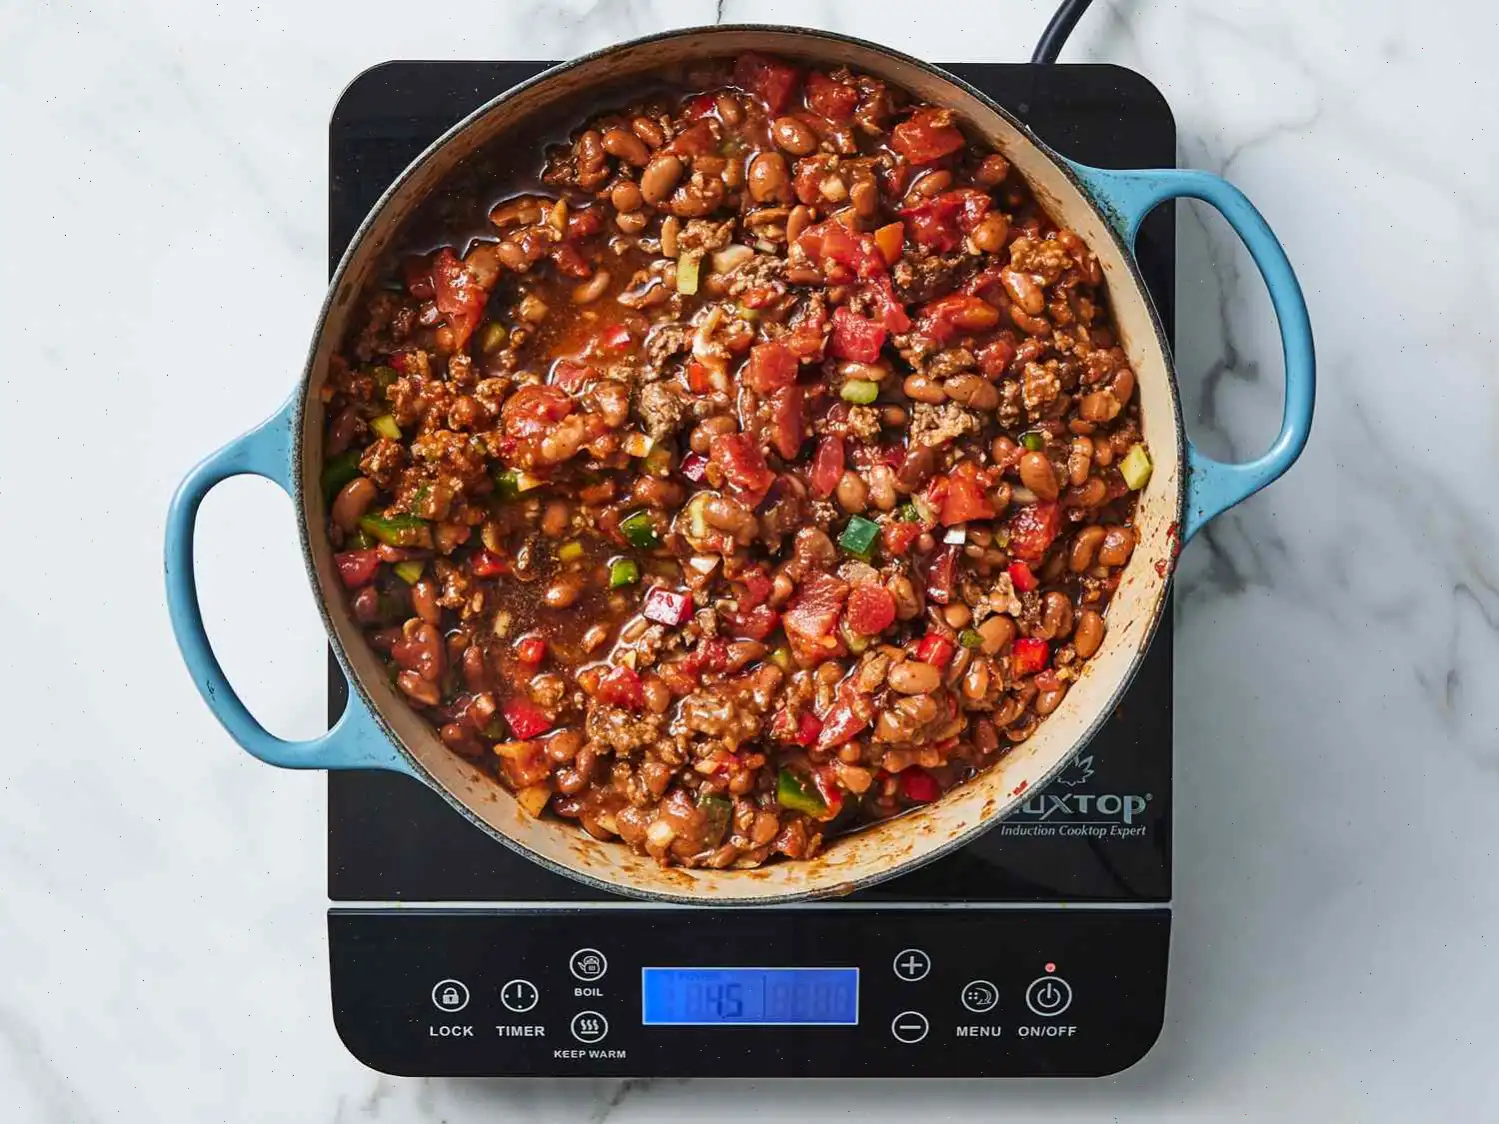
- Mezcla todos los ingredientes hasta que queden bien integrados. Cubre la olla y cocina a fuego lento durante al menos 2 horas, removiendo ocasionalmente. Cuanto ms tiempo lo dejes, ms intenso ser el sabor.
- Prueba el chili y ajusta la sazn si es necesario. Puedes agregar ms sal, pimienta o chile en polvo segn tu preferencia.
- Cuando el chili est listo, retralo del fuego. Puedes servirlo de inmediato o dejarlo enfriar y refrigerarlo para recalentar al da siguiente, lo que mejorar an ms el sabor.
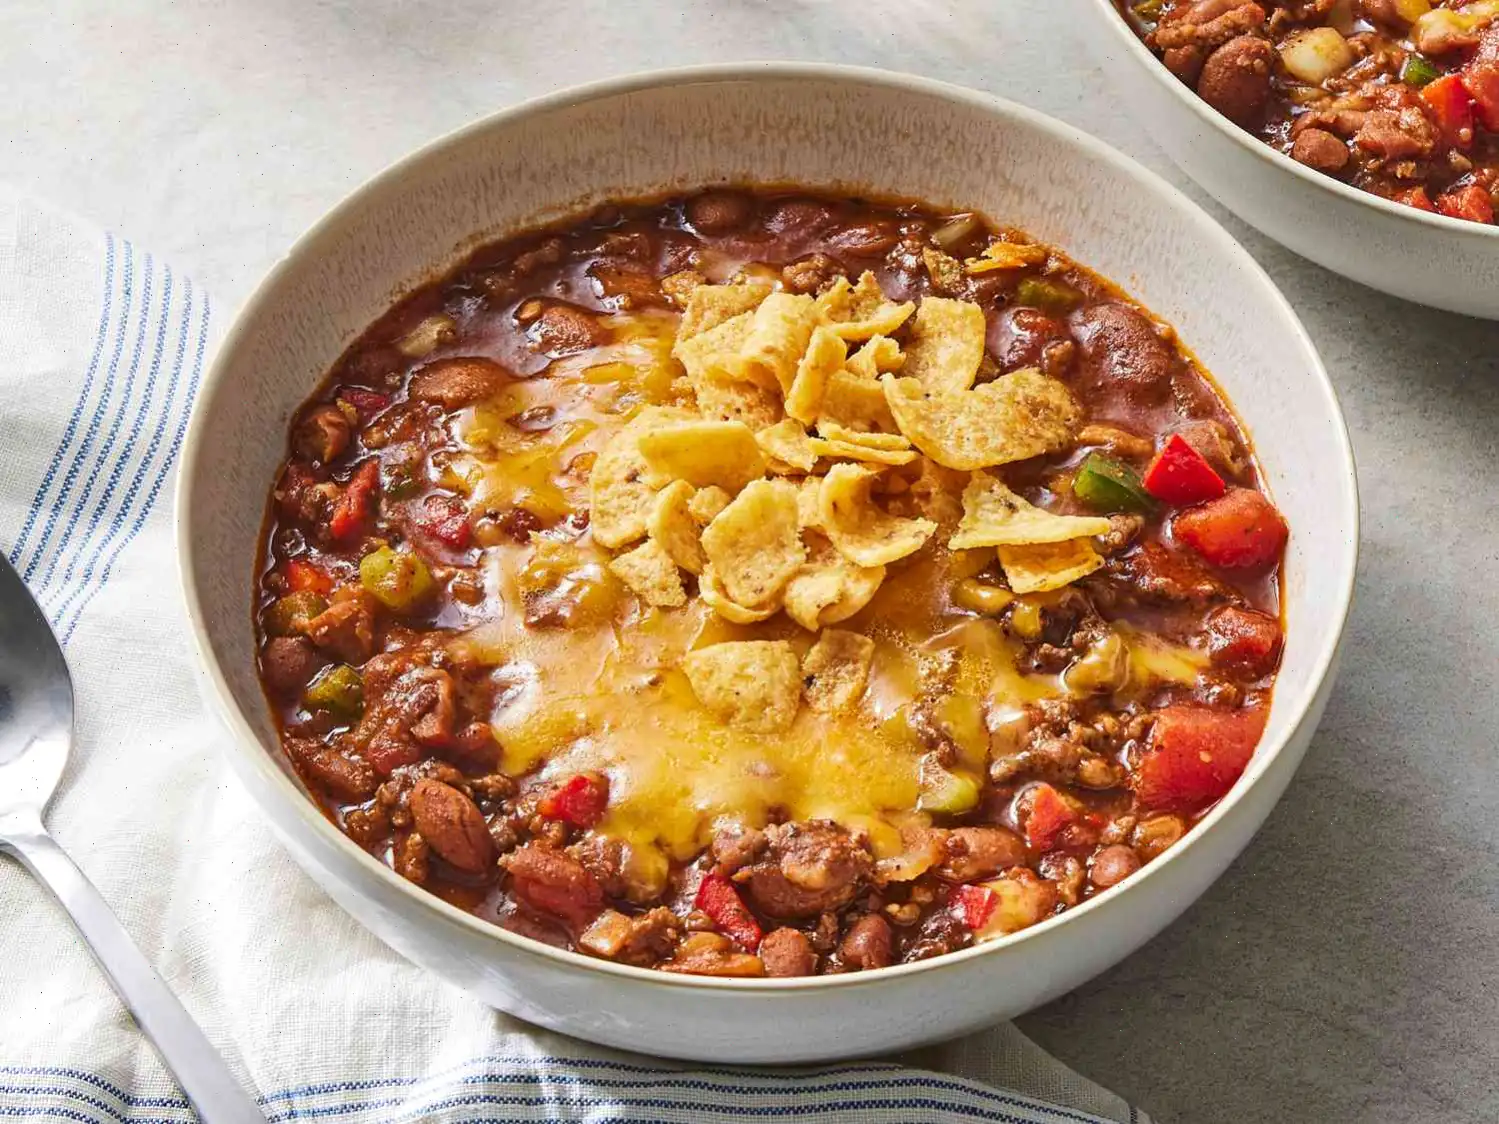
- Para servir, coloca el chili caliente en tazones. Aade chips de maz por encima y espolvorea generosamente con queso Cheddar rallado. Disfruta!
Informacin Nutricional (por porcin):
- Caloras: 600
- Grasas Totales: 30 g (39%)
- Grasas Saturadas: 11 g (53%)
- Colesterol: 70 mg (23%)
- Sodio: 2093 mg (91%)
- Carbohidratos Totales: 55 g (20%)
- Fibra Diettica: 12 g (41%)
- Azcares Totales: 12 g
- Protenas: 31 g (62%)
- Vitamina C: 59 mg (65%)
- Calcio: 311 mg (24%)
- Hierro: 8 mg (46%)
- Potasio: 1108 mg (24%)
* Los valores diarios recomendados estn basados en una dieta de 2,000 caloras. Las necesidades diarias pueden variar dependiendo de tus requerimientos energticos.
** La informacin nutricional no est disponible para todos los ingredientes. Los valores son aproximados segn los datos disponibles.
Puedes escuchar esta receta en formato de audio de IA. Simplemente haz clic en el botón de reproducción a continuación para escuchar el contenido en el formato que mejor te convenga. ¡Es una excelente manera de absorber información sobre la marcha!
Preguntas frecuentes sobre Receta de chili para el tailgate de los Boilermakers
Compartir
Comentarios
Linda Roberts
09/04/2024 06:55:42 PM
¡No puedo expresar lo increíble que está este chili! La carne estaba muy tierna y los sabores eran simplemente deliciosos, llegando hasta mis dedos de los pies. Recientemente gané un concurso de chili con esta receta, lo que creo fue clave para mi victoria. Tanto los jueces como el público la adoraron, y todo se terminó en solo 30 minutos. Hice algunos ajustes: usé 3 libras de carne de res en cubos en lugar de carne molida para una textura más carnosa, cociné 4 rebanadas de tocino desmenuzado y salteé el apio, la cebolla y el ajo en la grasa del tocino. Mi mejor consejo: prepara el chili el día anterior, deja que se enfríe durante la noche, retira el exceso de grasa y luego recalienta; esto mejora mucho el sabor. El día de servir, lo mantuve caliente en mi olla de cocción lenta a temperatura baja.
Emily Walker
05/16/2024 03:20:52 AM
¡A mi esposo le encantó este chili! Definitivamente lo haré de nuevo. Usé una mezcla de 1 libra de salchicha italiana de pavo picante, 1 libra de salchicha italiana de cerdo picante y 1 libra de carne molida, lo que creó una combinación de sabores fantástica. También es una opción más saludable que usar 3 libras de carne de res. Como las salchichas ya tenían especias, omití los pimientos y tabasco extra, y el chili quedó bastante picante. Reduje el chile en polvo a 3 cucharadas en lugar de 4. En lugar de pasta de tomate, usé 2 latas pequeñas de salsa de tomate. También combiné tomates enlatados de diferentes tipos para dar textura. Ajusta el picante según tu gusto. Esta receta vale totalmente el esfuerzo y tiempo.


 audio version

CookGuide es tu guía culinaria para descubrir nuevos sabores y cocinar con confianza. Encuentra recetas de confianza, consejos prácticos e inspiración tanto para cocinas domésticas como profesionales.
Cualquier copia, distribución o uso de los materiales de este servicio sin autorización está estrictamente prohibido. Las infracciones serán procesadas según la legislación aplicable y pueden dar lugar a responsabilidades civiles y penales.
© Guía de cocina Studio 2026 | Cookies | Política de PrivacidadEncuentra la receta perfecta con IA. Solo introduce los ingredientes y deja que Cook te guíe hacia la magia.