
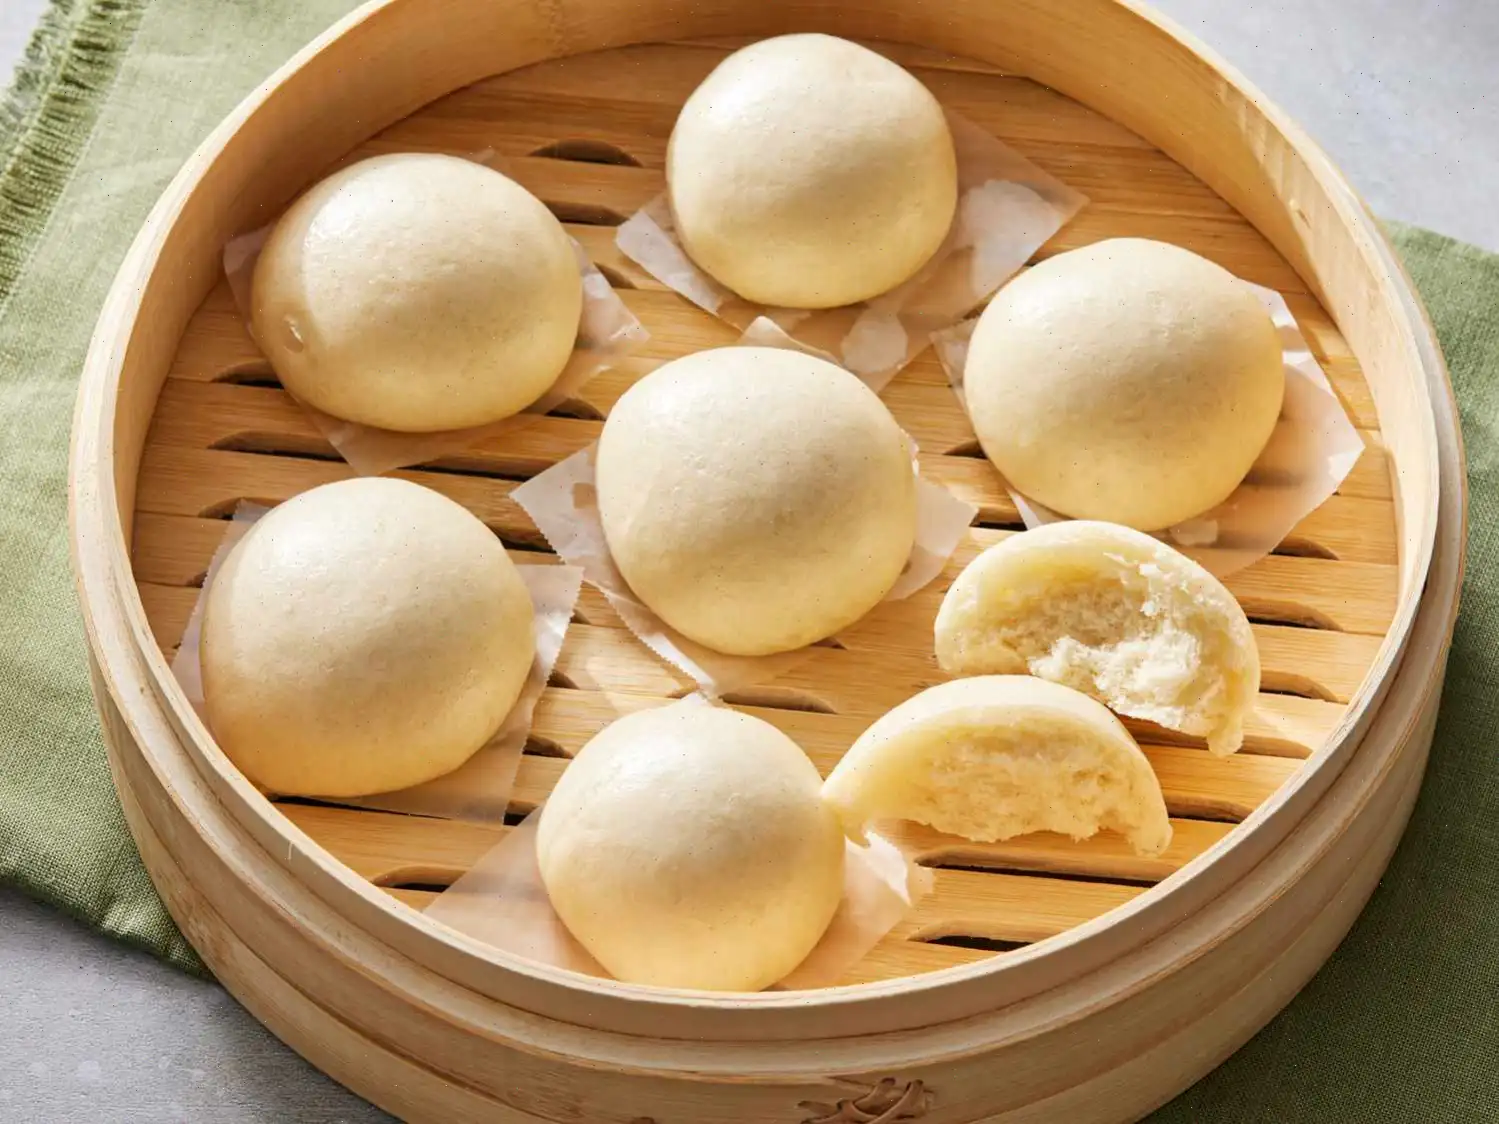
Receta de panecillos chinos al vapor
Los bollos al vapor chinos, también conocidos como baozi, son un plato popular en China que se puede disfrutar como un bocadillo o una comida. Estos bollos esponjosos y suaves están rellenos con una variedad de ingredientes salados o dulces, lo que los hace un manjar versátil y delicioso. ¡Sigue esta receta sencilla para hacer tus propios bollos al vapor chinos en casa!
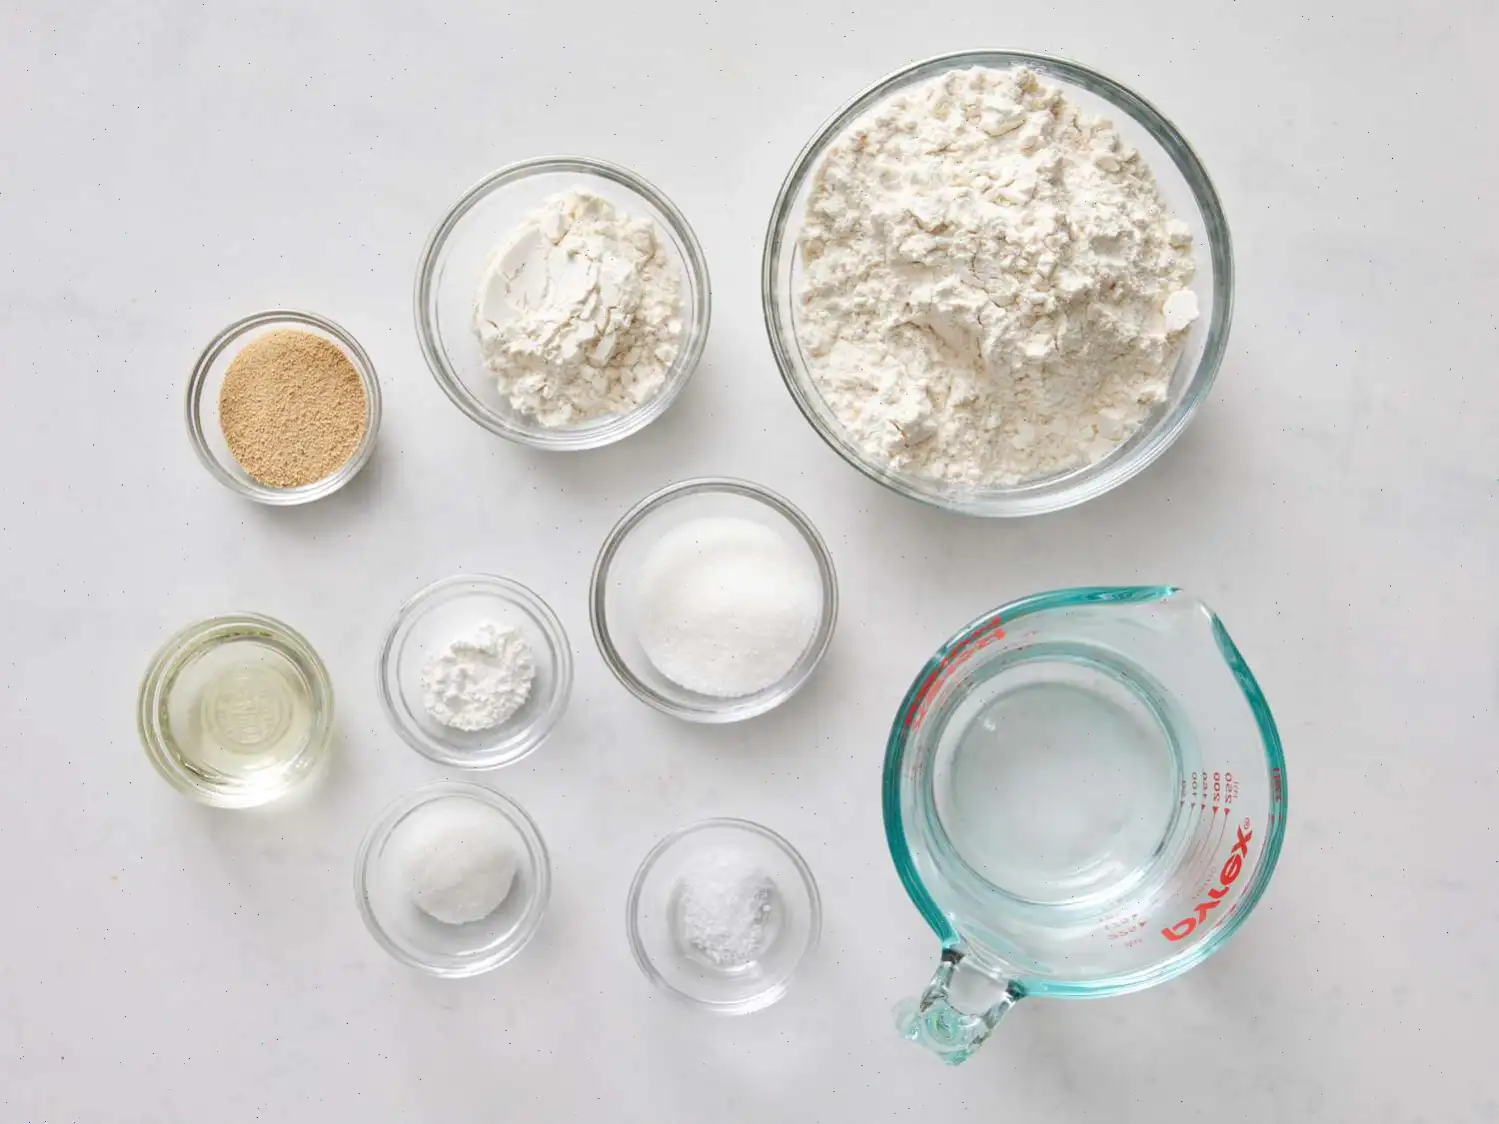

Ingredientes
- 1 tazas de harina de trigo comn, dividida
- taza de agua tibia, dividida
- 1 cucharada de levadura seca activa
- 1 cucharadita de azcar blanca
- 2 cucharadas de azcar adicional
- 1 cucharada de aceite vegetal
- cucharadita de sal
- cucharadita de polvo de hornear
Instrucciones
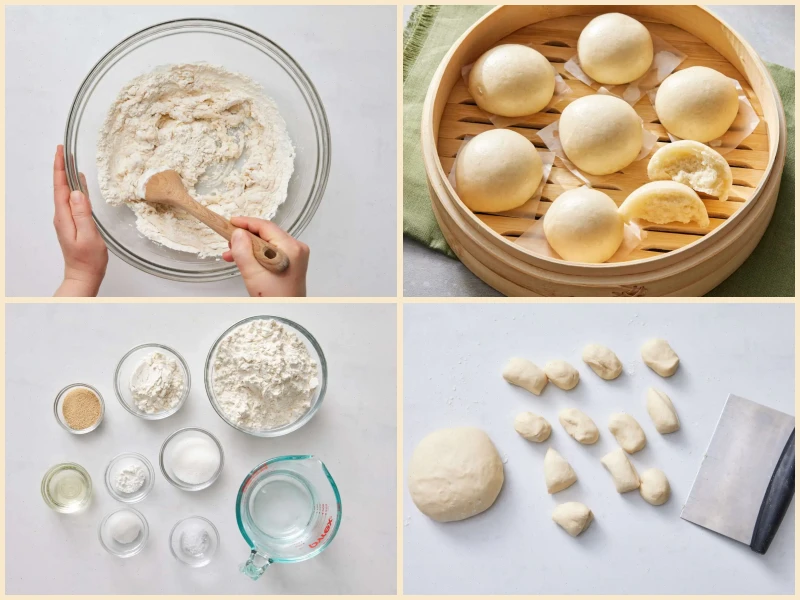
Paso 1: Preparar los ingredientes
Organiza todos los elementos necesarios sobre la mesa y asegrate de que el agua est tibia para la activacin de la levadura.
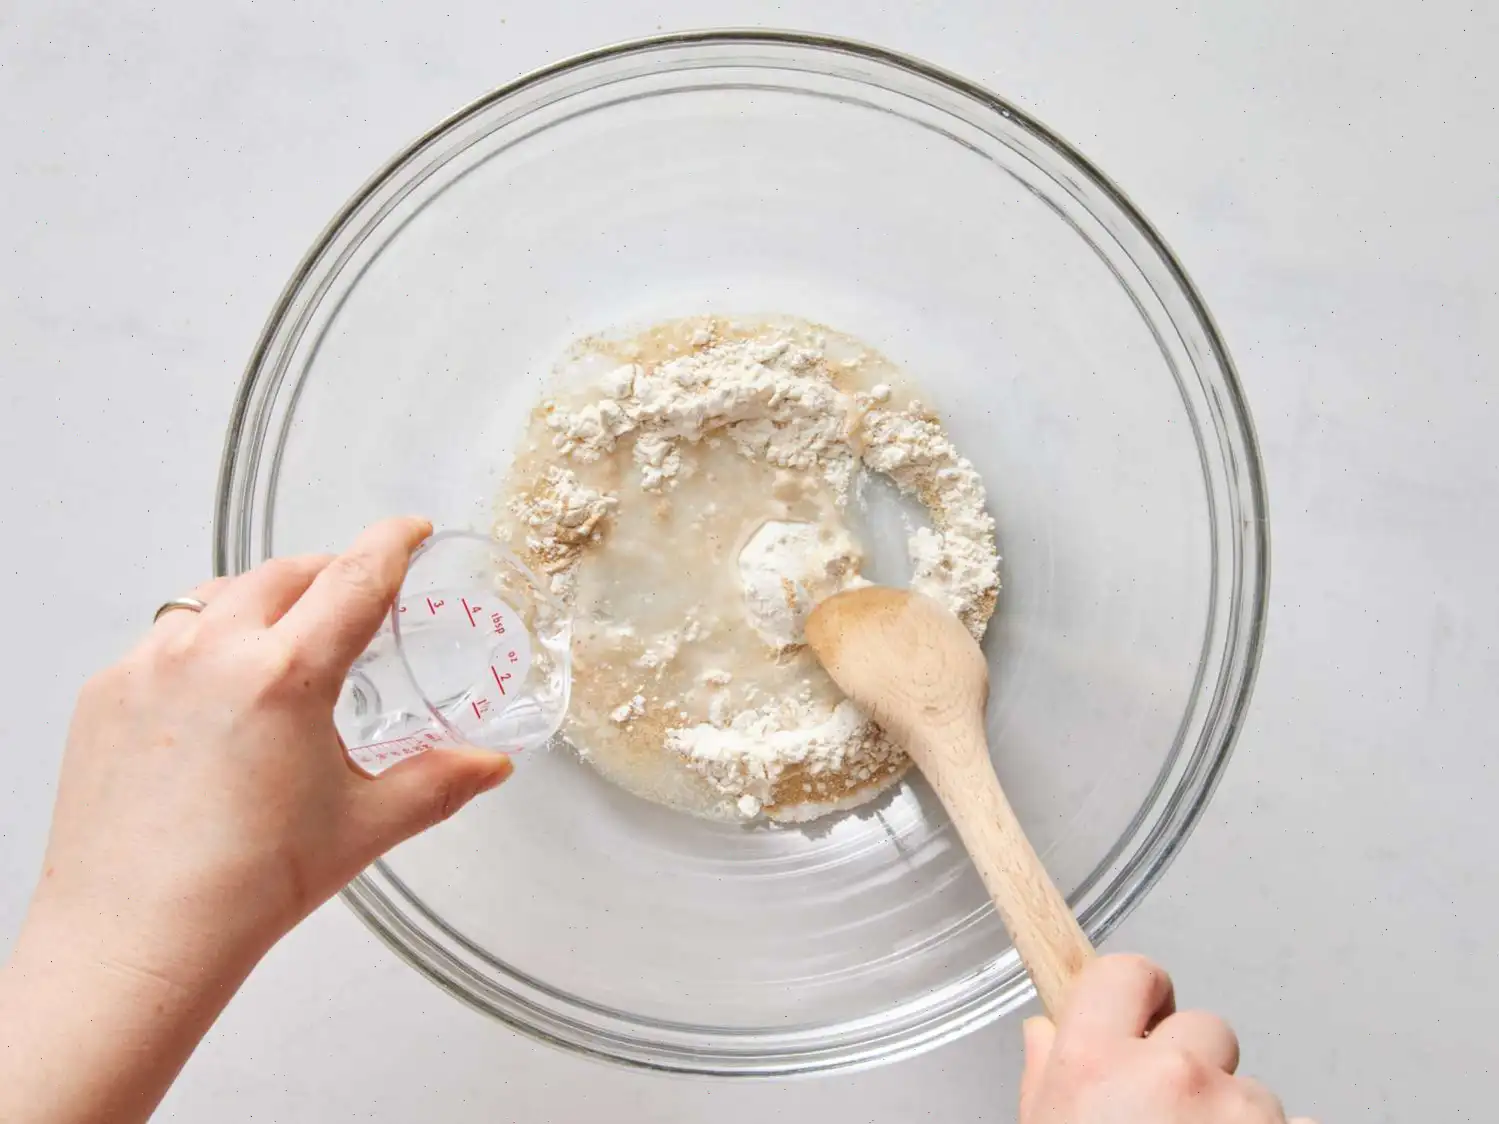
Paso 2: Activar la levadura
En un recipiente amplio, combina de taza de harina, de taza de agua tibia, la levadura y 1 cucharadita de azcar. Mezcla bien y deja reposar 30 minutos para que la levadura haga efecto.
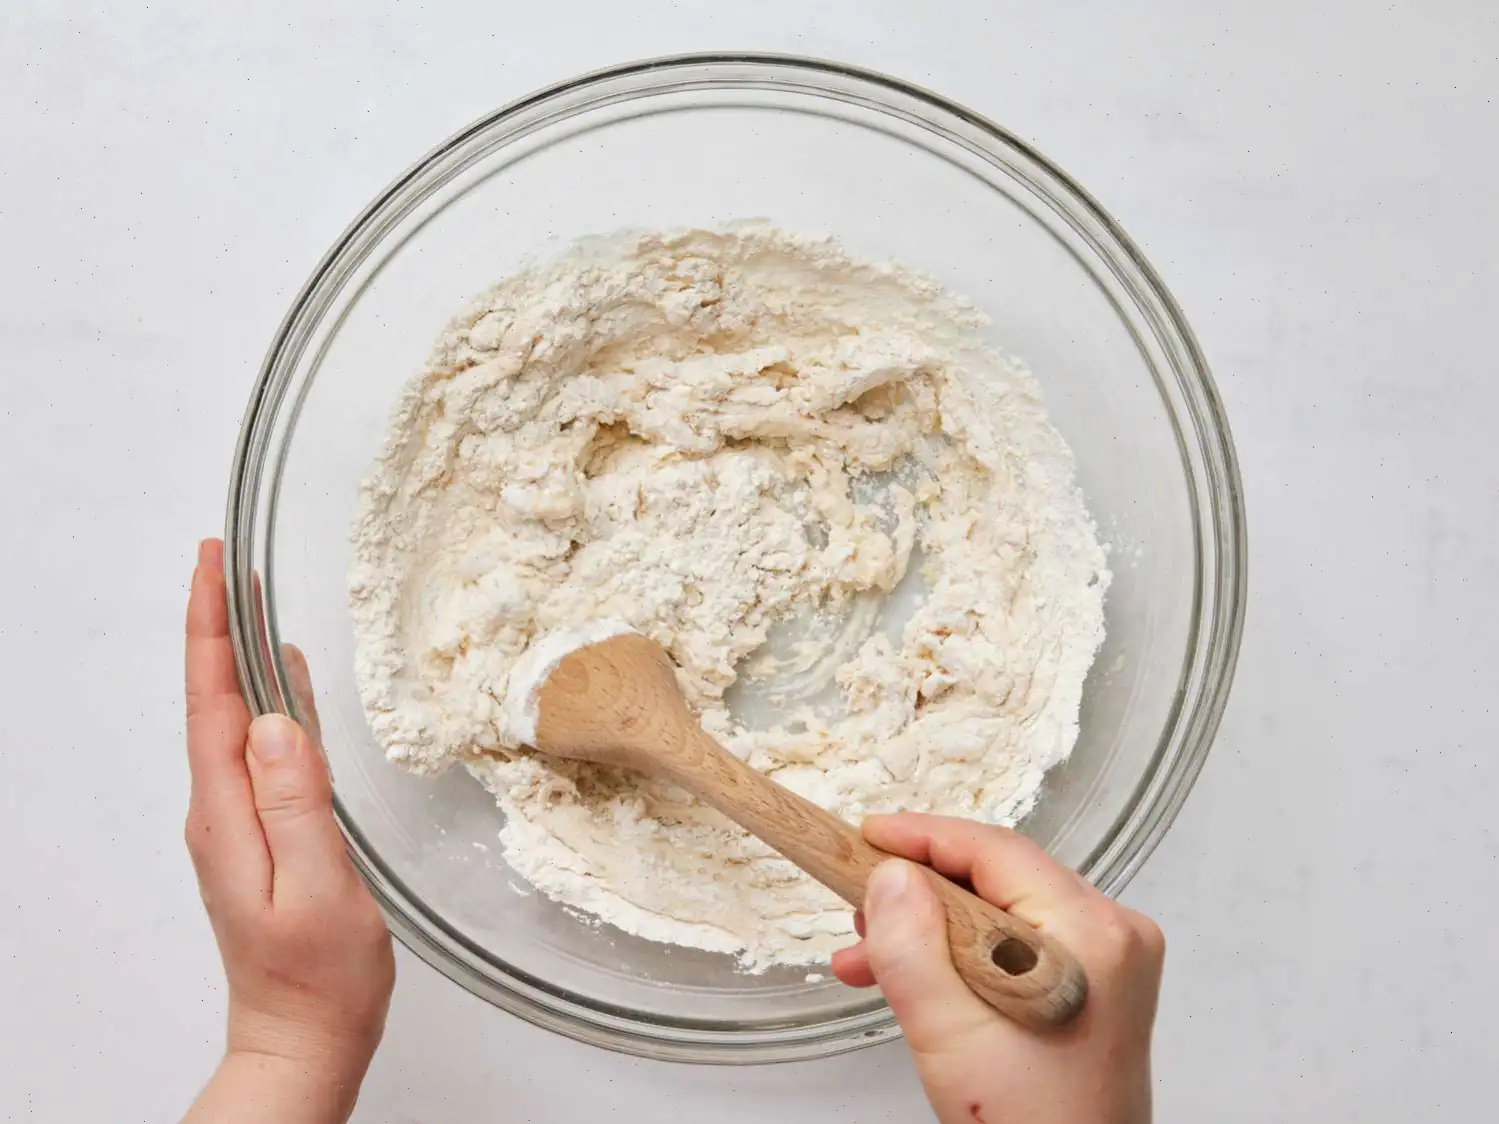
Paso 3: Formar la masa
Transcurrido el tiempo de activacin, incorpora el resto de la harina, taza de agua, 2 cucharadas de azcar, aceite vegetal y sal. Remueve hasta obtener una mezcla homognea.
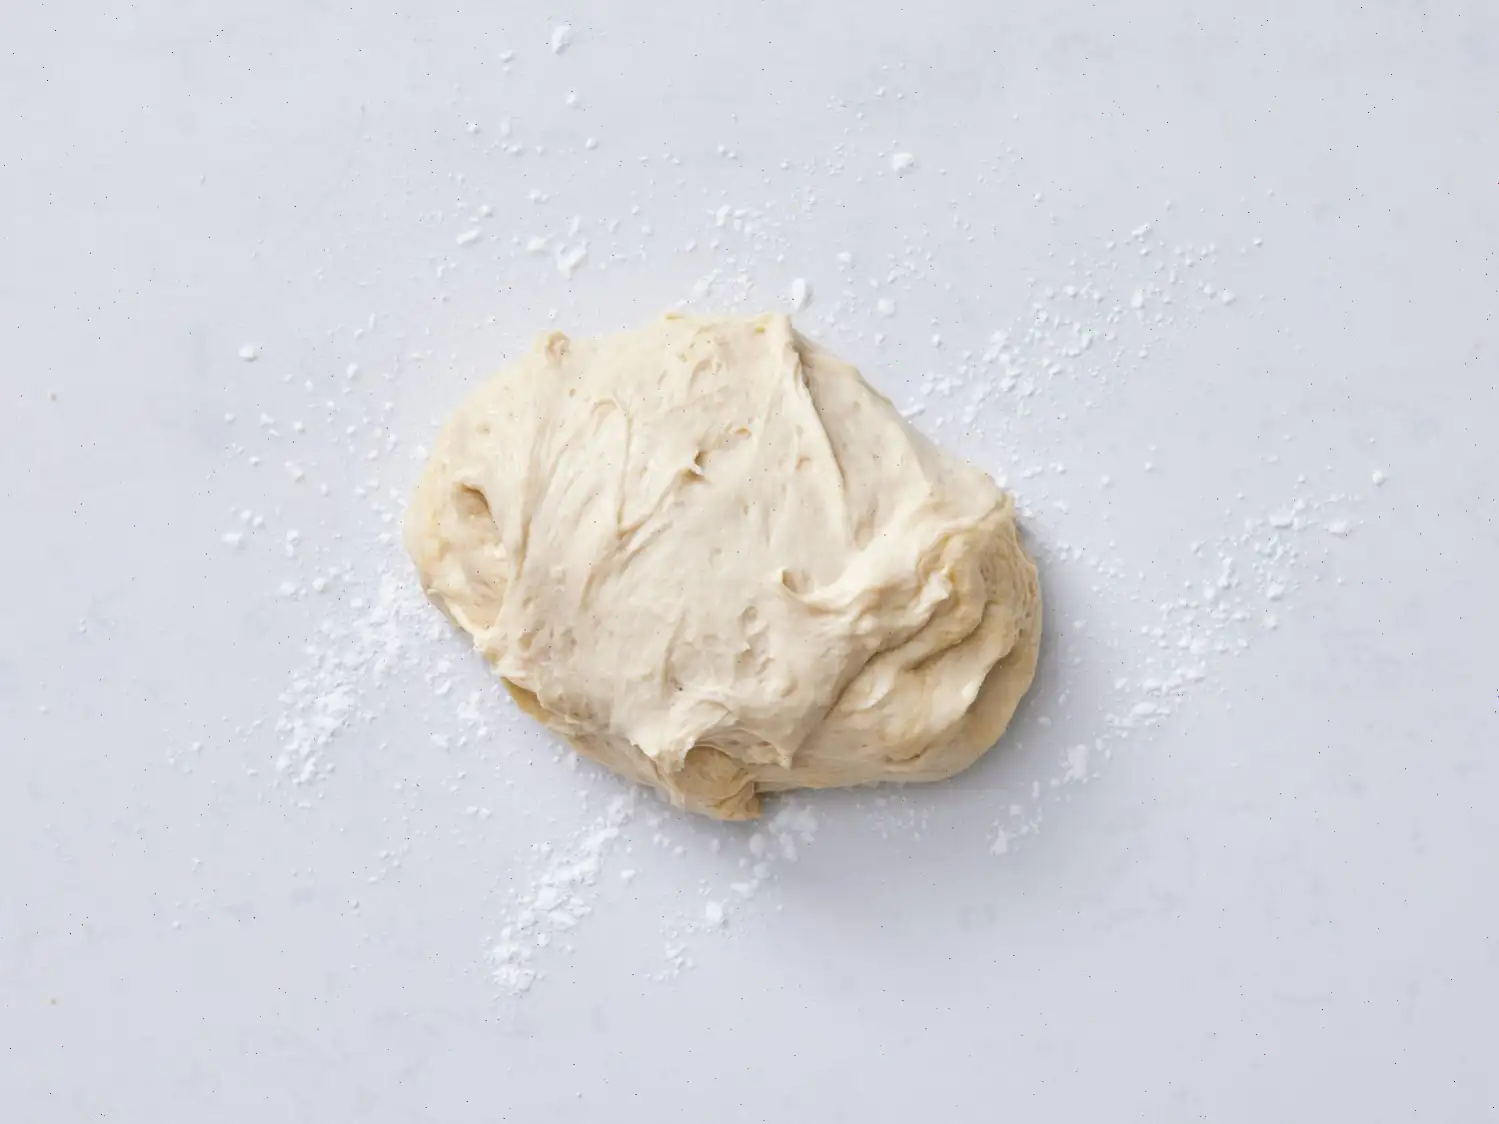
Paso 4: Amasar
Trabaja la masa sobre una superficie ligeramente enharinada hasta que se vuelva suave y elstica, aproximadamente 5 a 7 minutos.
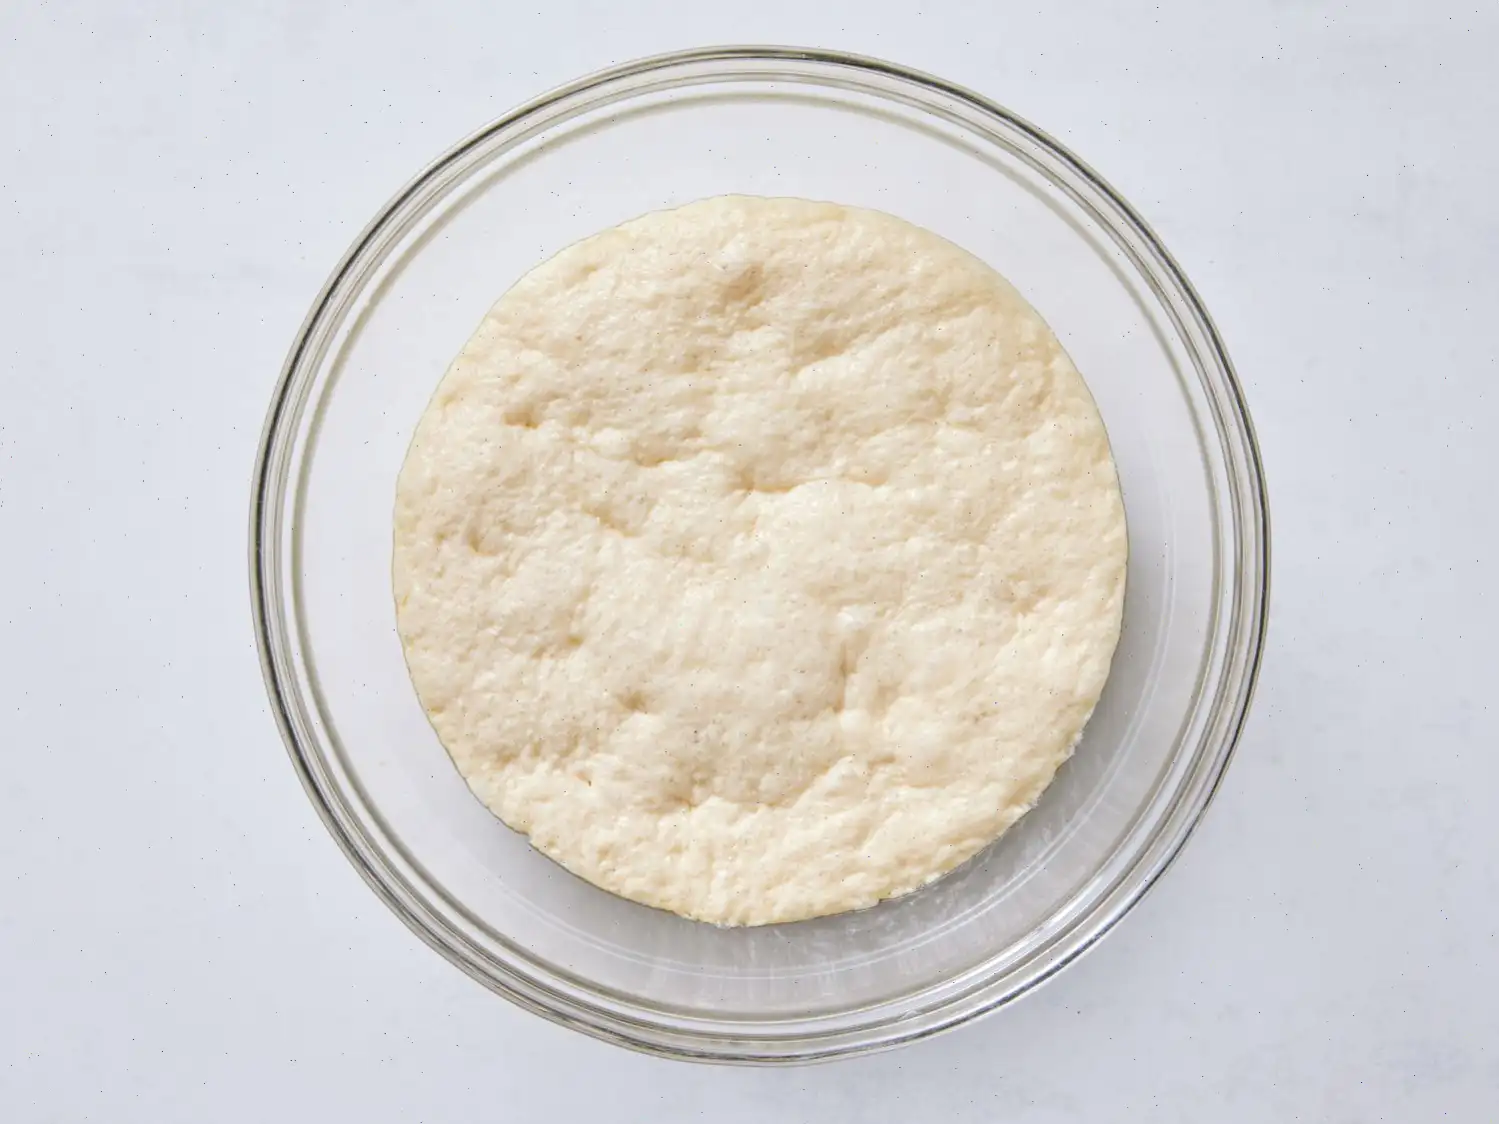
Paso 5: Primer levado
Coloca la masa en un bol aceitado, cubre y deja reposar entre 2 y 3 horas, hasta que triplique su tamao.
Paso 6: Preparacin final de la masa
Golpea la masa para desinflarla y psala a una superficie enharinada. Espolvorea uniformemente el polvo de hornear y amasa otros 5 minutos.
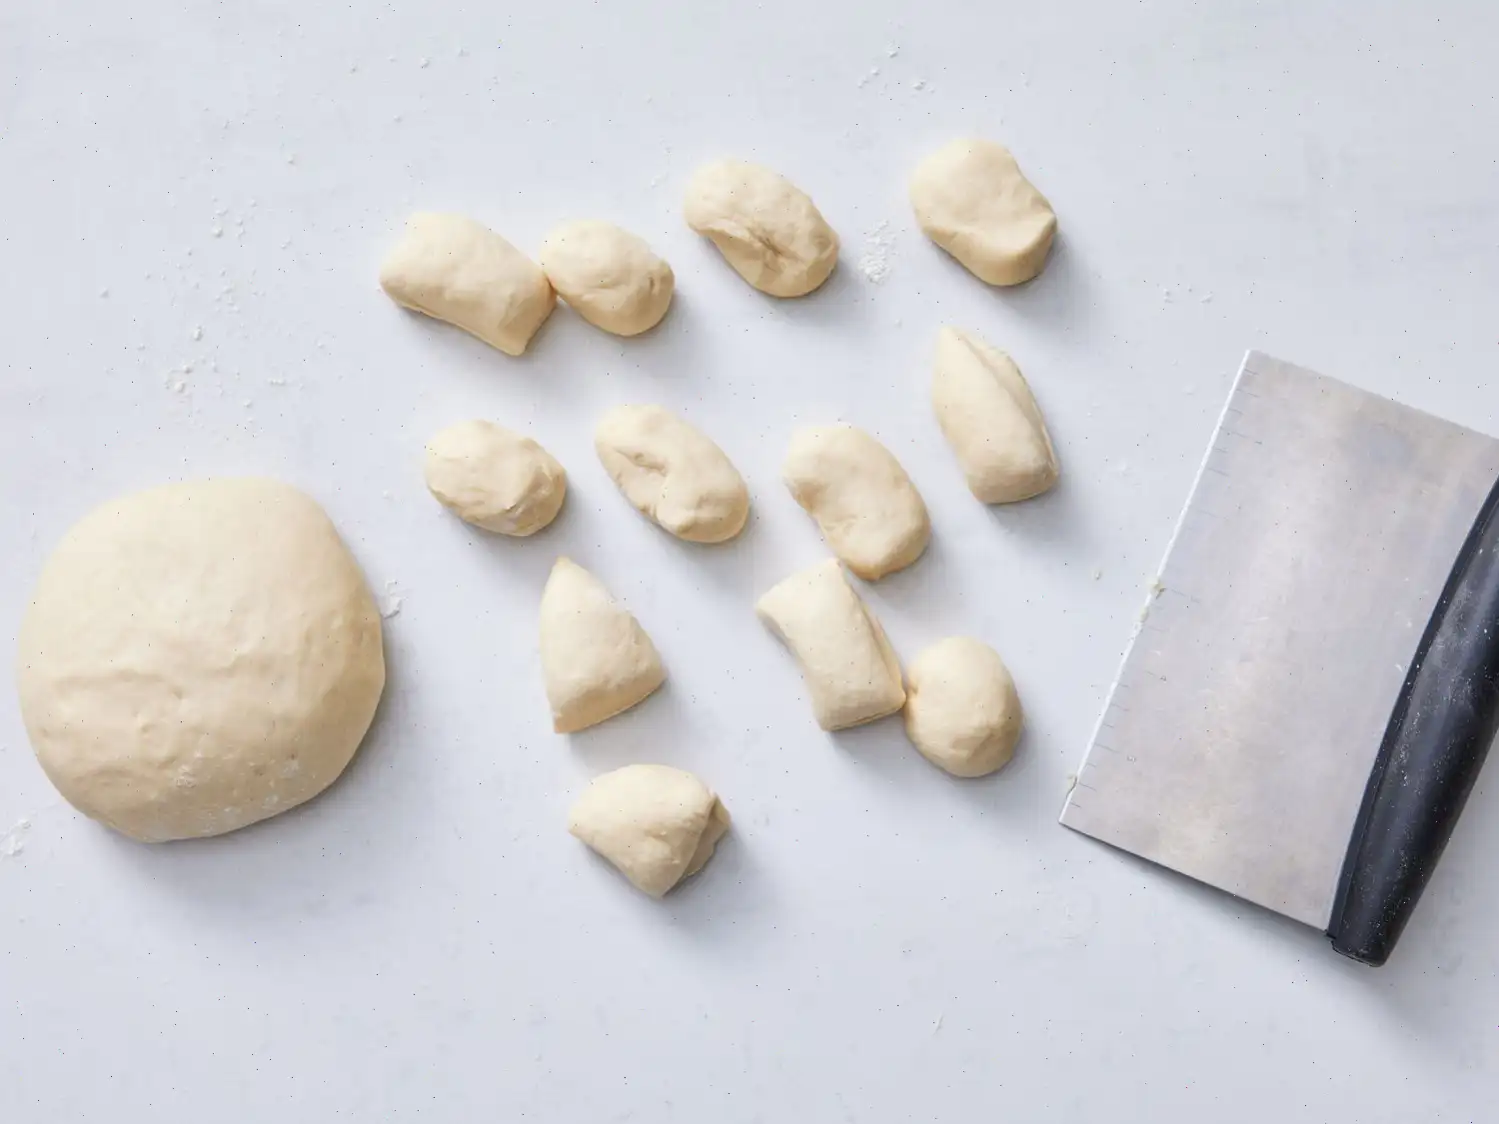
Paso 7: Dividir la masa
Separa la masa en dos mitades iguales. Reserva una porcin cubierta y toma la otra para dividirla en 12 partes iguales.
Paso 8: Formar los panecillos
Da forma de bola a cada porcin y colcala sobre un cuadrado de papel encerado, con la superficie lisa hacia arriba.
Paso 9: Repetir el proceso
Realiza el mismo procedimiento con la mitad restante de la masa. Cubre todos los panecillos y deja que aumenten su tamao durante 30 minutos o hasta que doblen su volumen.
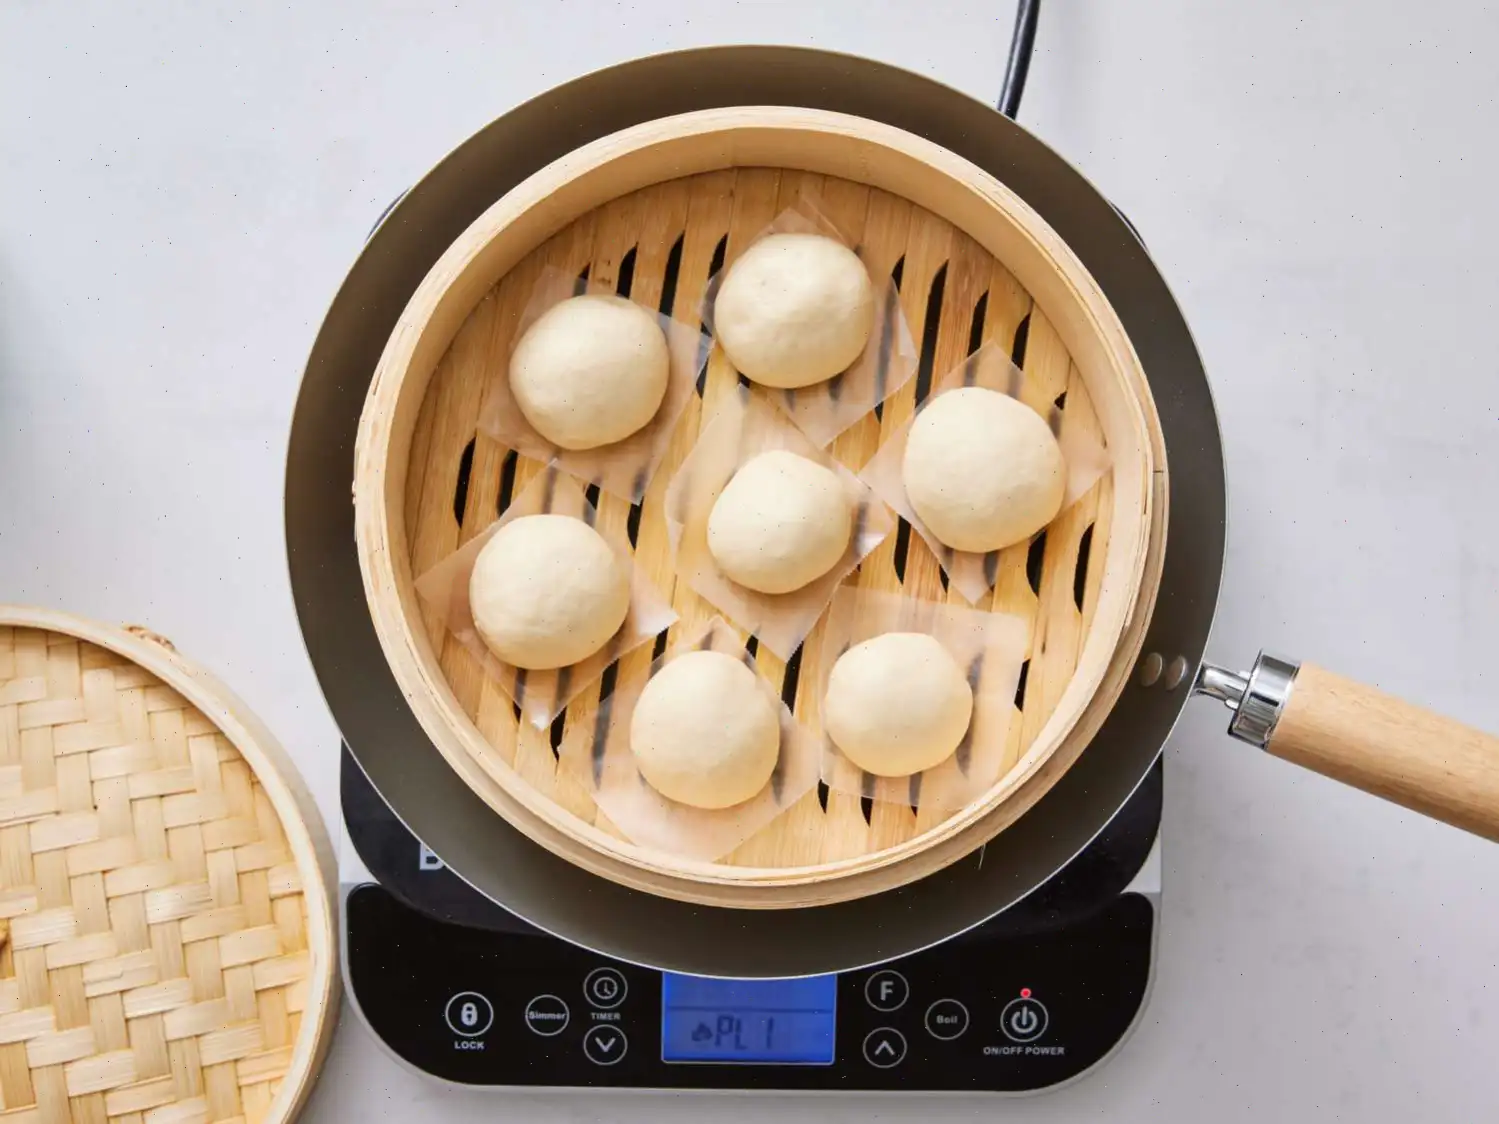
Paso 10: Preparar la coccin al vapor
Hierve agua en un wok. Ajusta el fuego para mantener un hervor suave y coloca una rejilla con plato de vapor, dejando al menos 5 cm de espacio con el fondo del wok.
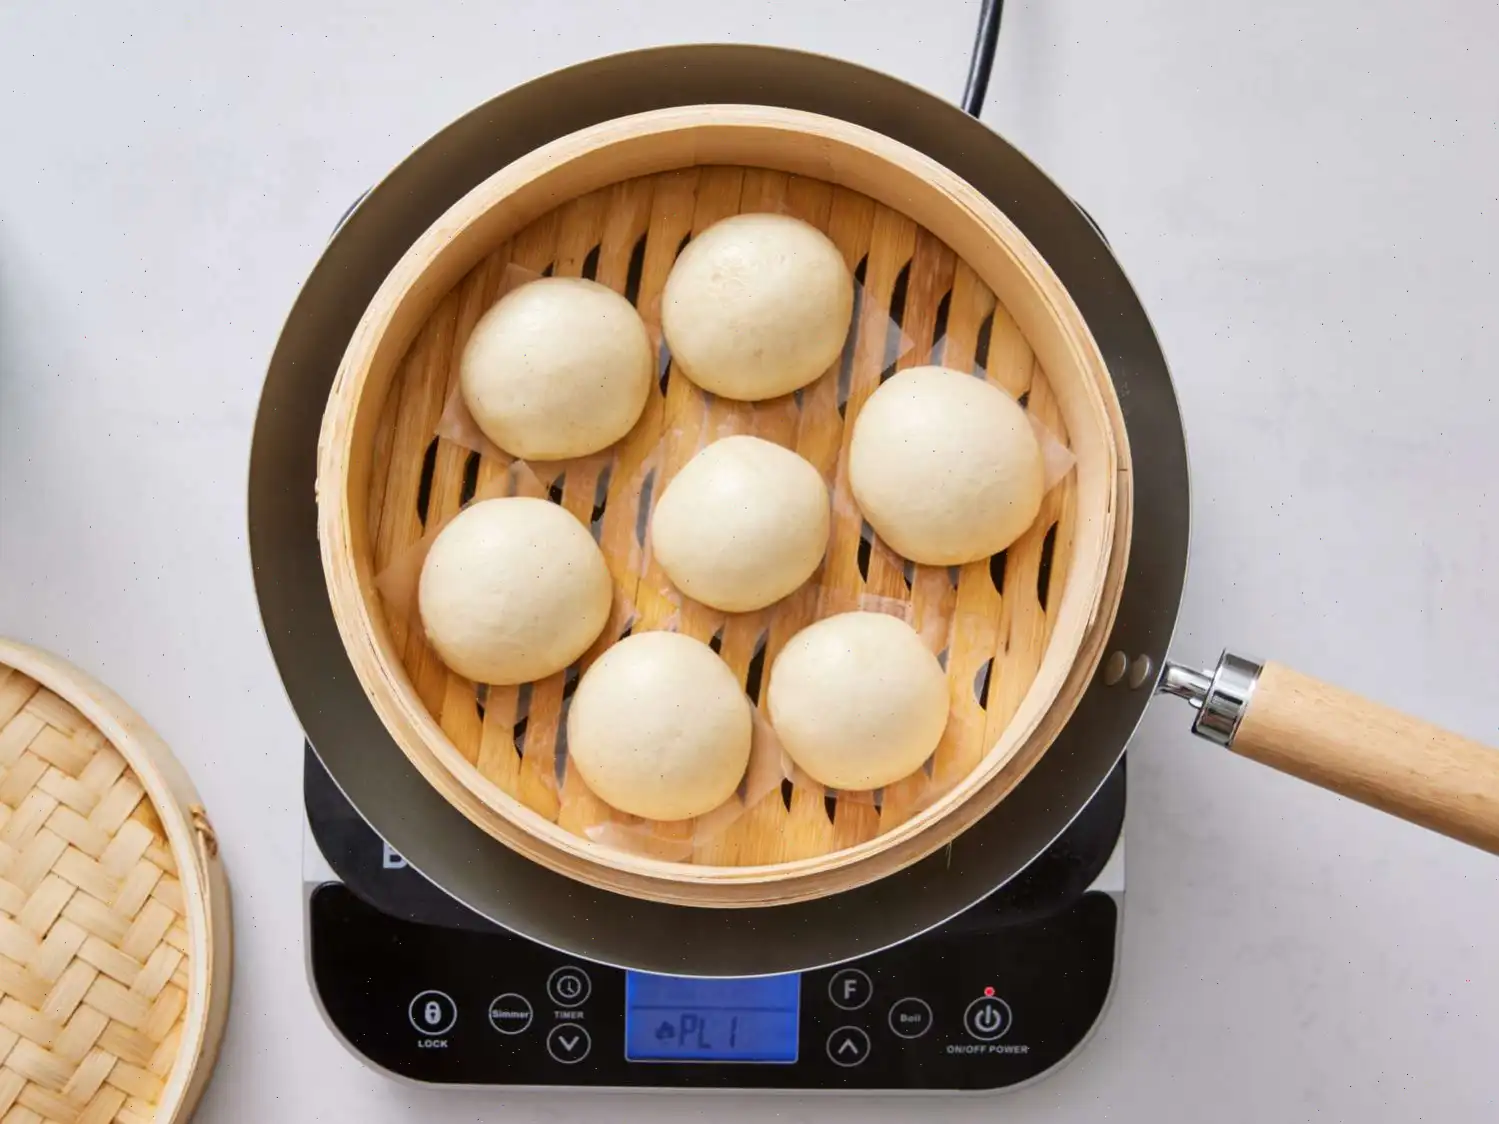
Paso 11: Cocinar al vapor
Coloca los panecillos sobre la rejilla, separndolos 2 a 3 cm entre s. Cubre el wok y cocina al vapor por 15 minutos. Repite hasta terminar todos los panecillos.
Paso 12: Servir
Retira con cuidado la tapa para que el vapor no caiga sobre los panecillos. Sirve tibios para disfrutar de su textura esponjosa.
Consejo del chef
Para un sabor ms cremoso, sustituye el agua tibia por leche en la preparacin de la masa.
Informacin nutricional (por porcin)
- Caloras: 44
- Grasa: 1 g (1% VD)
- Grasas saturadas: 0 g (1% VD)
- Sodio: 35 mg (2% VD)
- Carbohidratos: 8 g (3% VD)
- Fibra diettica: 0 g (1% VD)
- Azcares: 1 g
- Protenas: 1 g (2% VD)
- Calcio: 8 mg (1% VD)
- Hierro: 1 mg (3% VD)
- Potasio: 20 mg (0% VD)
Puedes escuchar esta receta en formato de audio de IA. Simplemente haz clic en el botón de reproducción a continuación para escuchar el contenido en el formato que mejor te convenga. ¡Es una excelente manera de absorber información sobre la marcha!
Preguntas frecuentes sobre Receta de panecillos chinos al vapor
Compartir
Comentarios
Yuki
10/06/2025 01:52:54 PM
Todavía no los he hecho, pero quería señalar que se pueden congelar las sobras durante mucho tiempo. Cuando quieras comerlos, solo colócalos en el refrigerador para descongelar al menos toda la noche y luego vaporízalos durante 10-15 minutos. Si solo quieres comer un par a la vez, llena una cacerola alta con una pulgada de agua, coloca una rejilla en el centro y vaporiza los panecillos directamente sobre la rejilla o en un platito pequeño. NO dejes que los panecillos toquen el agua. Otra opción es freír los panecillos sobrantes y servirlos con leche condensada, como los chinos tradicionales.
Miss Pixxxie Pie
06/12/2011 10:08:35 AM
RECETA INCREÍBLE. Los consejos del usuario Mukinsvivi FUNCIONARON y aseguraron que mis panecillos al vapor quedaran deliciosos. NOTA: la masa se ve muy extraña después del primer levado y es muy pegajosa. Puedes golpearla como dicen las instrucciones y el consejo de Mukinsvivi de agregar 3/4 de taza de harina extra en este punto es perfecto. No utilicé toda la harina extra, pero casi. Observa la masa y sabrás cuándo está correcta: suave y elástica en lugar de pegajosa. Agregar un poco de jugo de limón a la masa y vinagre al agua hirviendo también es excelente, y mis panecillos quedaron muy blancos. No usé bicarbonato, pero sí polvo de hornear. Mis panecillos salieron grandes y rindieron aproximadamente 12. Antes de vaporizar, los rellené con pollo al curry desmenuzado, cebolla, papa, repollo y pimiento. Mi olla de vapor es pequeña, así que tardó en cocer todos y querían pegarse a la placa de vapor. Al sacarlos, los coloqué sobre un simple soporte de brochetas de bambú encima de un plato para que se secara la base. Colocarlos directamente en un plato daba base un poco húmeda y sobre toallas de papel se pegaban trozos. ¡La próxima vez quiero hacerlos rellenos de fruta!


 audio version


CookGuide es tu guía culinaria para descubrir nuevos sabores y cocinar con confianza. Encuentra recetas de confianza, consejos prácticos e inspiración tanto para cocinas domésticas como profesionales.
Cualquier copia, distribución o uso de los materiales de este servicio sin autorización está estrictamente prohibido. Las infracciones serán procesadas según la legislación aplicable y pueden dar lugar a responsabilidades civiles y penales.
© Guía de cocina Studio 2026 | Cookies | Política de PrivacidadEncuentra la receta perfecta con IA. Solo introduce los ingredientes y deja que Cook te guíe hacia la magia.