
Salt Dough Recipe


Use this simple salt dough recipe to create lasting treasures such as ornaments, paw prints, and many other crafts. Salt dough is a versatile and easy-to-make material that is perfect for all kinds of DIY projects.
What Is Salt Dough?
Salt dough is a malleable mixture made from just three ingredients: flour, salt, and water. It doesnt crumble or crack, and its easy to dry in either the oven or microwave, making it ideal for homemade crafts and ornaments. Whether youre making decorations or keepsakes, this dough is a fantastic choice for creative projects.
How to Make Salt Dough
Heres a simple step-by-step guide to making salt dough at home:
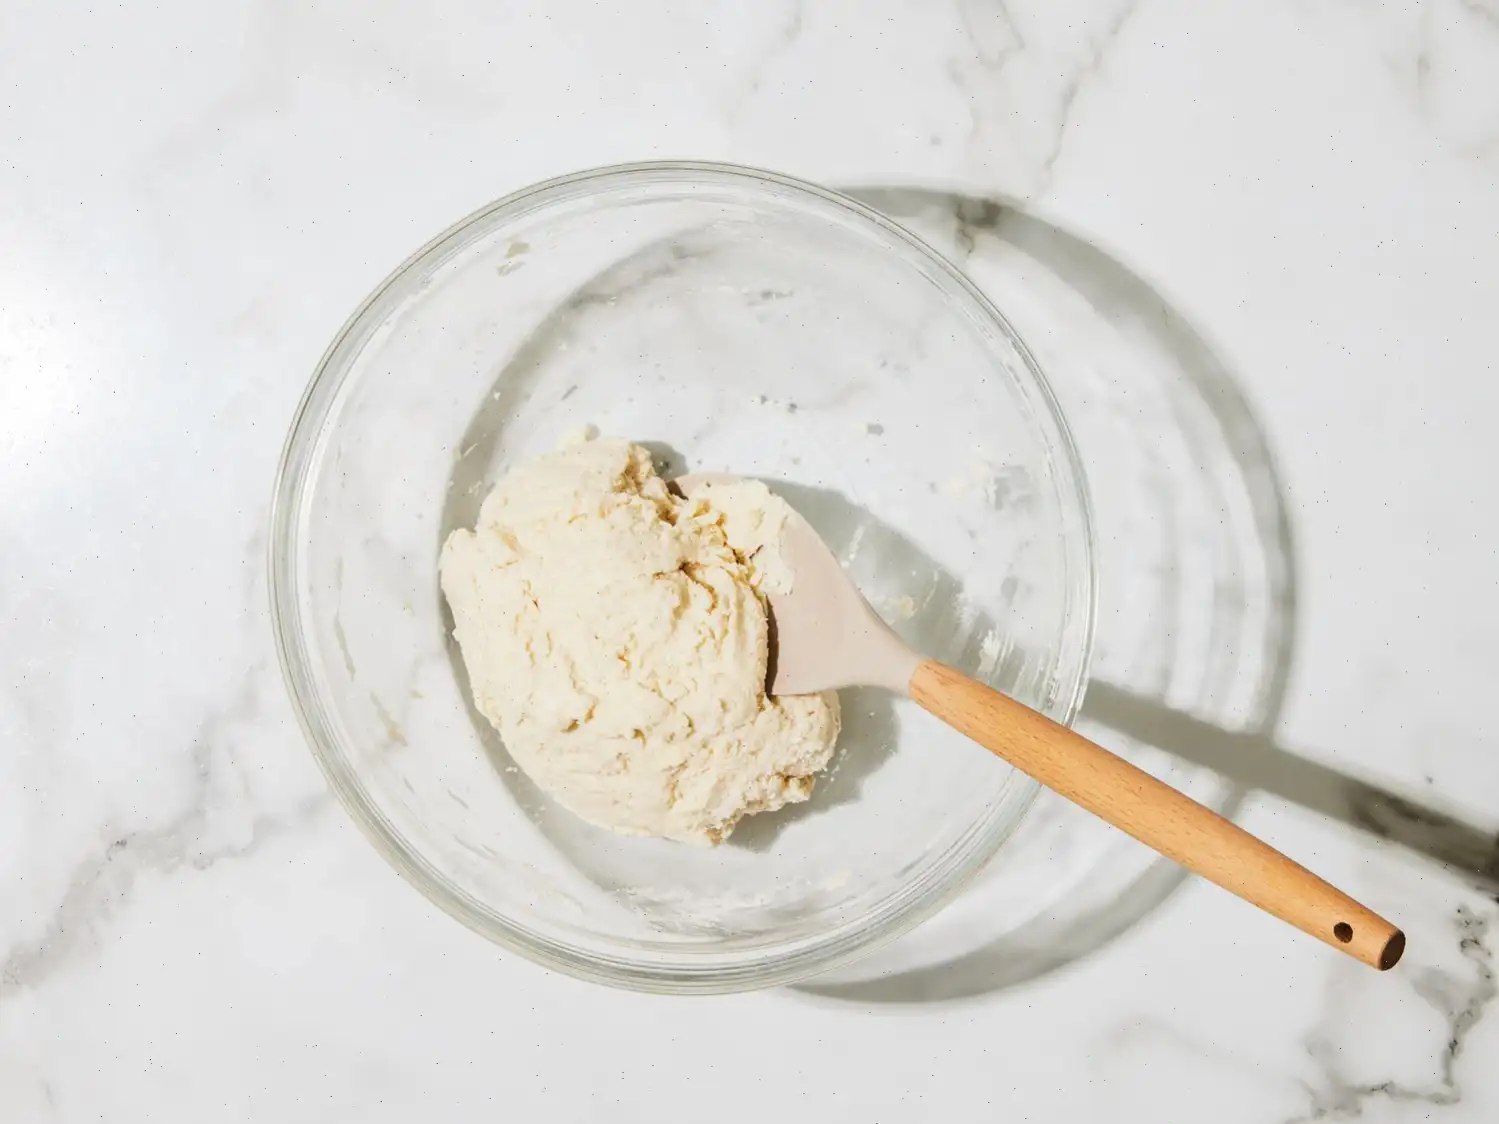
Step 1: Mix the Ingredients
In a large bowl, combine 2 cups of all-purpose flour and 1 cup of salt. Gradually add 1 cup of cold water, a few tablespoons at a time, stirring well after each addition. Continue adding water until the dough comes together.
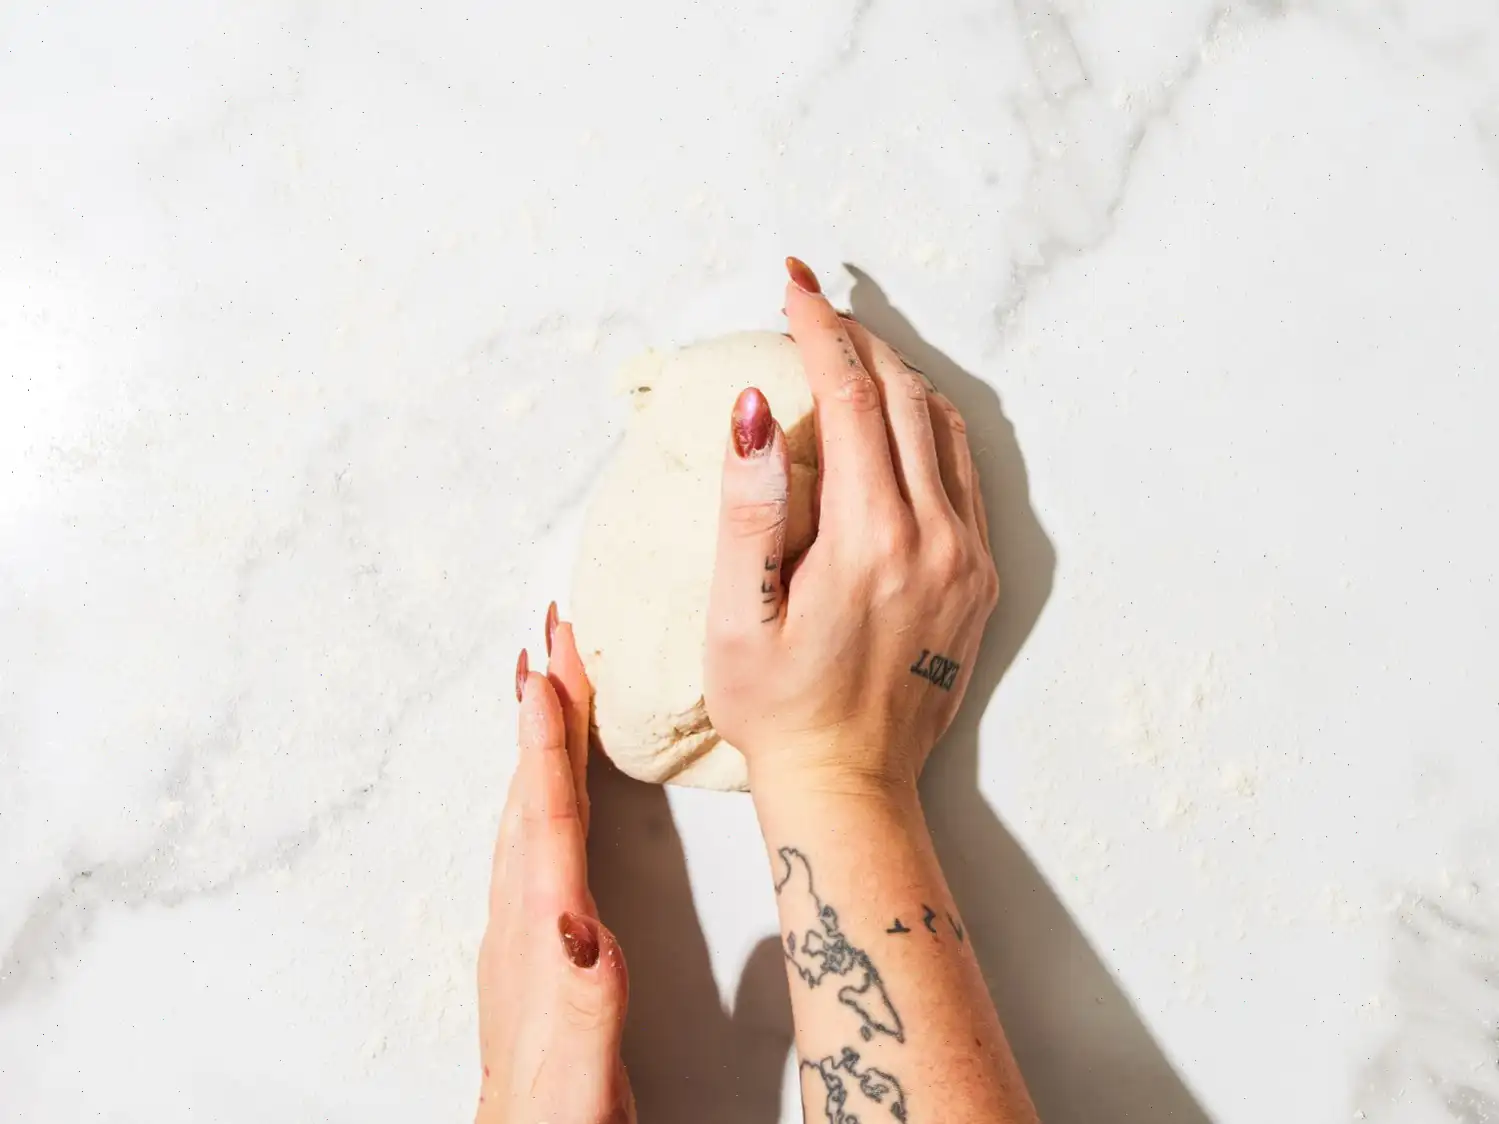
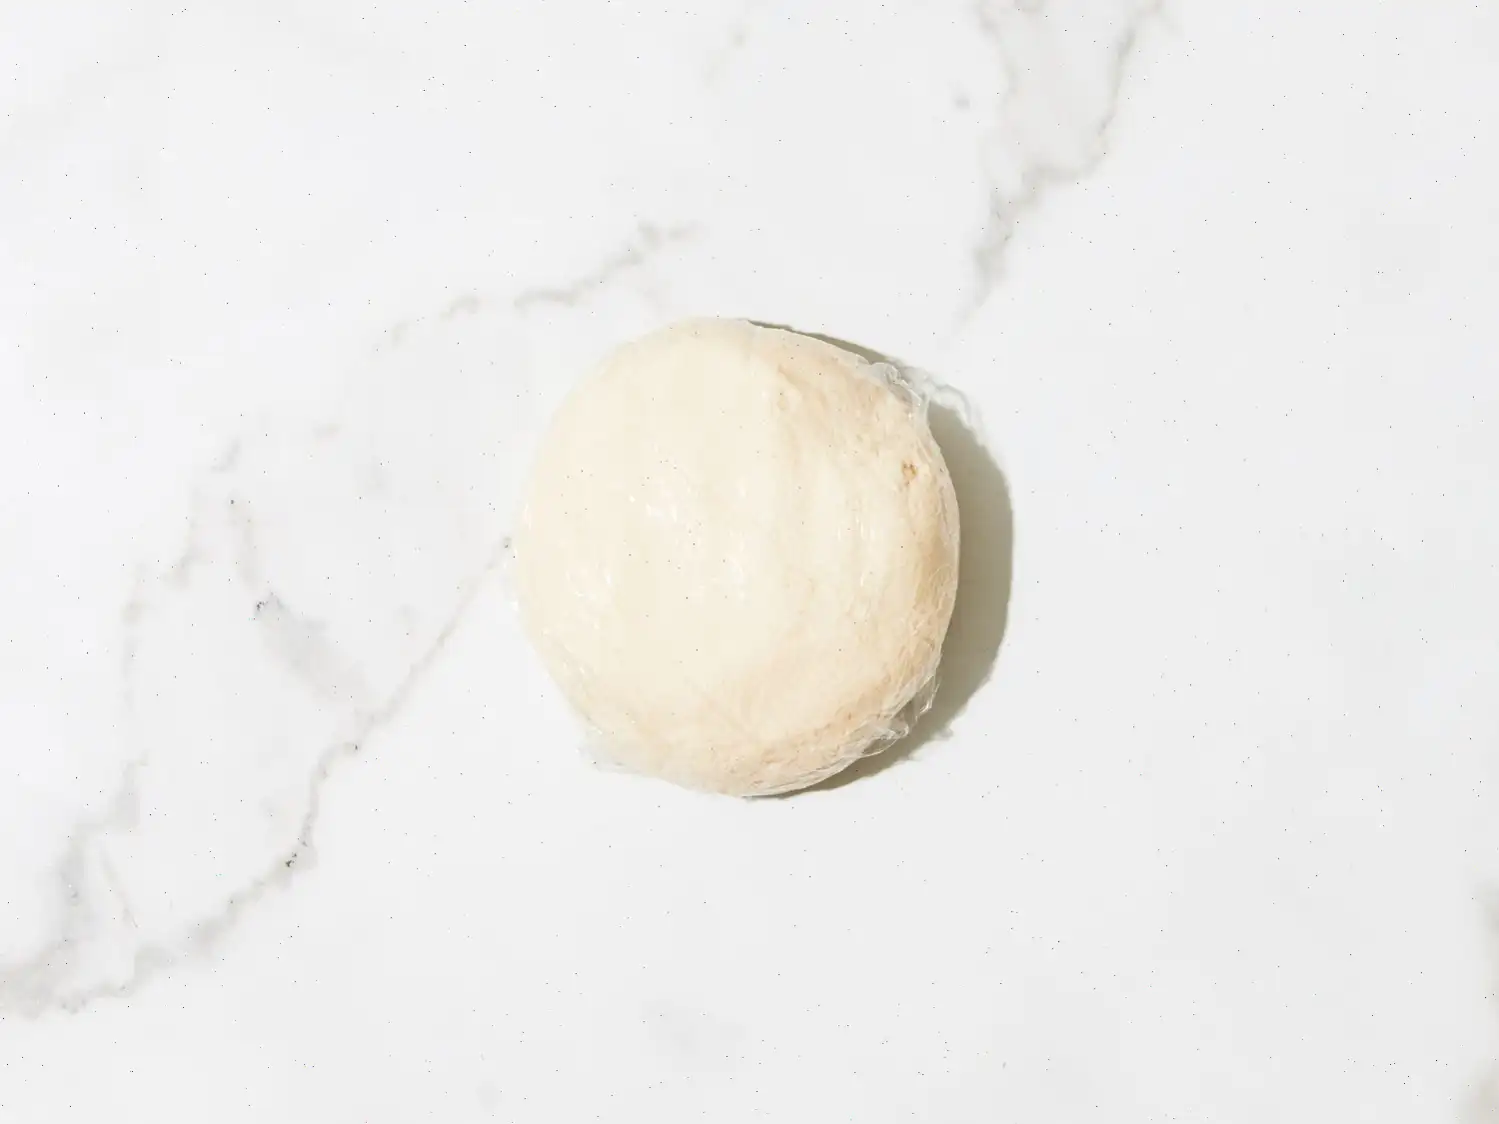
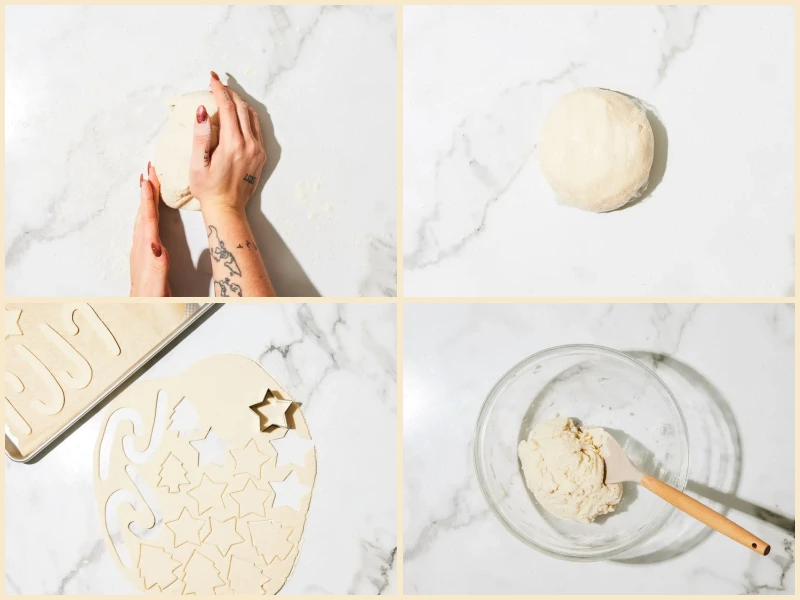
Step 2: Knead the Dough
Once the ingredients are mixed, knead the dough for about 10 minutes. You should have a smooth, pliable dough. If it feels too sticky, sprinkle a little flour; if its too dry, add a bit more water. Wrap the dough in plastic wrap and let it rest for 20 minutes.
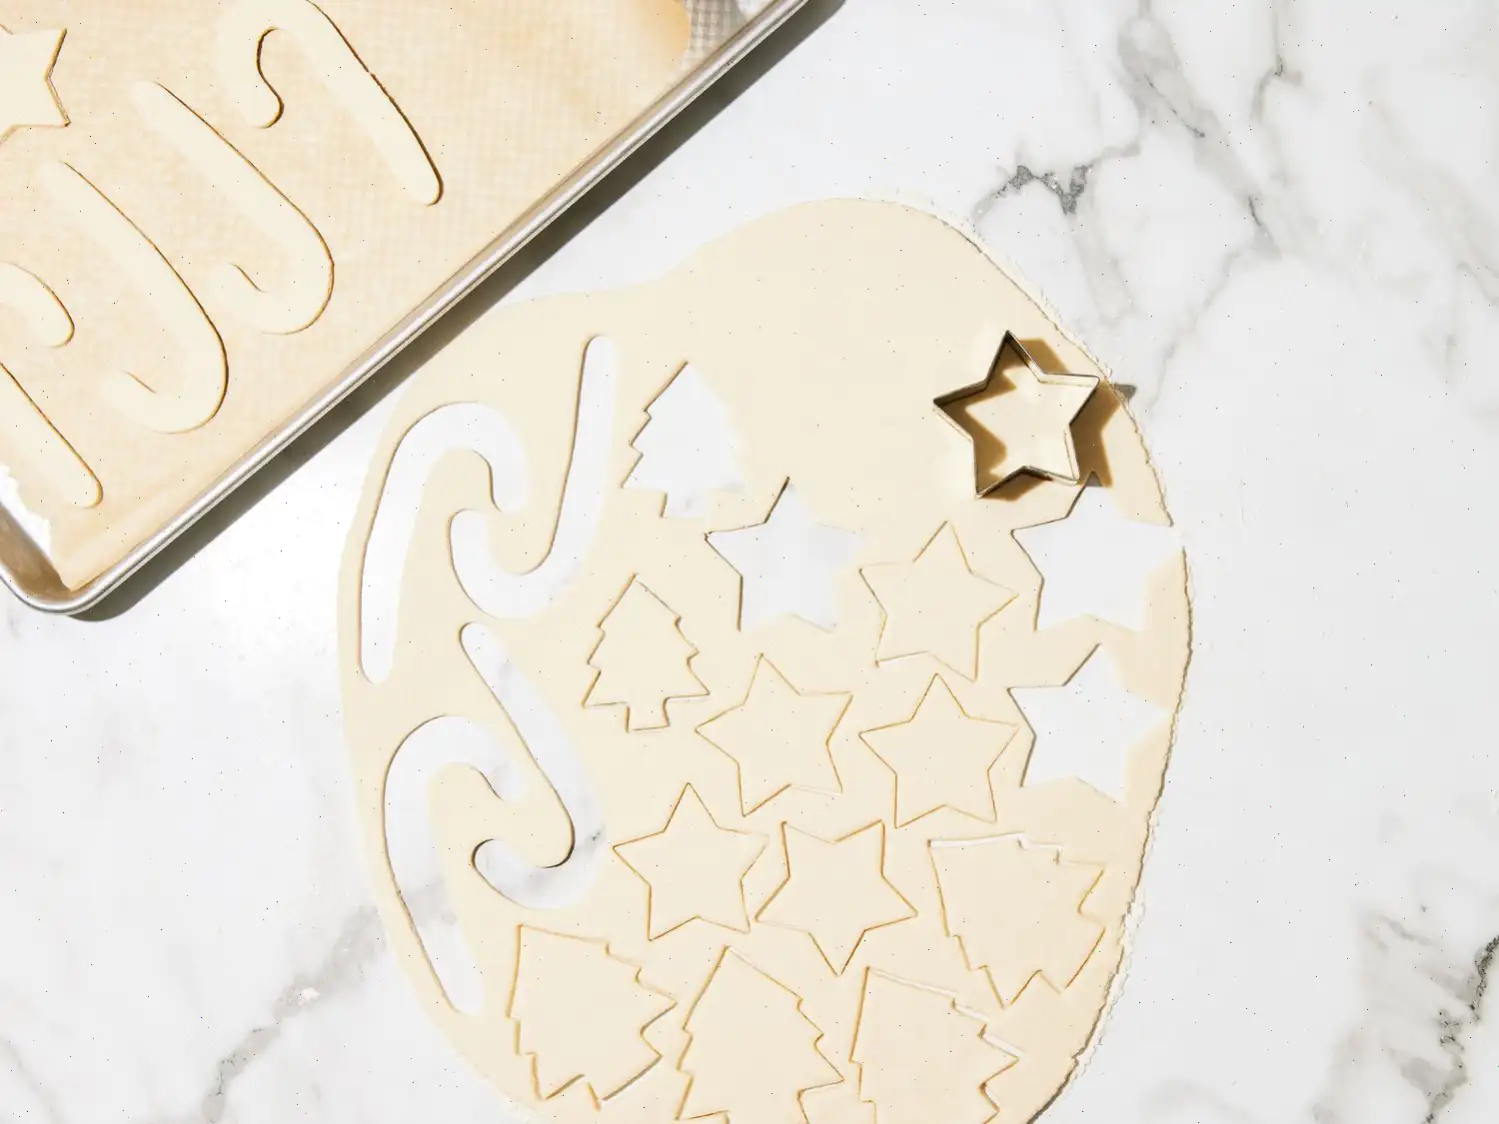
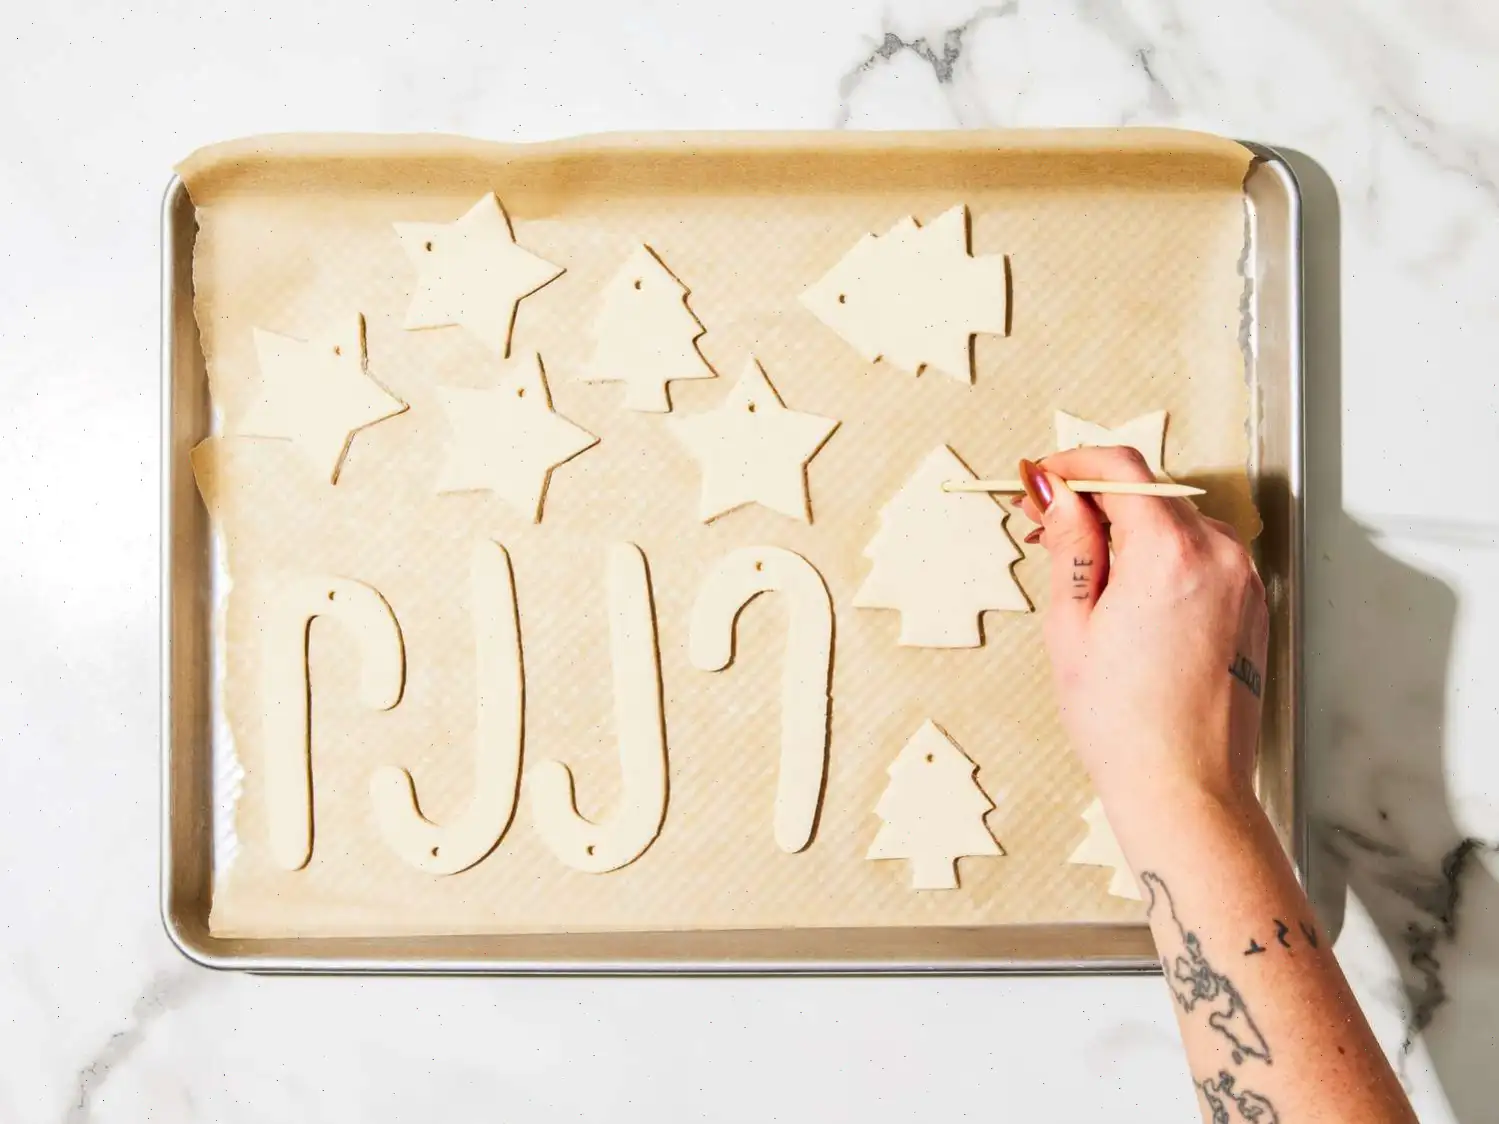
Step 3: Roll and Shape the Dough
After the dough has rested, transfer it to a floured surface. Roll it out to about 1/8-inch thickness. Use your favorite cookie cutters to cut the dough into festive shapes. For ornaments, dont forget to make a small hole in each piece with a toothpick so you can hang them later.
Step 4: Bake the Shapes
Preheat your oven to 250F (120C). Place the cut shapes on a lined baking sheet, and bake for about 2 hours, or until the dough is dry and hard. The time may vary depending on the thickness of your shapes, so check occasionally. Allow the baked dough to cool completely before decorating.
Recipe Tip
The yield of your dough will depend on the size of the cookie cutters you use. Larger shapes will require more dough, while smaller ones will create more pieces.
How to Preserve Salt Dough
Once your salt dough shapes are baked and cooled, you can decorate them with paint. After decorating, preserve your creations by applying a craft sealer like Mod Podge or a spray sealant coating. Allow the sealant to dry fully before storing your ornaments.
How Long Does Salt Dough Last?
When properly sealed, salt dough can last for decades. Without a sealant, however, it may begin to crumble after a few weeks, so be sure to seal it well if you want it to last.
How to Store Finished Salt Dough Ornaments
Store your finished salt dough ornaments in a cool, dry place, away from heat and humidity. For the best protection, store them in a sturdy and wrap each ornament in wax paper before packing them away.
Community Tips and Feedback
"Worked great!" Dana Burke
"Pro Tip: Place the dough in the fridge for 5 minutes to make it easier to make imprints." Patches Jackson
"Want your decorations to smell amazing? Add some cinnamon to the dry ingredients before mixing!" Patches Jackson
"Super easy directions. Just remember, add the water slowly for the best results!" Lee Anne Barbara
Ingredients
- 2 cups all-purpose flour
- 1 cup salt
- 1 cup cold water
Directions
- Preheat the oven to 250F (120C) and line a baking sheet with parchment paper.
- In a large bowl, combine the flour and salt. Gradually add the cold water, a few tablespoons at a time, stirring well after each addition.
- Knead the dough for about 10 minutes until smooth. Cover it and let rest for 20 minutes.
- Transfer the dough to a floured surface and knead it again until soft and pliable.
- Roll the dough out to a thickness of 1/8 inch, then cut into desired shapes using cookie cutters.
- Place the shaped dough onto the prepared baking sheet. Use a toothpick to create a hole for hanging each ornament.
- Bake the dough in the preheated oven for 2 hours, or until dry and hard. Allow to cool completely before decorating.
Comments
razbarey
10/06/2025 01:52:54 PM
Perfect and basic salt dough recipe. I know there are people who look for a recipe and want it to be perfect as is. If you are experienced with baking, you will understand that you have to add your water slowly. Your climate affects how much water goes in to dough. For example, I needed to add a bit extra, but I don’t fault the recipe. Also, as for it burning when you bake it, maybe your oven runs hotter or maybe you rolled your dough thinner than the OP, although it seems like it would be difficult to burn anything at 250 degrees. It’s always best to check a few minutes early. Just saying, this is your basic salt dough and it is a perfectly fine recipe. Thank you OP
momma cooks in ct
12/08/2018 10:30:40 PM
I didn’t add all the water, and still had to re-knead on a floured counter... dough was very sticky on the first try. Will use less water next time. The kids had fun and the ornaments came out cute!
sweet_equalist25
12/04/2021 05:47:03 PM
The PERFECT salt dough recipe! I use it for everything from diy doll cookies, to props for photos, to ornaments and keepsakes! Simple and quick, for a quick hack add a few drops of vanilla in with the cup of water for a very faint scent (this will fade eventually but is fun while it lasts). If painting on it do NOT glob paint on or it will soften the dough again and youll have to wait for it to dry out again, but it will harden again once dry.
Dana Burke
08/05/2020 02:20:48 AM
Worked great! A little tip: put dough in fridge for 5 minutes to make it easier to make imprints
Lee Anne Barbara
04/15/2020 09:58:57 PM
Super easy directions. It's important to know that it turns out best if you SLOWLY add in the water!
Debbie McLean
05/12/2024 10:44:33 AM
Good recipe however I found it helpful to use hot water and to add the dry ingredients to the water instead of the other way around . Also mix the flour and salt together before adding to the water
AlaskanNProud
12/16/2018 07:36:31 PM
I used pink Himalayan salt so it gave it a pinkish tint. Bake it for the whole time and flip or you will have darker patches. Used food coloring to change the tint. Loved it adding it to family recipe book.
Denise
04/08/2019 12:10:43 PM
As a substitute teacher, I used this recipe with a group of 5th graders. Teacher left instructions (and apologies in case more was needed!); could not have been any easier. Kids got to work on their projects and had a good time constructing with the dough. We didn't bake it, instead we let everything air dry. If I were to try to dry it out more quickly, I would probably put it in a warm oven after the oven was turned off! Good luck!
Lindsay Hansen
12/09/2018 01:29:25 AM
Love this recipe! I have made it for a few years now and we make a special Christmas ornament for our tree. My kids love playing with the leftover dough, it makes great homemade play doh! It’s quickly becoming one of our favorite traditions! I would add though that it doesn’t need to be kneaded hardly at all. As long as the ingredients are well mixed together, you can just roll it out on a floured surface with a rolling pin and you’re good to go! It couldn’t be easier!
PlumSage7578
05/23/2025 05:12:47 PM
Very sticky but I just added a little more flour while working with it!
Virginia Adams
03/20/2025 03:07:11 AM
My niece helped me make it — she loved it.
Rebecca Young
05/04/2024 05:39:44 AM
Can’t believe something this simple tastes that good.
RowdyMeat5725
12/09/2023 09:16:11 AM
Perfect, I did bought of my girls hand prints 😊
HappyGrape6881
06/21/2023 10:35:51 PM
I made it, followed the recipe as it said. It failed horribly. Dough was very sticky
QuirkyRoe2696
06/16/2023 06:50:58 PM
Made cookies with my Granddaughter for her coffee shop
QuickFeta2377
03/20/2023 08:31:59 PM
Awesome!
SilkyRibs3238
01/04/2023 07:32:55 PM
really tasty
Linda Lou Perry
10/22/2022 04:53:33 PM
It was fun and easy had alot of fun with grandchildren
Linda Worley
09/10/2022 07:59:08 PM
It’s great!!!! Love making a heart string for Christmas
 Recipe")


CookGuide is your culinary guide to discovering new flavors and cooking with confidence. Find trusted recipes, practical tips, and inspiration for both home and professional kitchens.
Any copying, distribution, or use of the materials from this service without authorization is strictly prohibited. Violations will be prosecuted under applicable law and may result in both civil and criminal liability.
© Cook Guide Studio 2025 | Cookies | Terms and conditionsFind the perfect recipe with AI. Just enter your ingredients and let CookGuide do the magic.