
Pastelito Sueño de Coco
Este pastel de coco es un delicioso bocadito perfecto para cualquier momento del día. La combinación de sabores de coco y vainilla crea un pastel suave y esponjoso que seguramente satisfará tu antojo de dulce. Con una textura húmeda y aireada, este pastel es fácil de preparar y ideal para compartir con amigos y familia. Disfrútalo con una taza de café o té para un snack delicioso que te llevará directo a un paraíso tropical.
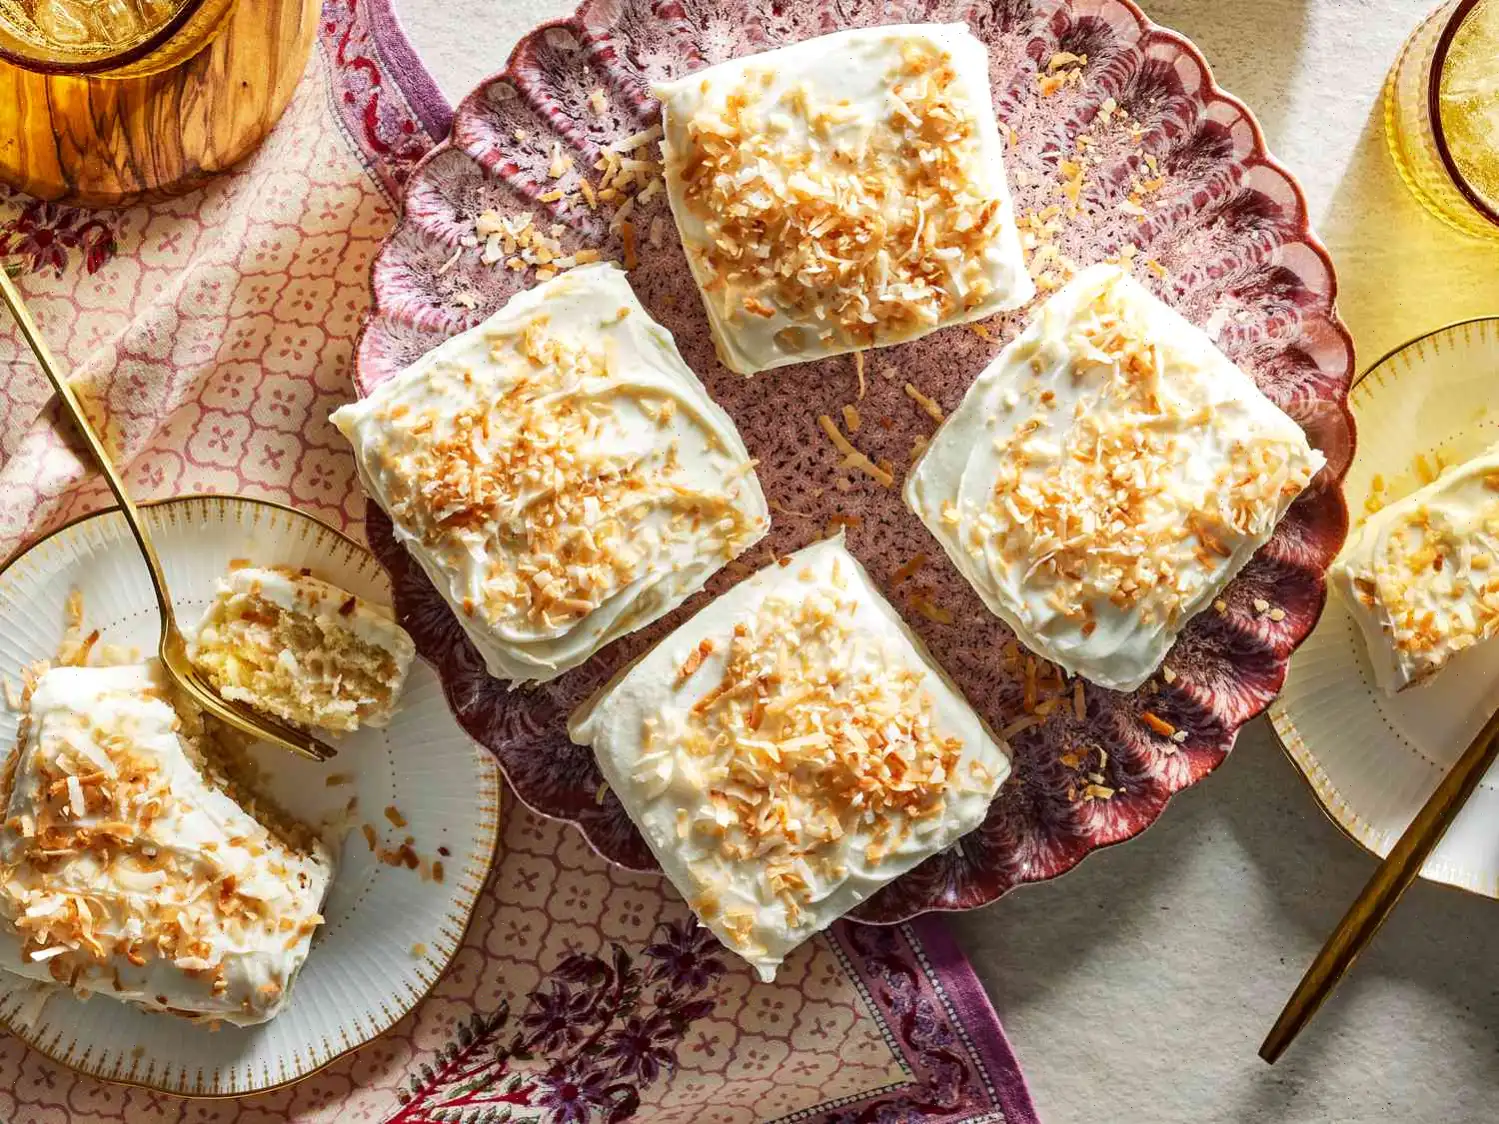
Si eres amante del coco, este pastel es un verdadero deleite. Su textura combina suavidad con un toque ligeramente masticable gracias al coco, y cada capa aporta un sabor nico. Comienza con un bizcocho ligero de coco, perfecto por s solo, seguido de una rica crema de coco que lo eleva a otro nivel. Para terminar, una cobertura brillante a base de crema se desliza por los bordes, y el coco dulce tostado le da un acabado irresistible.
Ingredientes
- 2 tazas de harina de trigo
- 2 cucharaditas de polvo de hornear
- 1 cucharadita de sal fina
- taza ms 2 cucharadas de mantequilla sin sal, a temperatura ambiente
- 1 tazas de azcar blanca
- 4 huevos
- 4 cucharaditas de extracto de vainilla
- cucharadita de extracto de coco
- 1 taza de suero de leche (buttermilk), a temperatura ambiente
- 1 taza de coco rallado endulzado
- 1 lata (13 onzas) de leche de coco entera
- taza de crema para batir
- taza de maicena
- 4 tazas de coco rallado tostado y endulzado
- 5 onzas de cobertura de caramelo con sabor a vainilla (almond bark), picada
- 4 tazas de azcar glas
- taza de jarabe de maz claro
- 4 a 6 cucharadas de agua caliente
Preparacin del Bizcocho
- Precalienta el horno a 175C (350F). Engrasa un molde de 23x33 cm, cubre el fondo con papel pergamino y vuelve a engrasar el papel.
- En un bol mediano, mezcla la harina, el polvo de hornear y cucharadita de sal.
- En el tazn de una batidora elctrica con accesorio de pala, bate taza de mantequilla y 1 taza de azcar a velocidad media durante 4-5 minutos hasta que la mezcla est ligera y esponjosa.
- Agrega los huevos uno por uno, batiendo despus de cada adicin y raspando los bordes del tazn.
- Incorpora 1 cucharaditas de extracto de vainilla y el extracto de coco, mezclando hasta integrar.
- Agrega un tercio de la mezcla de harina, mezclando a baja velocidad. Luego aade la mitad del suero de leche, raspando nuevamente el tazn. Alterna los ingredientes hasta incorporarlos por completo y obtener una masa uniforme.
- Agrega la taza de coco rallado endulzado y mezcla suavemente.
- Vierte la masa en el molde preparado, nivelndola. Hornea de 20 a 25 minutos o hasta que al tocar el centro, el bizcocho vuelva a su forma.
- Deja enfriar completamente sobre una rejilla antes de continuar con la crema.
Preparacin de la Crema de Coco
- En una cacerola mediana, calienta la leche de coco junto con la crema para batir a fuego medio.
- En un bol separado, mezcla la maicena con taza de azcar y cucharadita de sal. Aade los 2 huevos restantes y bate hasta que quede homogneo.
- Cuando la leche de coco comience a hervir suavemente, incorpora lentamente una cuarta parte del lquido caliente en la mezcla de huevos, batiendo constantemente.
- Vierte la mezcla de huevo de nuevo en la cacerola y cocina a fuego medio durante 3-4 minutos hasta que espese, sin dejar de batir.
- Retira del fuego, agrega 1 cucharaditas de vainilla y 2 cucharadas de mantequilla. Cuela la crema en un bol y mezcla con 2 tazas de coco tostado.
- Cubre con film plstico directamente sobre la superficie y deja enfriar 15 minutos a temperatura ambiente. Luego refrigera hasta que est completamente fra.
Montaje del Pastel
- Cuando el bizcocho est fro, invirtelo sobre una tabla. Retira el papel pergamino y corta el bizcocho horizontalmente con un cuchillo largo y serrado para obtener dos capas iguales.
- Coloca la capa inferior en la base, extiende uniformemente la crema de coco y cubre con la segunda capa de bizcocho.
- Cubre ligeramente con film plstico y congela al menos 2 horas o hasta 4 horas hasta que est firme.
- Una vez firme, corta el pastel en 12 rectngulos iguales. Coloca los trozos sobre una rejilla sobre una bandeja cubierta con pergamino.
Cobertura Brillante
- Funde la cobertura de almendra en el microondas en un recipiente pequeo, removiendo cada 20 segundos hasta lograr una mezcla homognea.
- En un bol, bate el azcar glas con el jarabe de maz, 4 cucharadas de agua caliente y 1 cucharadita de vainilla restante. Incorpora la cobertura derretida y mezcla bien.
- Ajusta la consistencia aadiendo ms agua caliente de a una cucharada si es necesario.
- Cubre cada porcin con aproximadamente 3 cucharadas de glaseado, extendiendo uniformemente con una esptula y dejando que el exceso caiga por los lados.
- Decora inmediatamente con las 2 tazas de coco tostado restantes y refrigera en un recipiente hermtico hasta servir, por un mximo de 4 das.
El Coconut Dream Snack Cake nace en el corazn de la repostera casera estadounidense de mediados del siglo XX. En esa poca, los postres prcticos y fciles de servir los llamados snack cakes ganaron gran popularidad gracias a la expansin de los productos empaquetados en los supermercados. Sin embargo, muchas familias seguan prefiriendo el sabor y la calidez de lo hecho en casa.
Fue entonces cuando los reposteros comenzaron a experimentar con sabores exticos para la poca, y el coco destac rpidamente por su aroma dulce, su textura delicada y su aire tropical. As surgi la combinacin perfecta: un bizcocho esponjoso, una crema tipo custard suave y sedosa, y un glaseado de coco que una todas las capas en un postre indulgente, nostlgico y reconfortante.
Variaciones regionales y toques locales
Aunque el Coconut Dream Snack Cake se considera hoy un clsico americano, existen muchas versiones regionales. En el sur de Estados Unidos, por ejemplo, es comn aadir buttermilk a la masa para lograr un bizcocho ms tierno y con un ligero toque cido.
En zonas costeras, el coco de la cobertura suele tostarse o caramelizarse, intensificando su sabor y aportando notas ms profundas. Algunas interpretaciones modernas incluyen un chorrito de ron o licor de coco en la crema, una clara influencia caribea que aporta sofisticacin sin perder la esencia original. A pesar de estas variaciones, las capas fundamentales bizcocho de coco, crema rica y glaseado cremoso siempre se mantienen.
Qu lo diferencia de otros postres de coco
Este pastel se distingue claramente de otros postres de coco ms conocidos, como la tarta de crema de coco o los pasteles de capas tradicionales. A diferencia de las tartas, no utiliza base de masa quebrada, sino un bizcocho suave y aireado que absorbe perfectamente la crema.
En comparacin con los pasteles de capas clsicos, el relleno tipo custard entre capas aporta una textura ms jugosa y cremosa. El glaseado final y el coco tostado no solo realzan el sabor, sino que tambin crean una presentacin atractiva y reconocible.
Dnde suele encontrarse
Aunque su inspiracin proviene de los dulces empaquetados, hoy en da este pastel es un habitual tanto en cocinas domsticas como en panaderas artesanales. Se sirve con frecuencia en meriendas, cumpleaos, reuniones familiares y eventos informales.
Muchas cafeteras ofrecen su propia versin, demostrando lo verstil que es como postre: perfecto tanto para ocasiones especiales como para un antojo cotidiano. Su forma rectangular y sus capas bien definidas lo hacen ideal para cortar, compartir y disfrutar en grupo.
Datos curiosos y fascinantes
- El relleno cremoso recuerda a las cremas de la repostera europea clsica, adaptadas aqu con coco para darle un carcter claramente americano.
- Tostar el coco no solo potencia su sabor, sino que crea un contraste visual dorado muy atractivo sobre el glaseado blanco.
- Algunas versiones modernas tien ligeramente el coco para hacerlo ms colorido, especialmente popular en fiestas infantiles y celebraciones.
- Su popularidad creci con la llegada de las mezclas para hornear, aunque hoy se valoran especialmente las versiones hechas desde cero por su sabor y textura superiores.
- A pesar de ser un postre indulgente, incorpora tcnicas clsicas de repostera, como el batido correcto de mantequilla y azcar o la preparacin cuidadosa de la crema, convirtindolo tambin en una excelente receta de aprendizaje.
Preguntas frecuentes sobre Pastelito Sueño de Coco
Compartir


 audio version


CookGuide es tu guía culinaria para descubrir nuevos sabores y cocinar con confianza. Encuentra recetas de confianza, consejos prácticos e inspiración tanto para cocinas domésticas como profesionales.
Cualquier copia, distribución o uso de los materiales de este servicio sin autorización está estrictamente prohibido. Las infracciones serán procesadas según la legislación aplicable y pueden dar lugar a responsabilidades civiles y penales.
© Guía de cocina Studio 2026 | Cookies | Política de PrivacidadEncuentra la receta perfecta con IA. Solo introduce los ingredientes y deja que Cook te guíe hacia la magia.