
Chef John's Chicken Kiev Recipe


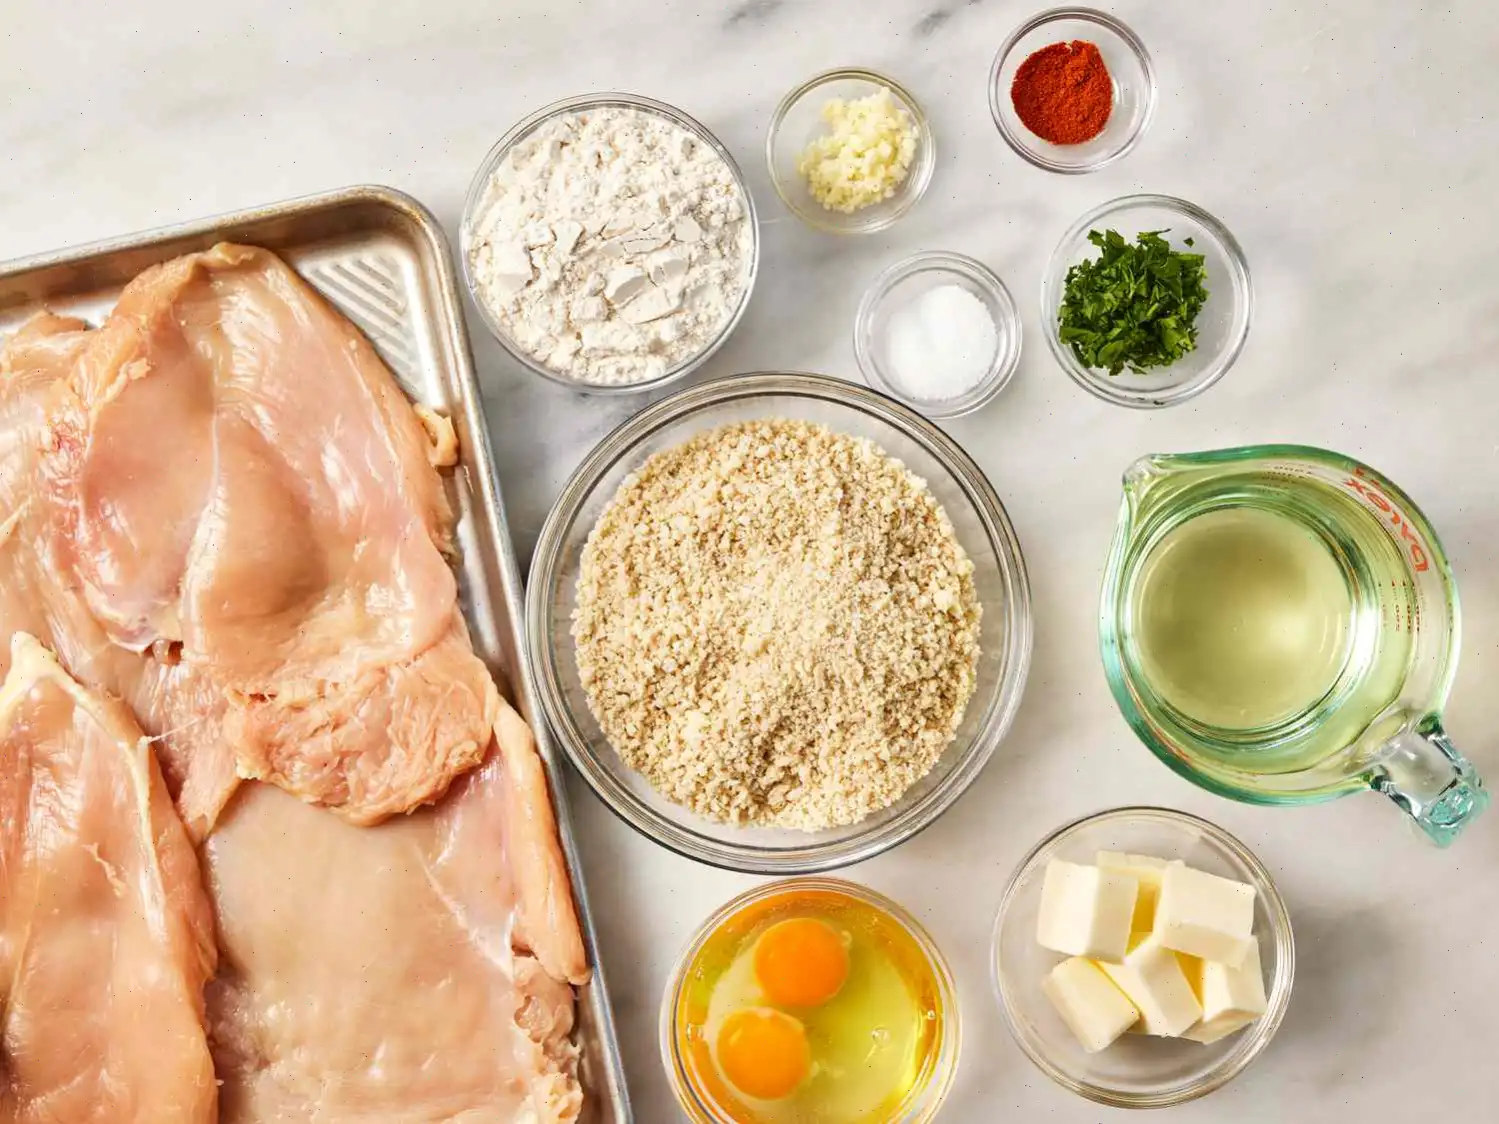

Impress your dinner guests with this surprisingly easy homemade chicken Kiev recipe. Chicken Kiev (also known as chicken Kyiv and ctelette de volaille) is a classic dish of Russian origin. It's made by rolling chicken breasts around herbed butter, coating them in egg and breadcrumbs, and frying them to crispy perfection.
How to Make Chicken Kiev
Follow these easy steps to prepare a delicious homemade chicken Kiev:
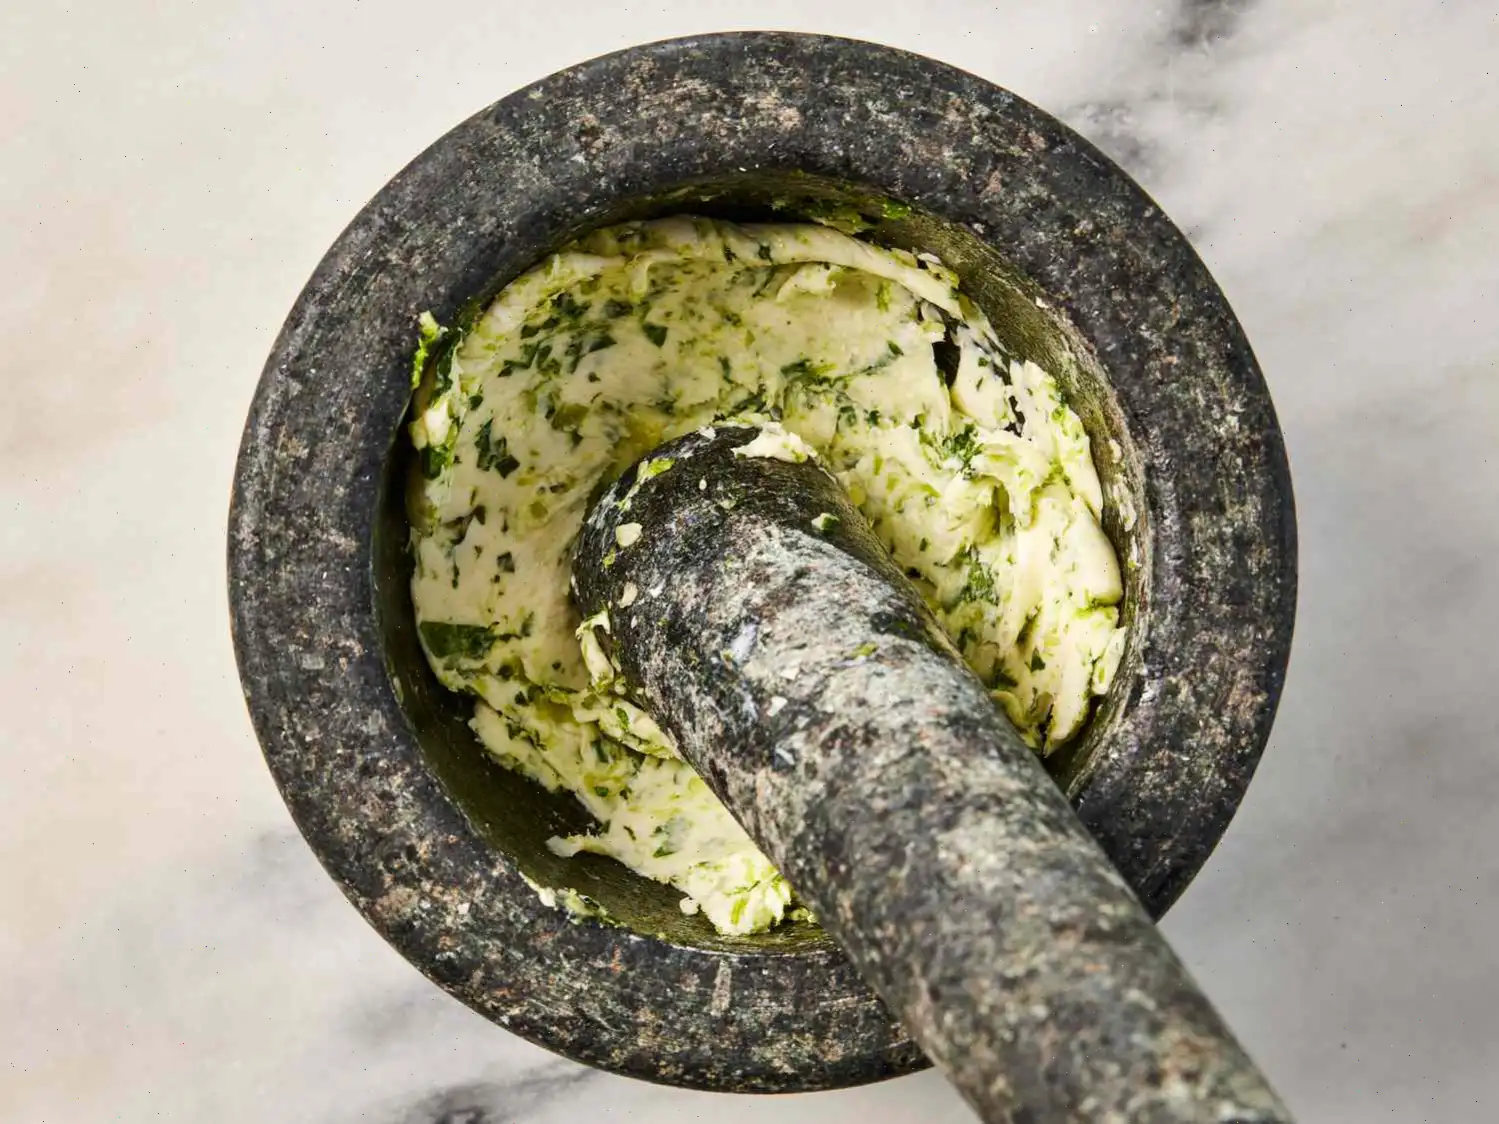
- Step 1: Prepare the garlic butter. Grind the garlic and a pinch of salt together in a mortar and pestle until smooth. Add the chopped parsley and mix well. Pound the butter into the garlic mixture until fully combined. Wrap the butter in plastic wrap and refrigerate for at least 15 minutes until it becomes firm.
- Step 2: Season the chicken breasts with salt and pepper. Place a quarter of the garlic butter mixture in the center of the wider end of each chicken breast. Fold the narrower end of the chicken over the butter, forming a tight pocket around it. Gather the sides of the chicken to the center to create a round ball. Ensure the top is smooth and the bottom is tightly gathered.
- Step 3: Wrap each chicken ball tightly in plastic wrap and place them on a plate. Chill in the freezer for 30 minutes or until the gathered bottoms hold together and the chicken is firm.
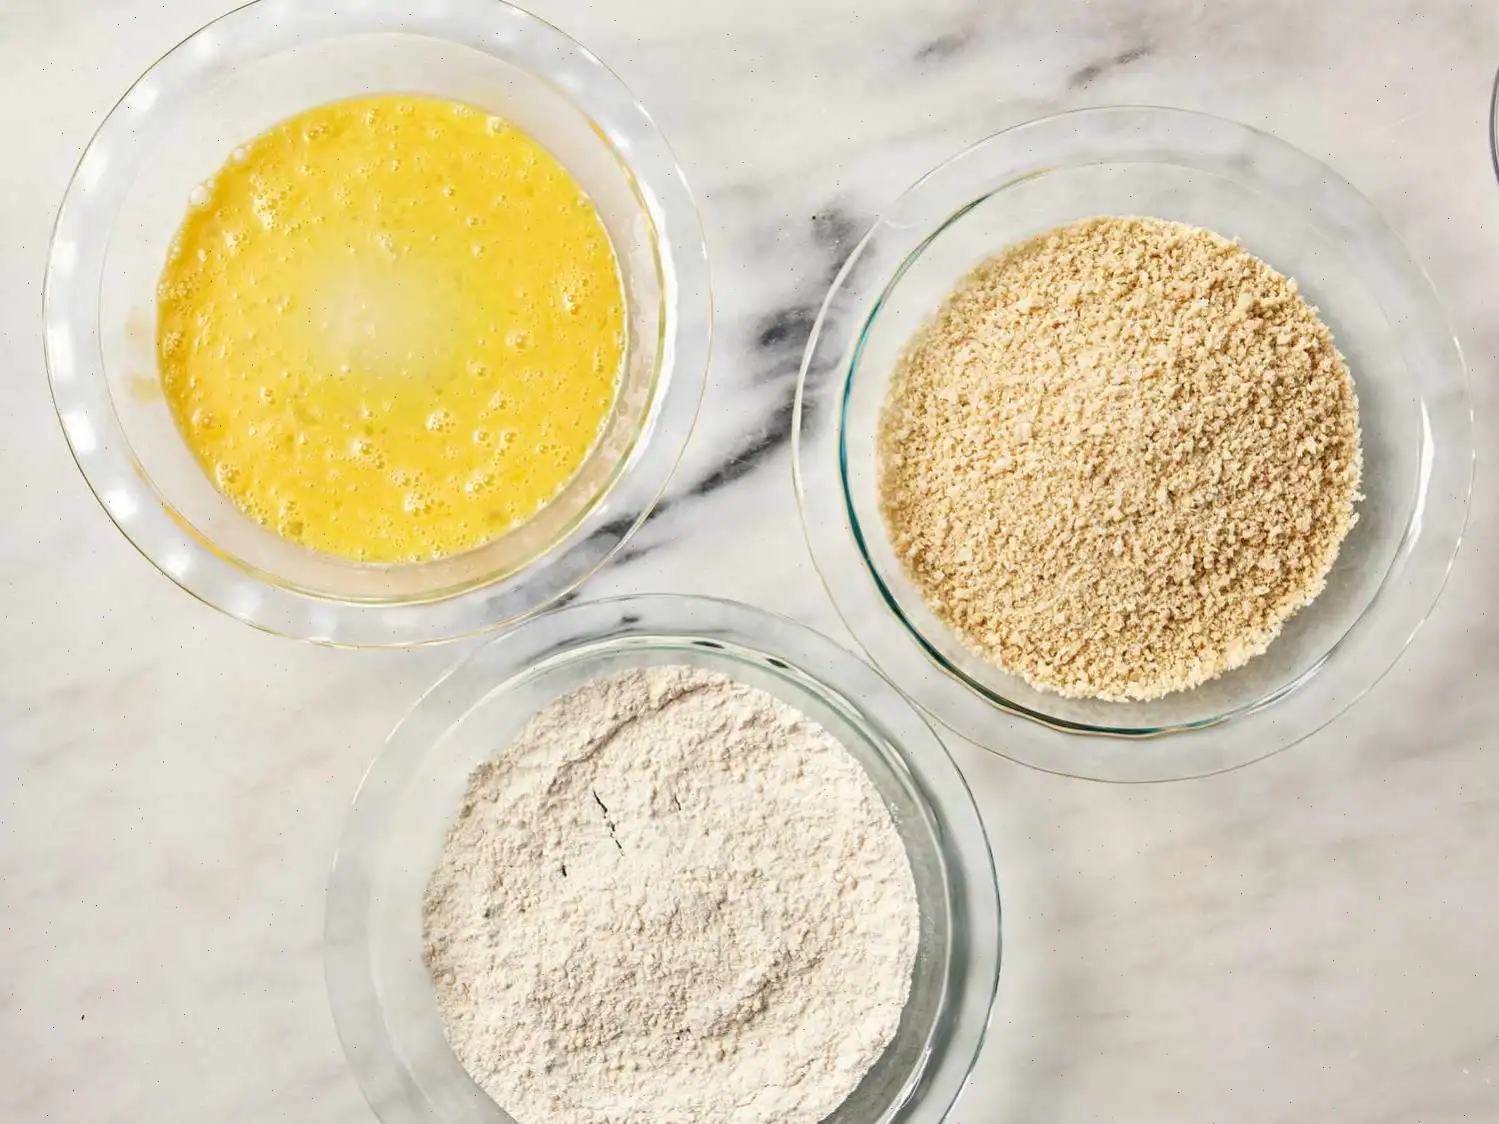
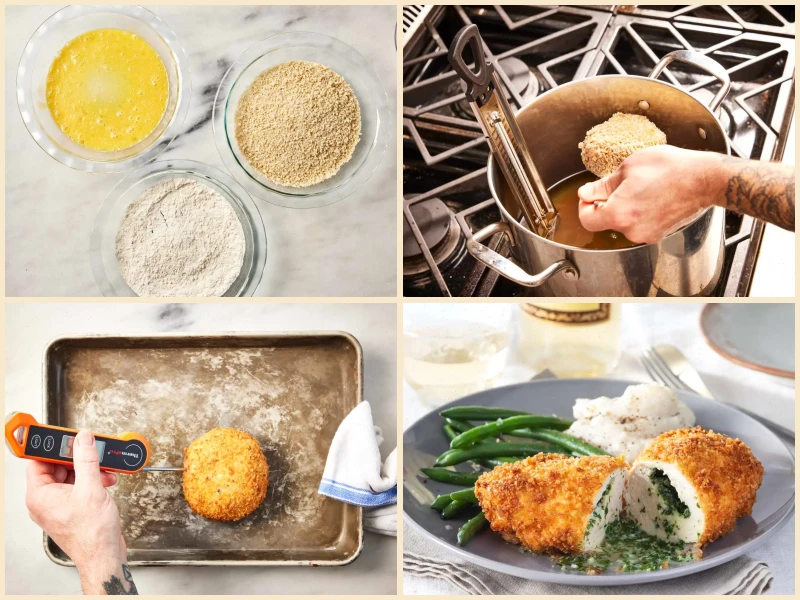
- Step 4: Set up a breading station. In one shallow bowl, whisk together flour and 2 teaspoons of salt. In a second shallow bowl, beat the eggs. In a third bowl, place the panko breadcrumbs.
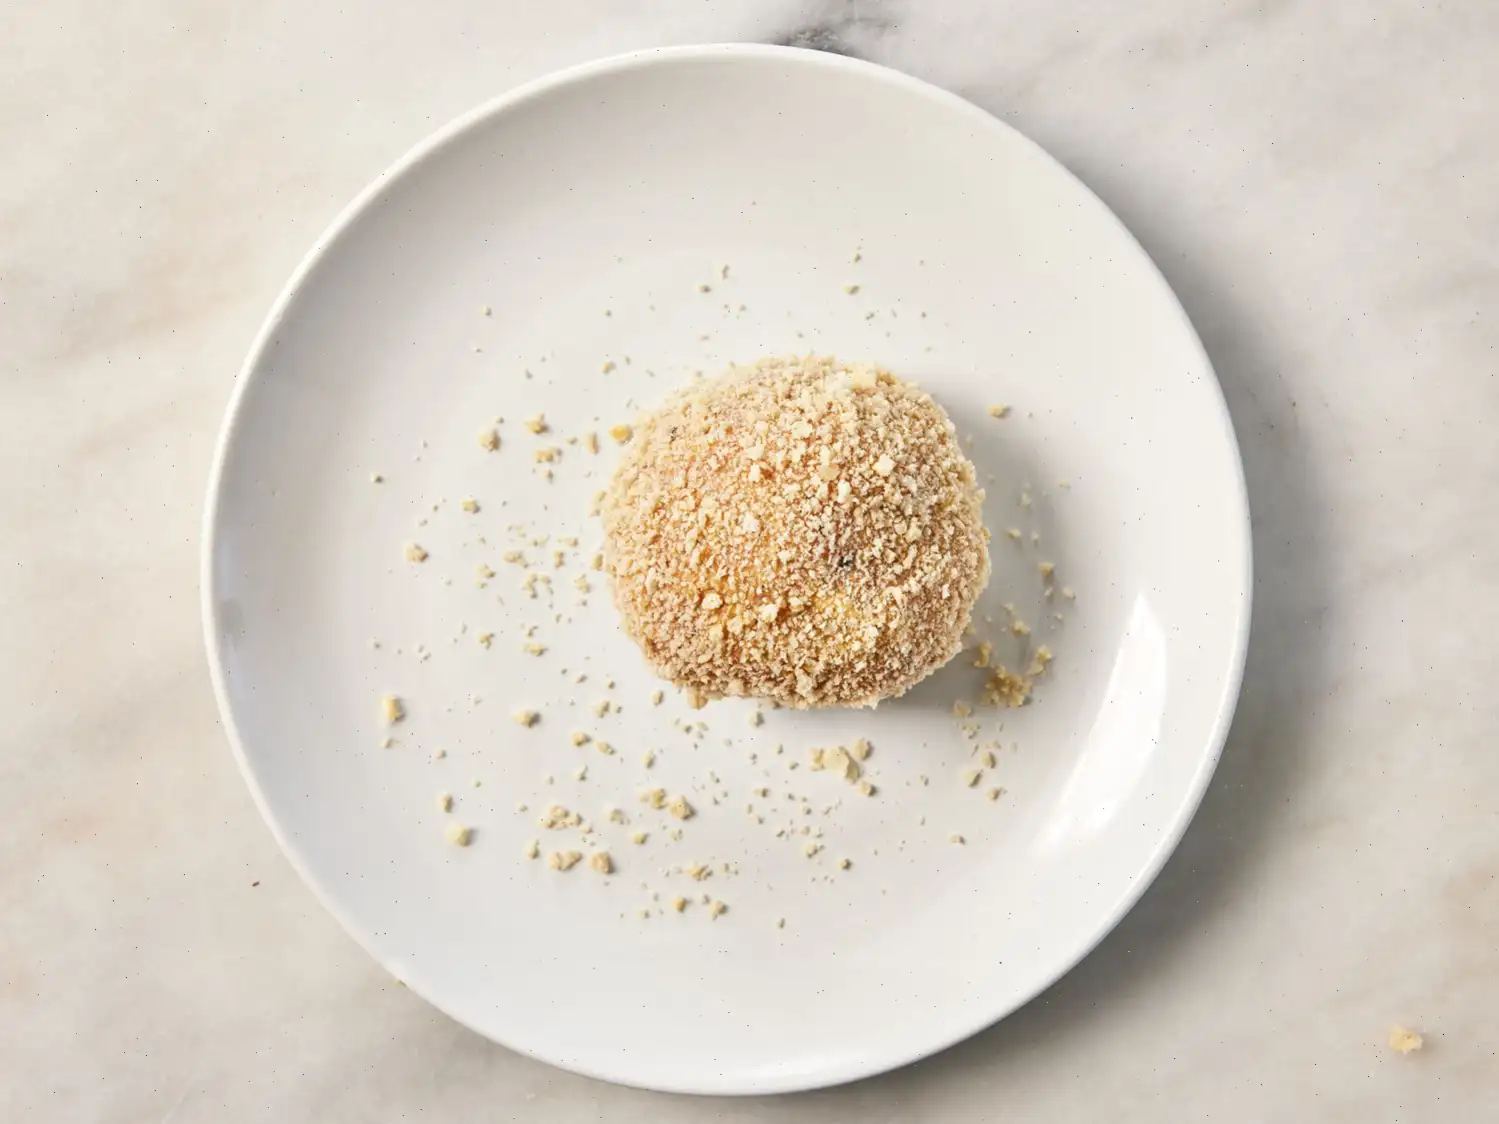
- Step 5: Remove the chicken from the plastic wrap. Gently coat each ball in the flour mixture, shaking off any excess. Dip into the beaten eggs, then press into the breadcrumbs to coat thoroughly. Place the breaded chicken back onto a plate, cover with plastic wrap, and return to the freezer for 15 minutes to chill until firm.
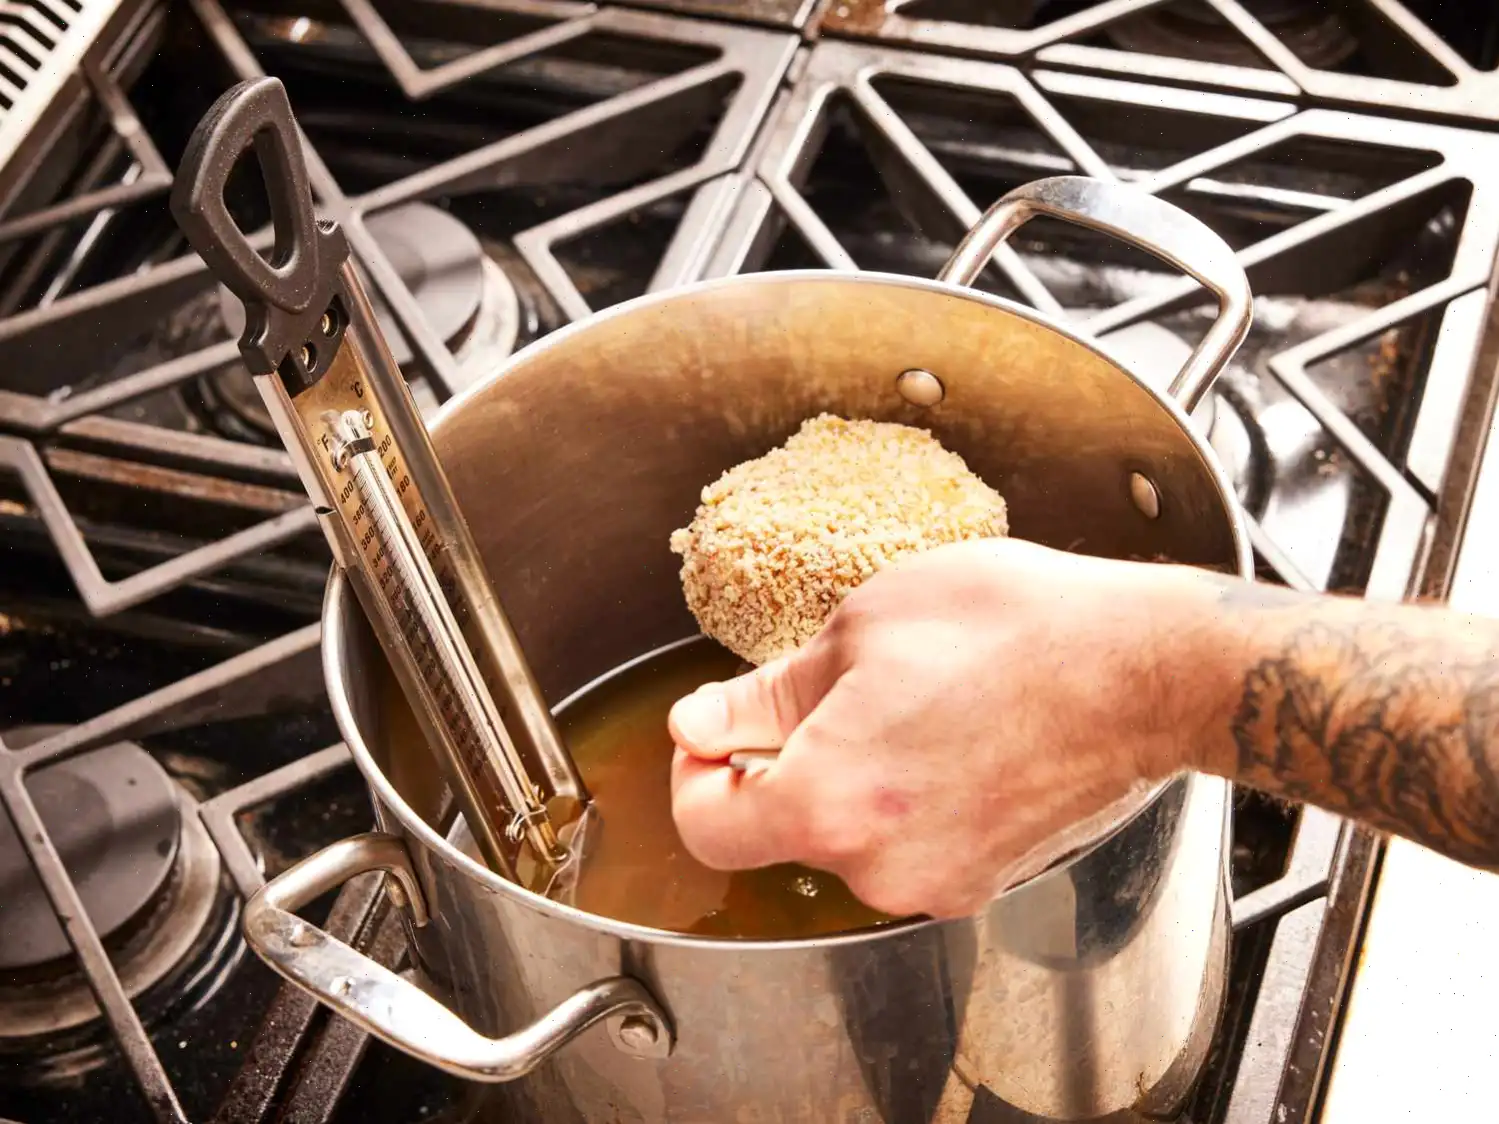
- Step 6: Heat vegetable oil in a deep-fryer or large saucepan to 350F (175C). Preheat the oven to 400F (200C) and line a baking sheet with aluminum foil.
- Step 7: Working in batches, place the chicken balls, gathered-side down, into the hot oil. Fry them for about 1 minute per side or until lightly golden. Transfer the chicken to the prepared baking sheet.
- Step 8: Sprinkle the chicken with salt and cayenne pepper. Bake in the preheated oven for 15-17 minutes, or until you can hear the butter start to sizzle. The internal temperature of the chicken should reach 165F (74C) on an instant-read thermometer.
- Step 9: Let the chicken rest for a few minutes before serving. Enjoy your crispy, golden chicken Kiev!
What to Serve With Chicken Kiev
If you're looking for side dish inspiration, try pairing your chicken Kiev with one of these traditional Russian recipes:
- Authentic Russian Salad 'Olivye'
- Russian Garden Salad
- Russian Cheese Salad
- Russian Potato Salad
- Traditional Russian Pirozhki
How to Store Chicken Kiev
Store leftover chicken Kiev in an airtight in the refrigerator for up to 3 days. Reheat it in the microwave or oven before serving.
Nutrition Facts (Per Serving)
Each serving contains approximately:
- Calories: 790
- Fat: 38g (49% of daily value)
- Saturated Fat: 15g (77% of daily value)
- Cholesterol: 268mg (89% of daily value)
- Sodium: 1656mg (72% of daily value)
- Total Carbohydrates: 62g (23% of daily value)
- Dietary Fiber: 1g (4% of daily value)
- Protein: 60g (119% of daily value)
- Iron: 4mg (21% of daily value)
- Potassium: 479mg (10% of daily value)
Comments
LaCosta Lotta Resort
10/06/2025 01:52:54 PM
Absolutely 5 stars (and then some) on this one! A lot of prep work but OMG the end result is so incredibly decadent it's beyond words. I served this to a private group of friends and everyone, I mean EVERYONE, just about fainted from either the butter or the incredible taste! Paired with a mixed salad and mashed potatoes...If you don't try it, you will never know. 5 Thumbs up Chef John! You hit this one out of the ballpark!
Maureen Gutman
08/19/2018 04:34:39 AM
Absolutely scrumptious! It is a bit time consuming, so I made several batches of the herb butter to keep in the freezer for future use. Made this exactly as written, but air fried at 400 for 30 minutes in a Breville toaster oven with an air fry feature. Placed just enough foil under the chicken breast to catch butter if it didn't hold solid. It held beautifully! Can out crispy on the outside and moist and flavorful throughout. Will be making this again!!
alex z
01/18/2023 09:18:29 PM
It wasn't much work at all. Although it took 2 hours from the moment I started, most of the time was spent just waiting for things to freeze and cook. I don't know where he finds such small chicken, the ones we buy here are about double the size, so they were hard to work with and turned really big. Next time I'll try cutting them in the center to have thinner pieces. We don't like deep frying so we just sprayed some oil and air fried for a few minutes before throwing it into the oven. Unfortunately most of the butter leaked in the oven, either it was missing that deep frying to stick well, or more likely, I just didn't close them well enough. Either way, although we skipped the deep frying, the texture was perfect, crispy and crunchy from the outside, soft from the inside, and the taste was great. Don't be shy adding extra garlic and parsley, and if you like spicy food like us, then enough pepper.
DREGINEK
10/21/2023 02:09:37 AM
You need to apply patience when making this recipe. And the folding of the chicken in step 2 sucks! But! Work through it because it is sooooo good! Made exactly except used dried parsley instead of fresh in the butter mix. I MIGHT consider adding some additional seasonings to the panko mix (garlic powder, onion powder, maybe Italian seasoning) in case the butter breaks free BUT! It was so good as written. I did remove from the oven at 160, covered with foil to let rest until the internal temp was 165 (about 5-7 min). This helped preserve the poor folding skills/butter filling earlier. Using a spoon, drizzled the little butter mix that did escape over the breasts. Served with Parmesan risotto from this site and felt like we were eating out! I am so proud of myself that I came, I saw and I conquered this recipe! It’s actually not as hard as it seems! Thanks Chef John!
Greg
02/08/2021 05:10:45 AM
Well....I totally screwed this up and it was still good. We are avoiding white flour and bread so I used almond flour and made breadcrumbs from whole wheat bread. Also I didn't have any plastic wrap so used tin foil. Apparently my new fry thermometer isn't accurate . The oil had started to smoke so I was concerned it was hotter than the thermometer was showng. When I dropped the chicken in the breading almost instantly burned. I pressed on anyway. Fortunately using the tin foil worked and my chicken stayed together. Other than the breading, the chicken tasted great and was perfectly cooked, and the butter over cauliflower rice was delightful. We will make it again for sure and hopefully get it right next time.
Schwep
12/20/2018 06:16:39 PM
Awesome recipe. I follow it to a “T”up to the actual cooking. I fry according to the recipe to brown them, then I stick them in the fridge overnight. Next day I bake in a 350 degree preheated oven for 45 minutes. Great way to make a day ahead!
Luci
10/12/2020 08:05:36 PM
I have been making Chicken Kiev for years but this technique resulted in the best I've ever made! My husband thinks so, too! During the prep, something came up (such is life) and I found that I would not be able to finish and serve the dish until the next day. I was able to continue prepping the chicken to the stage of tightly wrapping each breast ball in plastic wrap. Instead of the freezer, I put in the refrigerator. The next day, I continued just as if I had no interruptions, chilled the balls in the freezer for the 30 minutes and continued from there. Actually, I'm glad the interruption happened because now I know that I can do most of the busy work up to a day in advance. Other than the delay, I followed the recipe exactly.
ClassyClove4094
03/11/2023 09:57:20 PM
Always comes out perfect, however for less seasoned chefs, myself included, I have to use toothpicks to hold the chicken together. Just remember to tell your dinner guests.
molly
04/30/2018 03:14:20 PM
I baked them instead of frying and the were delicious! 350 for 20-30 minutes depending on thickness of chicken. I served it will roasted broccoli and rice pilaf. A little time consuming but totally worth it!
Sarah
10/12/2020 10:50:04 PM
I remember eating this on special occasions growing up- I’m half Russian half Ukrainian. I also remember begging my Babushka to teach me and she tried but my butter would leak all over the place!! Thanks chef John for ACTUALLY teaching me how to do this properly! The only small change ( and this is just the way I remember it) is we used dill instead of parsley and plain bread crumbs mixed with a bit of corn flakes for crispy texture. Apart from that personal change this is exactly a piece of my childhood.
Daniel
04/10/2020 12:52:06 AM
Unfortunately because of the COVID-19 I could only find one store out of three that had chicken breast and they were huge. But my daughter and I had some family time together and prepare this with minor adjustments to suit the larger breast. The result was fantastic. I never had chicken Kiev before, so I wanted to try something new. I am very grateful for this recipe because it is absolutely delicious.
Judie Filipkowski LaBarre
09/13/2025 02:12:11 AM
Loved this recipe! It took me a little longer to make then the estimates suggested, but all good things take time and it was so worth it!! Next time I'm going to make extras and keep in the freezer for future meals.
MARTA
08/08/2025 07:37:53 PM
I love Chef John!
ShinyFries3975
12/23/2024 09:36:15 PM
Great recipe! But Kyiv is in Ukraine. It's a ukranian dish.
MatureFrog8406
12/12/2024 01:56:27 PM
Husband loved. My first attempt at something like this came out great
LivelyHam8902
12/04/2024 04:47:52 PM
Amazing dinner - saved with mixed vegetables and fried otatoes
SteadyPlum2954
11/11/2024 01:08:26 AM
Great
VividWhey6404
10/09/2024 08:56:32 PM
Great recipe. I use ground turkey or chicken as its easier to form a perfect ball without any leaks
Frank Miller
10/04/2024 07:31:26 PM
This recipe is ridiculously easy and surprisingly delicious.
John Miller
07/22/2024 03:50:51 PM
The recipe is straightforward but the results are amazing.


 audio version


CookGuide is your culinary guide to discovering new flavors and cooking with confidence. Find trusted recipes, practical tips, and inspiration for both home and professional kitchens.
Any copying, distribution, or use of the materials from this service without authorization is strictly prohibited. Violations will be prosecuted under applicable law and may result in both civil and criminal liability.
© Cook Guide Studio 2025 | Cookies | Terms and conditionsFind the perfect recipe with AI. Just enter your ingredients and let CookGuide do the magic.